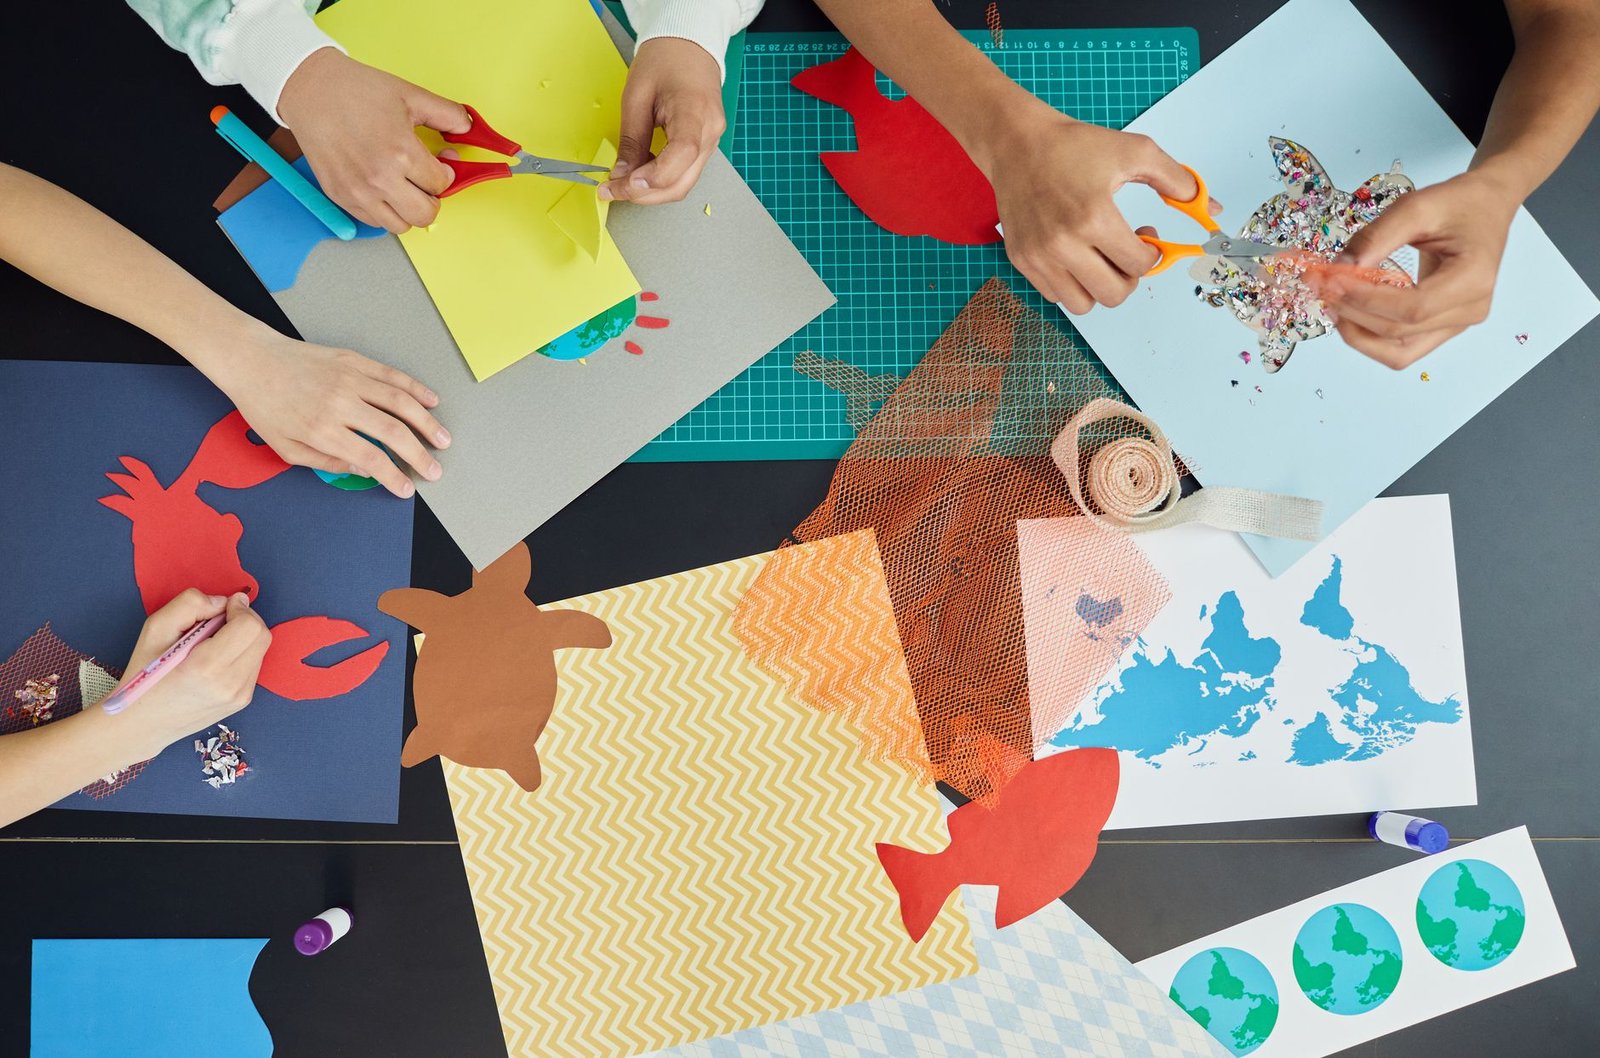
A lopsided paper crown can be a craft well made.
The box shows a neat paper animal, but ten minutes in, an adult is cutting every piece while the child waits for a turn. Or the child glues on one eye, loses interest, and heads off to play. Neither outcome means anyone has failed; the activity may simply ask for more patience or precision than the child has right now.
A better fit leaves room for the child to make real choices and do much of the work. A toddler might enjoy pressing scraps onto sticky paper; an older child might measure, cut, and assemble a cardboard house. The finished object matters less than the decisions, experiments, and small triumphs that belong to the maker.
Look beyond the age on the box
A kit marked “ages 6+” is a useful clue, not a promise that every six-year-old will enjoy or manage it. The better question is whether the child can do the main action—such as folding, threading, or painting—often enough to feel that the project is theirs.
A few quick checks help narrow the choice:
- Attention: Can the project be finished in one sitting, or does it have a natural stopping point? A child who enjoys ten minutes of painting may find a long sequence of drying and assembly frustrating.
- Hand control: Does the task call for broad movements or precise ones? Large beads and thick crayons are easier to handle than tiny beads or detailed cutting.
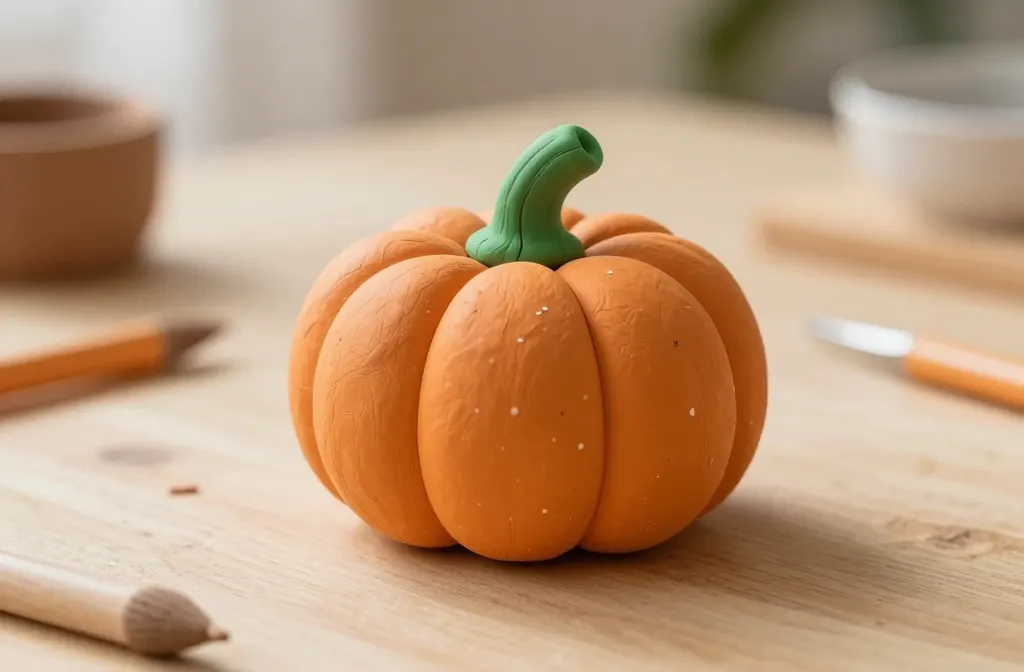
- Interest: A familiar theme can make a new technique more inviting. A child keen on animals may happily spend longer shaping a clay creature than making a decoration they did not choose.
- Help and safety: Check the actual materials and steps, not just the printed age. Sharp tools, hot glue, and small pieces may change what an adult needs to supervise.
Independent does not have to mean alone: an adult can stay nearby, handle a risky step, or explain an instruction while the child makes the creative choices. If the adult must do most of the folding, cutting, or assembling, a simpler version will usually give the child more to make.
Crafts for toddlers: doing matters more than making
A toddler may stamp the same spot ten times, tear paper into strips, or move large shapes around without sticking them down. That is the activity. A finished picture matters less than having an action the child can repeat and control.
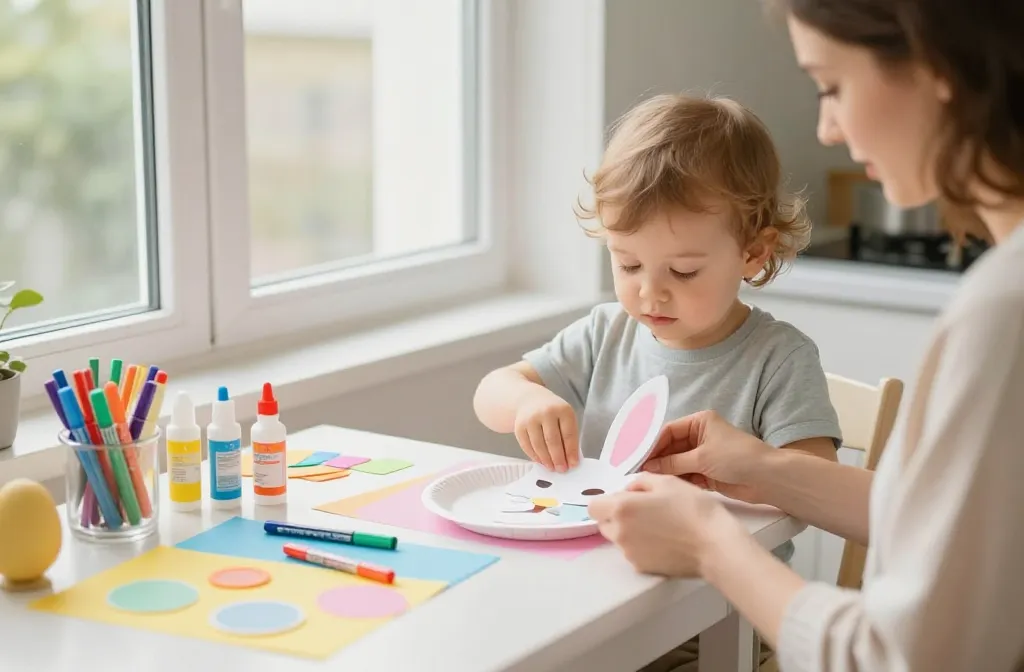
An adult can cut shapes, tape paper to the table, and put out a small amount of material beforehand. Then the child still gets the meaningful part: making marks with a chunky crayon, pressing a sponge onto paper, or placing the shapes. If a child is still putting materials in their mouth, the craft choices for children who mouth everything need more care than a standard toddler activity list provides.
For many two-year-olds, a few household supplies are enough: a cardboard tube to roll through washable paint, or large pieces of paper to tear and stick to a sheet of contact paper held in place by an adult. Exploration can stop whenever interest fades; there is no need to turn it into a picture.
A three-year-old may enjoy a small project with a visible end, such as stamping three flowers onto a card. Keep the steps few and let the child decide where each stamp goes. If the card gets one flower instead, it is still finished.
Stay close and skip beads, buttons, googly eyes, and other small parts when mouthing is likely. Check that stamps and other tools cannot shed pieces; “non-toxic” does not mean safe to eat.
Crafts for four- and five-year-olds: let them decide
Four- and five-year-olds can often make a recognizable card, collage, or puppet without being asked to copy one. The satisfying part is choosing what goes where: a purple sky, a face with three eyes, or a puppet wearing every scrap of ribbon. A sample can show how materials attach, but it need not dictate the finished picture.
For a collage, set out a small tray of paper shapes, fabric scraps, and glue sticks. Children can choose a background, arrange pieces before gluing, and change their minds along the way. A folded card works much the same way: they can decorate the front, then add a drawing or dictated message inside.
In a group, projects with fewer adult-only steps leave more time for making. Pre-cut shapes and ready-folded cards help when one adult cannot pause to cut or fasten something for every child. A paper-bag puppet is another option if children can glue on features themselves; its ears and expression need not match anyone else’s.
With an adult nearby, a five-year-old may manage a longer sequence of choices and steps: draw puppet features, cut simple shapes with child-safe scissors, glue them on, and let them dry. The adult can help with a stubborn cut without deciding what the puppet should look like.
Crafts for six- to eight-year-olds: make and remake
At this age, a project can have several connected steps without needing to turn out exactly as pictured. A child might sketch an idea, make it, notice what is not working, and change course. The best projects leave room for that last step.
A woven bookmark is a manageable place to start. An adult can cut a strip of sturdy cardboard and make shallow notches along its short ends. The child chooses yarn colors, stretches strands between the notches, then weaves another strand over and under them. If a row goes off pattern, it can be pulled back and tried again; a loose edge can be tied or taped down.
For a cardboard building, an adult can cut panels and any slots that need a craft knife. The child decides whether to make a house, a shop, or something invented, then joins the pieces with tape or tabs. A wall that tips over becomes a chance to add a brace or change the shape—not a reason for an adult to finish it. Uneven edges rarely matter if the structure holds together.
Crafts for eight- to ten-year-olds: make something useful
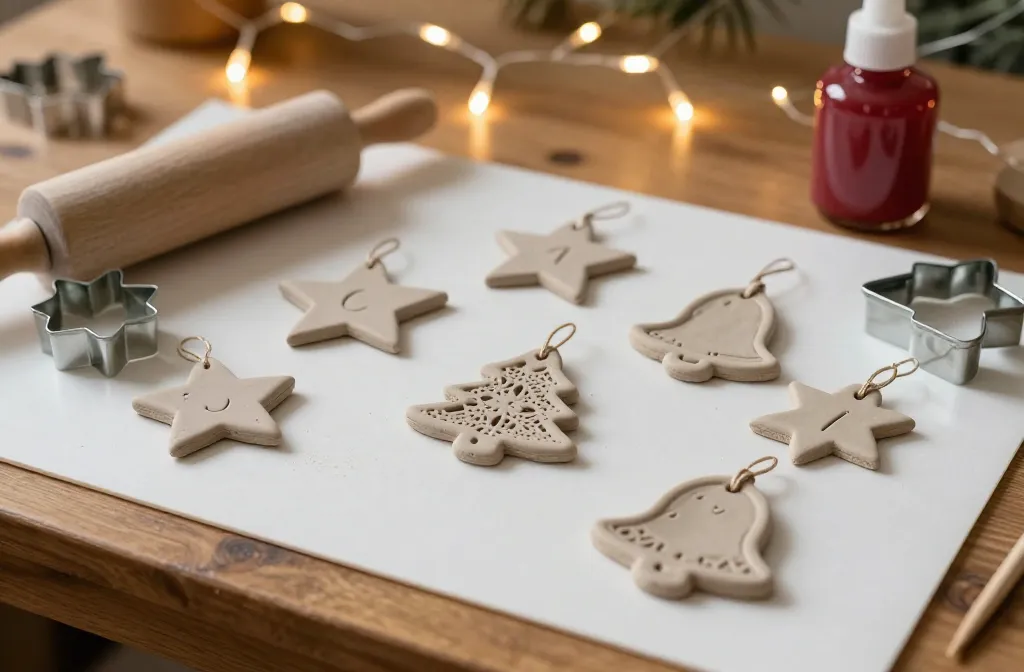
By eight, a child may have little patience for a project that looks like it belongs in preschool. A pencil pot can become a desk organizer with compartments for markers, notes, and small treasures. Choosing the layout matters more than following a decorating template. Projects that feel more grown-up leave room for the child’s own design, whether the materials are cardboard, fabric scraps, paint pens, or air-dry clay.
At ten, interest can be a better guide than enthusiasm for “craft time.” Someone who enjoys games might build a felt-lined dice tray from a shallow box; someone who likes rearranging a room might make a photo display with clips and string. Practical projects for reluctant makers can start with a problem the child notices: tangled charging cables, loose trading cards, or nowhere to put earrings.
Keep the first version small enough to finish and use. A storage box can start with one divider, then gain more if it works; a handmade gift might be a decorated notebook rather than an elaborate keepsake. Adults may need to cut thick cardboard or supervise hot glue, but the child can choose the dimensions, colors, and final look. If the result does not work as hoped, changing it is part of making it.
One project, different ways to make it
Children working side by side do not need identical instructions. A shared theme gives them something to talk about, while different steps let each child do work that feels like their own. For a cardboard town, a younger sibling might place large paper windows and draw doors; an older sibling might design a bridge or make a building that stands. Neither needs to finish first or become the other’s assistant.
The same approach helps when a child has limited hand mobility. Rather than switching to a project meant for much younger children, change the part that makes the chosen project difficult:
- Put paper on a nonslip mat or tape its corners down so it stays put.
- Offer larger pieces or a thicker-handled tool if small pieces are hard to grasp.
- Use pre-punched holes for a lacing project, leaving the color pattern and arrangement to the child.
An adult can prepare materials or steady a surface without deciding what the finished piece should look like. Ask which step the child wants help with, then leave room for their choices—even if the result differs from the example.
Will the child actually get to make it?
-
01Count the child’s steps
Read the instructions before buying. If an adult must assemble the base, apply the glue, and fix the decorations, the child may have little left to do.
Look forSeveral steps the child can complete or decideWatch out forA finished result that depends on adult assembly -
02Check what “included” means
A kit may still need scissors, a tray, or drying space. Check the supply list against what is already at home, especially if the kit is meant for travel.
Look forTools and materials ready for the planned settingWatch out forSurprise purchases or extensive preparation -
03Picture the cleanup
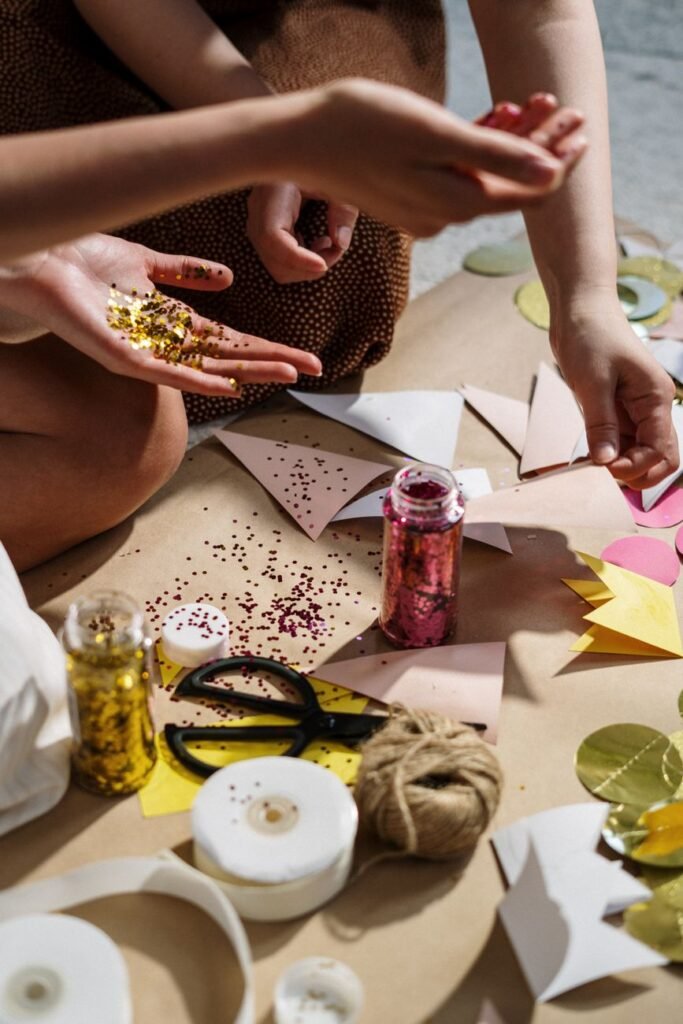
Loose glitter, wet paint, and tiny beads may be fine at a covered table but awkward in a car or shared room. Match the materials to where the project will happen.
Look forMaterials that suit the available spaceWatch out forA cleanup job bigger than the activity -
04Choose a result the child wants
A project is more inviting when the child cares about making or using the object. For recurring deliveries, compare the child’s pace and interests with the subscription’s projects and schedule before committing.
Look forProjects the child will want to finishWatch out forBoxes arriving faster than they get used
-
01Start with a familiar move
If a child enjoys tearing paper, make torn pieces the material for a collage.
-
02Add one challenge
Offer a glue stick, then let the child choose where each piece goes. Leave out tracing or other new steps.
-
03Prepare the sticking point
Cut sturdy backing beforehand if cutting it would halt the activity. Leave the colors and arrangement undecided.
-
04Watch, then adjust
Did the child stay interested and work without frequent help? Next time, keep the glue stick or add a small challenge, such as overlapping pieces.
A collage need not resemble an example to be a good choice. The child’s engagement and independence offer better clues for what to try next.