A craft space only works if its supplies can be found and put back.
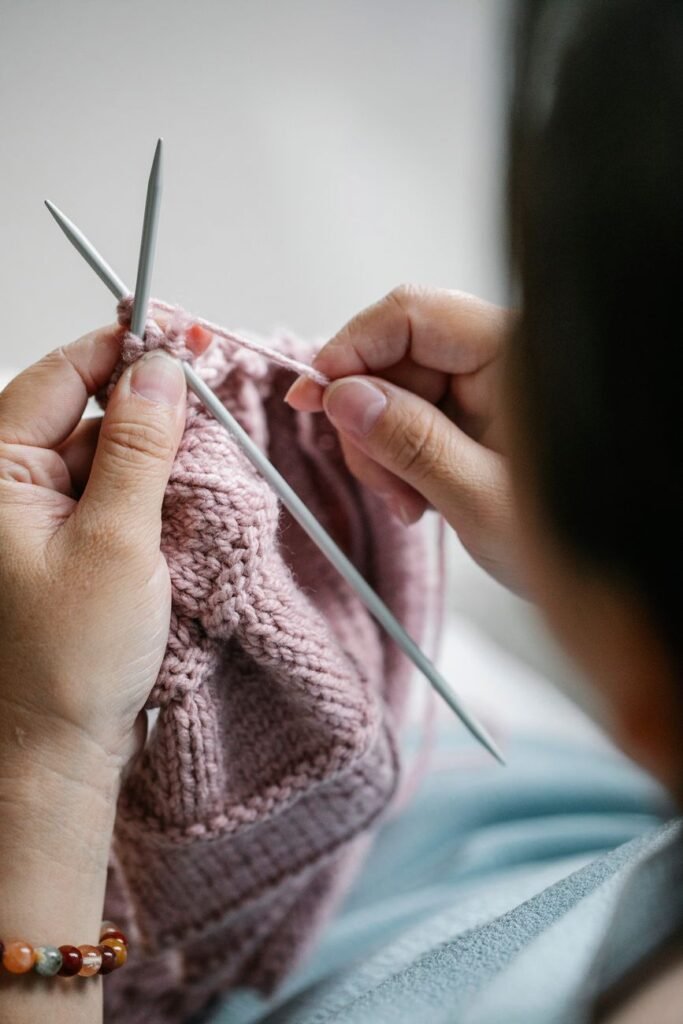
A half-finished embroidery hoop sits on two unopened packs of thread, while the needle needed to finish it has disappeared beneath loose paper. Buying another needle can feel easier than digging. Before long, the pile makes every project slower and leaves it unclear what is already on hand.
The first goal is modest: give active projects one landing spot, gather similar materials so duplicates become visible, and keep frequently used tools within reach. Reused jars and shoeboxes are enough to begin. What matters is that supplies have a clear home and can be returned without moving three other piles. A setup that works on a tired evening is more useful than a picture-perfect craft room.
Clear one pile before opening another
-
01Pick one surface
A crowded table or the pile blocking a cupboard is enough for a first pass. Leave the other shelves alone so there is room to sort without spreading the mess.
-
02Make four groups
Put dried-out supplies, empty packaging, and obvious scraps in rubbish. Separate usable materials, unfinished projects, and things that belong elsewhere. Keep each group in a box or clear patch of floor.
-
03Set aside uncertain items
A small “decide later” box keeps sorting moving when an odd tool or leftover material needs thought. Date the box and revisit it after the useful supplies have homes.
-
04Trim the excess
Keep materials for projects that are likely to happen, not every project that sounds appealing. The guide to keeping supplies for realistic future projects offers a closer look at that decision. Obvious duplicates, unusable scraps, and materials for abandoned plans are easier to part with.
-
05Put projects back together
Gather each unfinished project with its pattern, parts, and next-step notes. A project that still feels worth finishing can go into one bag or box; one that does not can release its reusable materials back into the supply groups.
Group what remains by craft
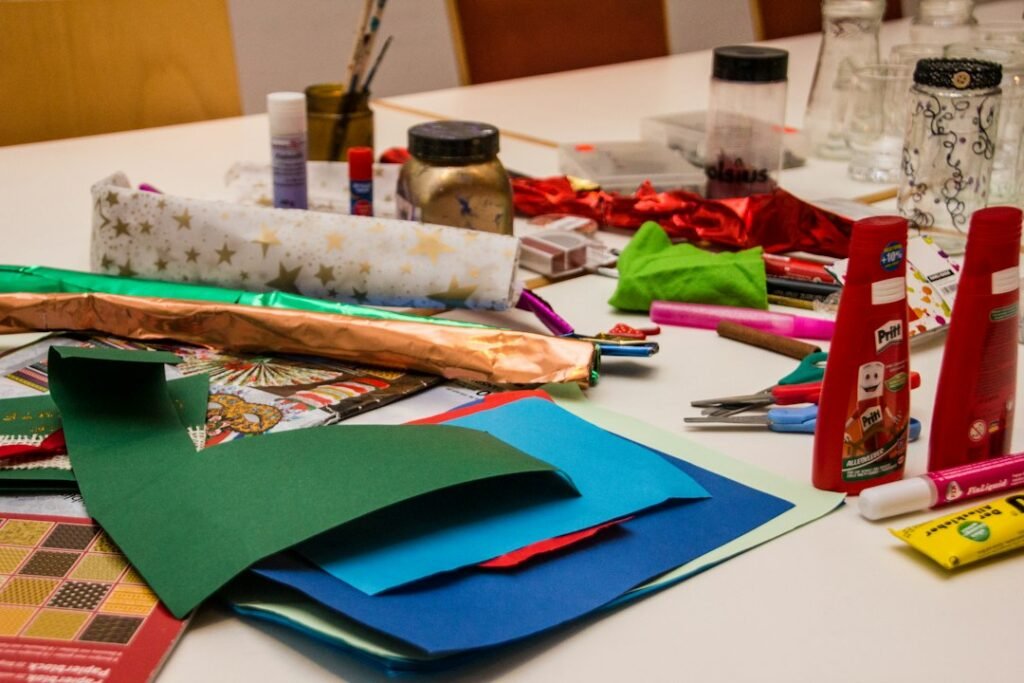
Once a pile has been cleared, the usable supplies can be grouped by craft: sewing, painting, paper crafts, or whatever activities actually happen in the space. Projects still in progress should stay together, with their materials, rather than disappearing into the general supply groups. Items used across several crafts, such as scissors or glue, need just one easy-to-reach home.
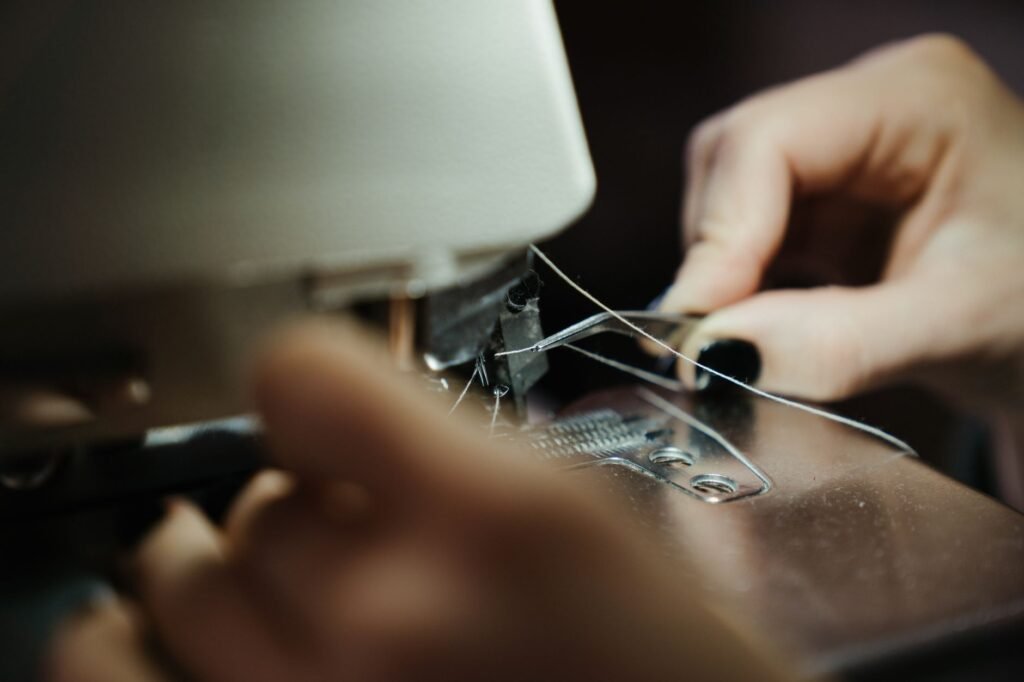
Within each craft, make a few groups that match how the supplies get used. A sewing group might have fabric, thread and fasteners, and tools. There is little benefit in making separate categories for every button color or ribbon width if those distinctions will be hard to maintain. A small bag or divider can keep fiddly pieces contained without turning them into a dozen sorting decisions.
Before choosing containers, take a quick look at how much each group holds. Three rolls of tape need a different home from a box full of yarn. This is also a good moment to note supplies that are easy to overlook before buying more, such as spare blades, glue sticks, or unopened packs of needles. A short note on a phone or a sheet kept with the supplies is enough; common materials that are plainly visible do not need a detailed count.
The groups do not have to be perfect. They only need to make the next search—and the next cleanup—simpler.
Keep unfinished projects together
An unfinished project is easier to restart when its materials have one home. Give each work in progress a bag, box, or tray separate from the general supply stock. A tote can hold a partly sewn cushion and its fabric; a shallow box may suit a paper project that needs to stay flat.
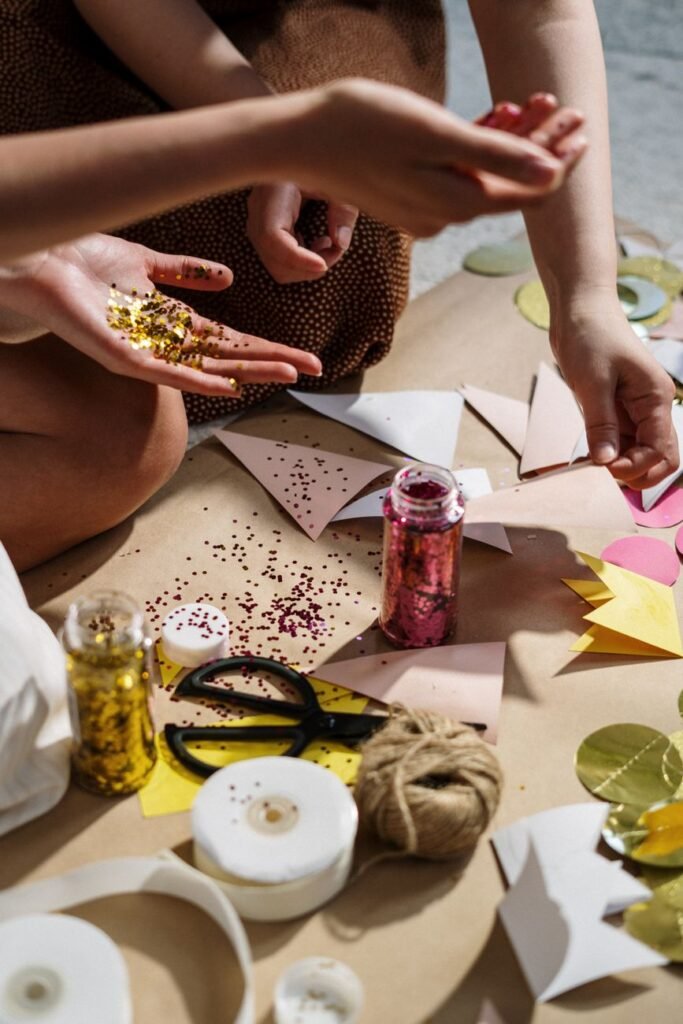
Keep instructions, patterns, and any project-specific tools with the work. Small pieces such as cut shapes, beads, or spare buttons can go in a labeled envelope or zip bag inside the project container. For projects with many components, a few ways to keep unfinished work and its pieces together can prevent the next session from starting with a search.
A brief note on top can record the next step: “Attach handles” or “Waiting for blue thread.” Put active projects somewhere accessible, while reserving less convenient space for general stock. If the project container becomes a catchall for unrelated supplies, return those extras to their usual homes so the work remains ready to pick up.
Give supplies homes that fit the space
The best storage spot is usually near where crafting happens, not simply where a shelf is empty. Keep frequently used tools close to the work surface and move occasional materials farther away. If the room has another purpose, choose containers that make clearing the space easy.
- Shared living room: Give current supplies a basket or cabinet shelf rather than leaving loose tools on seating or the floor. Keep seldom-used materials out of the main traffic area.
- Dining table or temporary surface: Put each active setup in a tray or portable bin that can be lifted away intact. Pick its parking place before starting, so dinner does not mean sorting everything again.
- Closet: Keep regular supplies at the front and less-used stock behind them. Label bins that cannot be seen into, and avoid stacks that require unloading a whole shelf to reach one item.
Carry one project from storage to the work surface and back. If putting it away is awkward, its home may be too far away or too full.
Look for musty smells, condensation, leaks, or damp floors first. Moisture can damage paper, fabric, yarn, and metal tools. If the area is damp or has flooded, choose a dry indoor spot instead; a sealed bin cannot solve an active water problem.
Choose containers that fit the space and the supplies
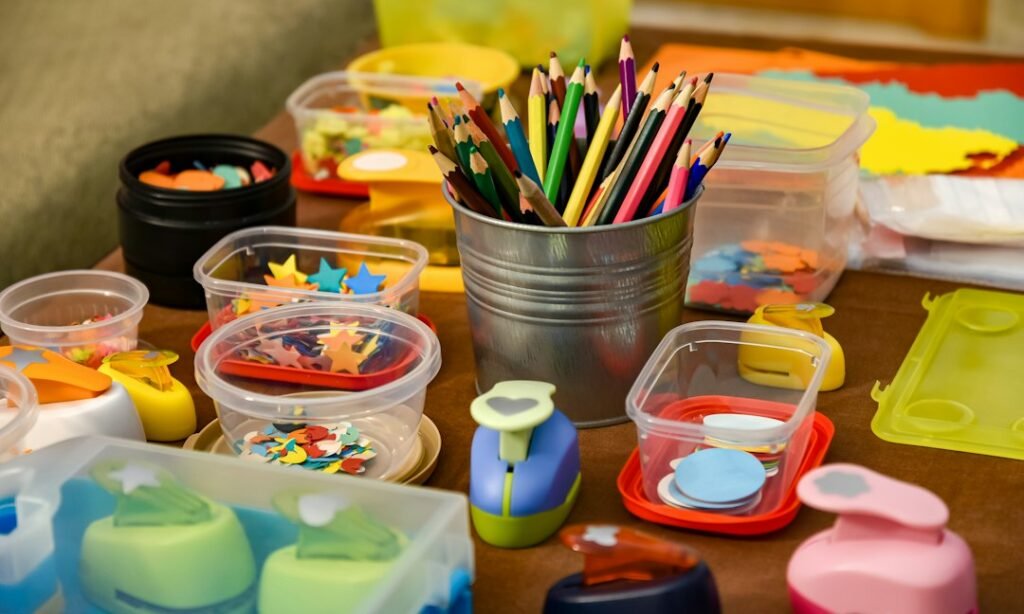
Once supplies have been sorted and given homes, try existing boxes, jars, and trays before buying anything. Measure the shelf or cupboard opening as well as the container, leaving room to lift it out.
Bins can hold fabric, yarn, or a set of materials for one craft. A clear bin helps show the contents, but a stack is less useful if the bottom bin must be dug out every time.
Shallow drawers keep beads, fasteners, and other little items within reach. Dividers or small reused boxes stop different pieces from mixing inside a drawer.
A cart suits supplies used in different rooms if it has somewhere to park. Wall rails or a pegboard can keep frequently used tools visible, provided the wall is available and the tools remain easy to take down.
Keep a small kit ready to move
A container that works on a shelf may be awkward to carry to a class or shared table. Leave bulk supplies in their usual homes and pack only what the next session needs. A pencil case, handled box, or zip pouch may be enough; duplicating the entire stash adds clutter.
Small parts need a second layer of containment. Put beads, needles, and fasteners in closed inner cases rather than loose in a tote. Tighten paint and glue caps, then place bottles in a sealable bag away from paper or fabric. When considering ways to carry supplies to class, check how securely containers close, not just how many compartments they offer.
Before leaving, close the kit and gently tilt it over a table to see whether anything shifts or escapes. After the session, return borrowed items to their regular homes and refill only the basics kept in the kit. Permanent storage keeps the collection findable; the travel kit makes one work session easy to move.
Label the homes, not every item
A label should match the broad groups already sorted, such as sewing notions, paper scraps, or paint tools. “Blue buttons, 12 mm” may be accurate today, but it becomes misleading as supplies change. Removable tape, a card in a label holder, or a writable sticker makes it easier to update a bin without replacing it.
Put labels where they can be read while containers are stored: on the front of a stacked bin, for example, rather than only on its lid. Opaque containers need labels because their contents are hidden. Clear ones may need them too: seeing scissors inside does not show whether that bin is their usual home or just where they landed during cleanup.
For bins whose contents change often, simple ways to make labels easy to update can save repeated guessing. If a category moves, change its label promptly so the next cleanup puts supplies in the right place.
A workable finish is small: clear one pile, group what stays, give each group a home, and label it. Move the containers off the work surface so there is room to make something again. Anything still undecided can wait in one marked box rather than spreading back across the table.
After a session, a few minutes spent returning tools and closing project containers keeps the surface usable. An occasional check for duplicates before buying more can prevent fresh overflow. When supplies are easy to find and put away, the system is working; it does not need rebuilding.