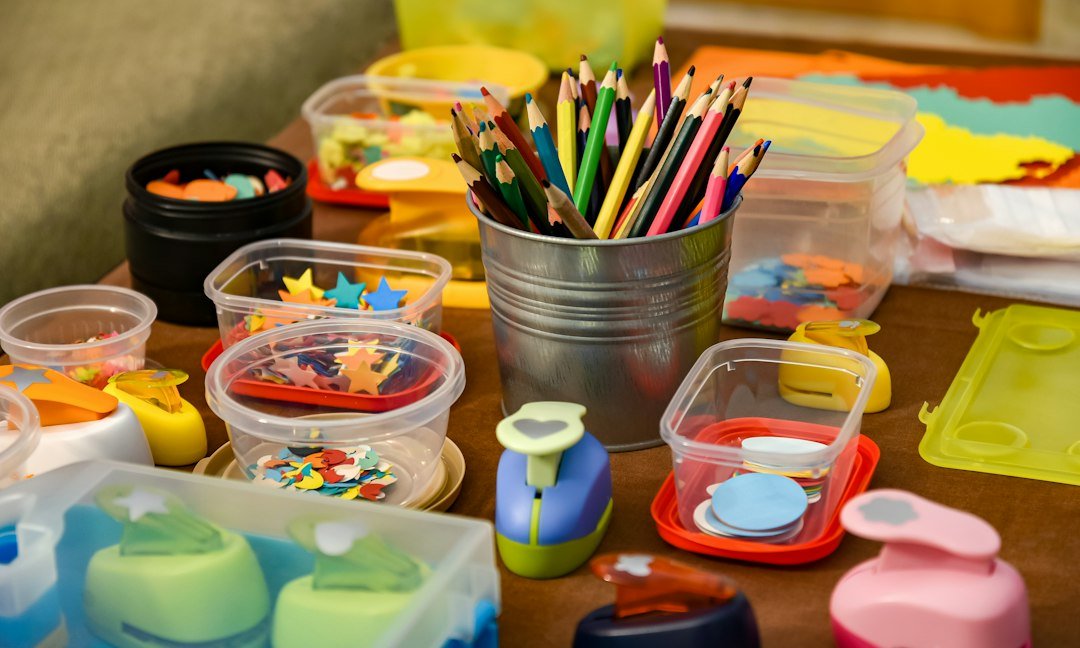
A full basket is not a better starting kit.
A beginner plans to make a paper collage and finds three kinds of scissors, specialty glue, and a wall of brushes. Most of those choices can wait. What matters is having enough to finish the collage without buying tools for projects that may never happen.
A small shared kit—scissors, a ruler, a pencil, and something to protect the table—works for many simple crafts. After that, the project decides the shopping list: paper and glue for collage, or yarn and the specified hook for crochet. Checking the instructions before shopping helps catch essentials while leaving tempting extras on the shelf.
A small kit that earns its space
A pencil and ruler make the simplest projects easier to manage. A pencil can mark folds, cutting lines, or the position of a button before anything is attached; a ruler helps keep those marks straight. Light pencil marks are easier to erase or hide, especially on paper.
A comfortable pair of scissors is another useful starting point. Medium-sized scissors handle many paper cuts, while smaller blades can help with tight corners. For felt, fabric, or thick card, check the project instructions before cutting: the right scissors for different materials may be sharper or sturdier than an everyday pair. Keeping fabric scissors away from paper also helps preserve their edge.
For adhesive, a small bottle of all-purpose craft glue is more practical than stocking several types before a first project is chosen. Apply a little at a time, then let the bond dry as directed. Even versatile craft glues are not suitable for every surface; some projects call for a glue stick, fabric adhesive, or another specific option.
Finally, keep a small lidded container for buttons, beads, clips, and other loose pieces. It prevents useful leftovers from disappearing between projects without turning the basic kit into a storage system.
Set up a work surface that suits the project
A wipeable surface makes glue, paint, and stray fibers easier to clean up. A washable table covering or inexpensive plastic placemat works for many beginner projects; scrap paper underneath catches drips and provides a spot to test a glue line or paint color. For materials that may stain or scratch, a few ways to protect the table can prevent an unpleasant surprise after cleanup.
Projects cut entirely with scissors generally do not need a cutting mat. A craft knife is different: its blade needs a proper cutting surface beneath the material, not just paper or a thin tablecloth. For occasional straight cuts, a basic cutting mat may be enough. Someone making frequent blade cuts or intricate shapes may find the difference between regular and self-healing mats worth considering before spending more.
Give scissors, capped knives, and glue a consistent place to rest during a session, away from the edge of the table. When work is finished, let wet pieces dry somewhere they will not be bumped, then put sharp tools away rather than leaving them under scraps.
Scrap paper is useful for catching mess, but it will not protect a table from a craft knife. Use a cutting mat sized to keep the entire cut on its surface.
Paper supplies for cards, collages, and decorations
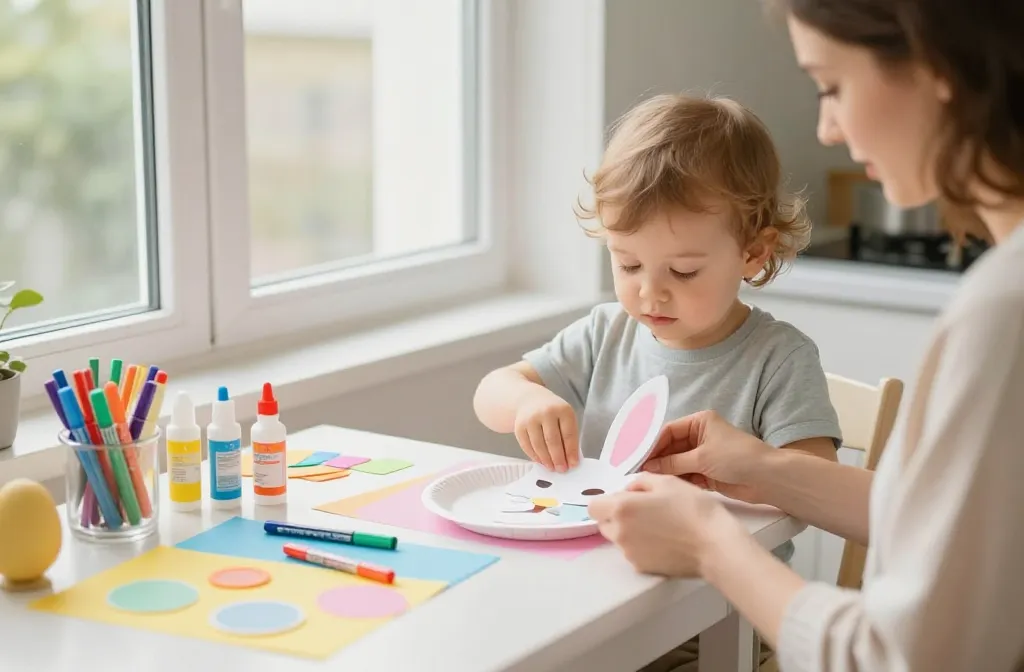
Paper projects need different materials depending on whether the finished piece must fold, lie flat, or hold its shape. A greeting card starts with cardstock sturdy enough to stand when folded, while a collage can use lighter paper scraps layered on a sheet of paper or cardstock. Hanging decorations benefit from cardstock if their edges need to stay crisp; thin paper works better for pieces meant to flutter.
Match the adhesive to the paper and the finish. A glue stick spreads easily across lightweight collage pieces, though the edges need a firm press to stay down. Double-sided tape gives cards a neat bond without drying time. Liquid glue can attach small embellishments, but too much may wrinkle thin paper; a tiny amount is usually enough. Testing a scrap first helps catch show-through or warping before it affects the finished piece.
Ordinary scissors are enough for a first card, collage, or set of simple cutouts. A craft knife and cutting mat become useful when small interior shapes or detailed edges are a recurring part of the project. For repeated straight cuts—such as trimming several card bases to the same size—a paper trimmer saves time and makes matching edges easier. Neither is essential for a one-off project.
Felt projects: glue or stitch?
A flat felt flower or simple ornament can be a no-sew project: cut the shapes and glue the layers together. A small stitched pouch needs a different set of supplies. Along with felt, it calls for a hand-sewing needle, thread, pins or clips to hold the pieces in place, and fabric scissors that make clean cuts without tugging the edges. Stuffing is only needed if the finished shape should be plump.
The choice becomes clearer when another material is involved. Felt can be sewn to felt, but attaching it to a wooden plaque usually calls for glue rather than a seam. The adhesive chosen for felt and wood needs to grip both the fuzzy fabric and the firm surface; an ordinary glue stick is unlikely to hold well. A small test on scrap materials can reveal whether the bond peels or leaves a visible stain.
For a glued piece, clear dust from the wood, spread adhesive without soaking the felt, then press the parts together for the time stated on the label. For a stitched piece, cut and align the felt before threading the needle. Deciding how the pieces will join before shopping keeps a simple project from turning into a collection of unused tools.
Small wood and plastic decorations
A small sign, ornament, or embellished box can begin with just the base pieces, a suitable adhesive, and any finish the project calls for. Check what is being joined before buying glue: wood-to-wood and plastic-to-plastic joints may need different products, even when the finished decorations look similar.
For bare wood, remove dust and rough splinters before assembly; a light sanding may help if the project instructions call for it. For plastic, clean away grease and let the surface dry. Scuffing or priming can help some adhesives, but only when the product directions recommend it. Wood glue is a practical choice for unfinished wood-to-wood joints, while plastic parts need an adhesive whose label names the type of plastic, if known. A little masking tape can hold small pieces in place while the bond cures.
A glue gun is optional, not a default purchase. It is handy for some quick decorative attachments, but hot glue can leave bulky beads or loosen from smooth surfaces. If a project does call for one, the choice between low- and high-temperature glue guns depends on the materials: higher heat may damage delicate pieces, and either setting can burn skin.
When a plastic embellishment peels away, adding a thicker blob of hot glue rarely fixes the bond. The reasons hot glue releases from plastic point toward a better approach: identify the plastic where possible, clean it, and choose a compatible adhesive. Test the join on a spare piece before assembling the decoration.
Painting and finishing a project
For a first painted card, wooden ornament, or small decoration, the setup can stay modest: paint suited to the surface, one medium flat brush, one small round brush, a water cup, and a palette or washable plate. Water-based acrylic craft paint works for many paper and unfinished-wood projects; plastic, glass, and fabric may need paint made for those materials. Put out a little paint at a time and rinse brushes before it dries in the bristles.
Paint and decoupage add color or attach decoration, but a finished-looking surface is not necessarily protected from spills or weather. A decoupage piece may feel hard when dry without being waterproof. Before making a coaster, plant pot, or outdoor sign, check whether the dried Mod Podge finish can handle water and choose protection rated for the project’s use. A clear topcoat can help with wear, but its label matters more than its appearance in the bottle.
Skip heat tools unless the project calls for one. Paint and most glued decorations can dry undisturbed; heating them to hurry the process can disturb wet layers or warp thin plastic. Embossing powders and some shrink-plastic projects do require controlled heat. For those, check when a hair dryer can replace a craft heat gun before buying or substituting equipment. Start with the materials on the project instructions, then add a specialized tool only when it solves a real problem.
Kit or individual supplies?
A kit is a low-commitment way to try an unfamiliar craft: one small embroidery design, for example, can show whether stitching is enjoyable before anyone buys a collection of floss. Individual supplies make more sense when the basic tools are already in the drawer, or when the project calls for a particular color, fabric, or finish. For a closer look at that trade-off, see whether a starter kit is worth buying.
Check the contents against the project instructions, not just the picture on the box. A kit may include materials but leave out scissors, adhesive, or a tool needed to finish the piece. A sturdy hoop or brush can serve future projects; a flimsy one may make the first attempt frustrating. Count usable leftovers, too: extra thread in colors likely to be used again has more value than a pile of tiny, mismatched scraps. Specialized tools can wait until a project actually requires them.
-
01Complete contents
Check what must be supplied separately before comparing prices.
Look forMaterials and instructions for a finished projectAvoidEssential extras hidden in the small print -
02Usable tools
A basic tool should work reliably, even if it is not the finest available.
Look forTools sturdy enough to reuseAvoidTools likely to bend or break -
03Useful leftovers
Spare materials matter most when they suit another likely project.
Look forReusable colors and sensible quantitiesAvoidUnusable offcuts -
04Right-sized purchase
Buy a specialist tool when its purpose is clear.
Look forOnly what the first project needsAvoidSpecialized tools bought just in case
Shop for one finished card
-
Choose the card
For a folded collage card, set aside one sheet of cardstock for the base and a few paper scraps for the design. Add an envelope if the card will be mailed.
-
Check the basic kit
Look for scissors, a pencil, and a ruler before buying duplicates. They are enough to measure, fold, and cut this card.
-
Pick one adhesive
A glue stick handles lightweight paper pieces. For heavier decorations, check that the adhesive suits both the decoration and cardstock.
-
Cover the table
Put scrap paper underneath the card to catch glue. A cutting mat is only needed if the design calls for a craft knife.
-
Leave upgrades for later
A paper trimmer or bone folder can speed up repeated cardmaking, but neither is needed for this card.
The first shopping list only needs to cover the chosen card and any gaps in the basic kit. Tools that save time on later cards can wait.