An intro that actually helps you save time, money, and your sanity. Let’s face it: clay can be stubborn, and beginners have a knack for tripping over the same potholes. I’ve yoyoed between fabulous pieces and questionable blobs myself, so I’m sharing what to dodge and how to bounce back fast.
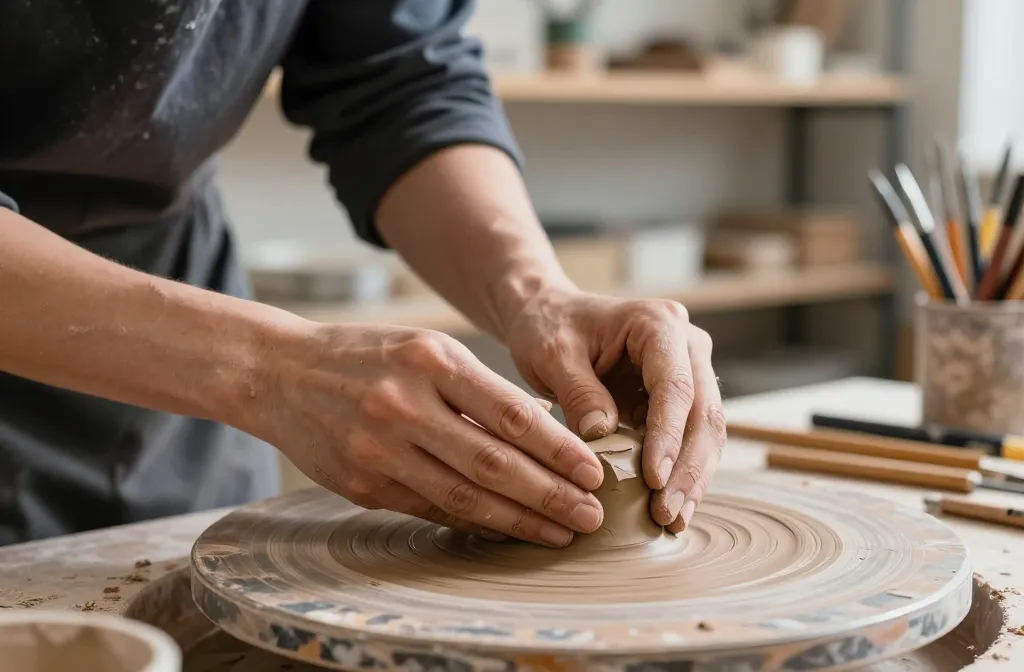
1) Skipping the Prep Work and Jumping In
Starting with a clean, predictable surface matters. If your clay sticks to your hands like a clingy ex, you’re not warming it up enough or you’re not using a proper slip and score. Do a quick check: is the workspace tidy, is the clay wrapped, and are your tools ready? FYI, drying cracks aren’t shy about showing up when you skip this step.
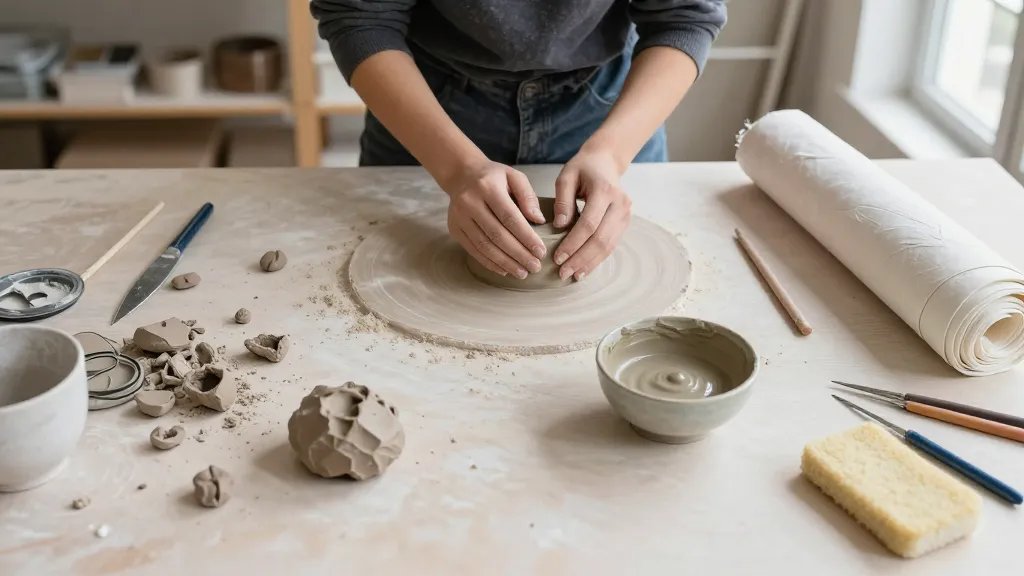
Subtle surface prep that saves headaches
- Wedge the clay thoroughly to remove air pockets
- Center on the wheel or flatten with even pressure if hand-building
- Keep your workspace dust-free to avoid weak spots
2) Overworking the Clay Too Soon
Every project starts smooth, but the moment you keep poking and prodding after the form looks decent, you risk cracking and shrinking. Overworking traps air and creates stress lines. Stop before the clay starts to resist your fingers.
How to know you’re overdoing it
- Feels gummy or slips from your grip
- Starts to smell burnt or sour when you’re kneading
- Discouragingly looks like a deflated balloon
3) Failing to Understand Shrinkage and Drying
Clay isn’t a solid friend; it’s a drama queen. Shrinkage happens during drying and firing, and your final piece might come out a whole size smaller, or crack along the way. Plan for it: build in tolerance and keep even thickness.
Practical tips for even drying
- Make pieces consistently thick (avoid thin rims that crack easily)
- Dry slowly under controlled humidity
- Use a dry-out board or plastic wrap to manage moisture loss
4) Not Attending to Tool and Surface Hygiene
Gunk on tools invites texture transfers you didn’t ask for. Dust, oil, or glaze residue can throw your trims off and ruin glaze fidelity. Clean tools between sessions and keep your work surface free of extraneous material.
Clean, simple habits that pay off
- Wipe tools with a damp cloth after use
- Label and store glazes so you don’t confuse colors
- Put away scrap clay to avoid accidental reuse in the wrong batch
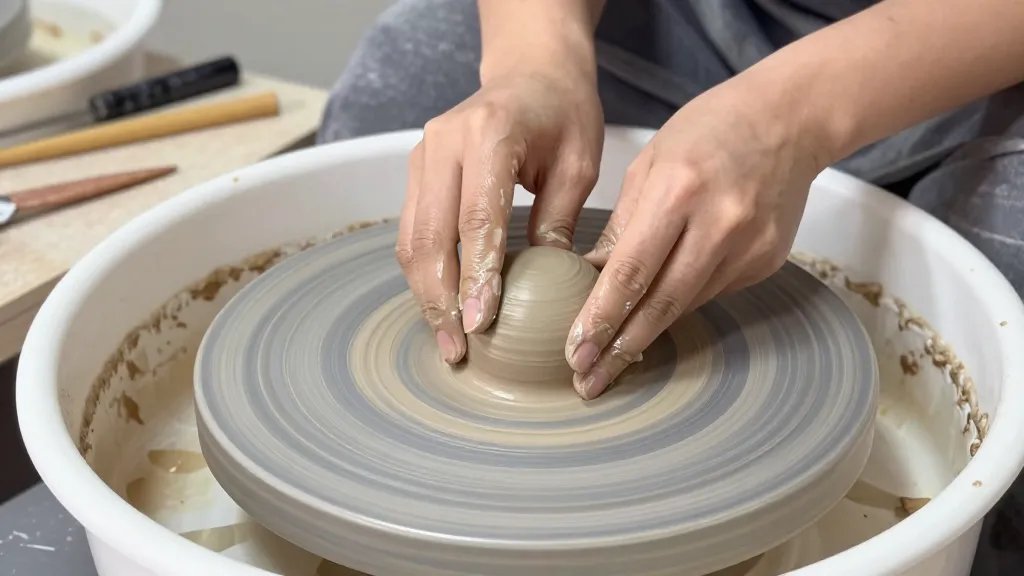
5) Ignoring Consistency in Thickness
Uneven thickness is the silent killer of many beginner projects. A fat base will stay soft while a thin rim may dry and crack. The result? Uneven heat distribution during firing. Not cute.
How to get a consistent wall
- Use a rib or template to measure thickness
- Withdraw from the wheel or move your hands evenly when hand-building
- Check thickness with calipers or a simple strip test
6) Rushing the Glaze or Missing the Right Firing Schedule
Glazing feels magical, but sloppy prep creates dull unappealing finishes or nasty pinholing. Similarly, firing too hot or too fast can ruin your piece permanently. Do your homework on glaze compatibility and firing ramps.
Glaze and firing basics you’ll thank yourself for
- Read glaze labels for temperature range and cone rating
- Cross-check glaze compatibility with your clay body
- Plan a slow, even ramp in the kiln and monitor the process
7) Not Embracing Failure as Step One
Failure is not the enemy; it’s a teacher with a sense of humor. Cracks, warps, and glaze blunders are all part of the learning curve. If you’re not getting better with each piece, you’re probably not analyzing what went wrong.
Turning mistakes into wins
- Keep a little artifact journal: what worked, what didn’t, what to tweak
- Take notes on how you wrapped and dried a piece that cracked
- Try a simple project first to build confidence before your next ambitious piece
Breaking It Down: Quick Deep Dives
Subtle surface textures without wrecking the clay
Texture can elevate a piece, but it can also stress a brittle surface. Start with light pressure and test on scrap clay. If your texture tears, switch to a softer tool or adjust your moisture level.
Hand-building vs. wheel throwing: which is kinder to beginners?
Hand-building gives you direct control and can be more forgiving for your first dozen pieces. The wheel is magical but punishing if you’re not centering perfectly. Try a couple of hand-built mugs before you graduate to wheel-thrown forms.
Glazes that won’t freak out your piece
Choose underglazes or low-fire glazes for easier success, especially when you’re still learning. Test on scrappy clay and keep a small color chart so you know what to expect from your final piece.
FAQ
How long should I wait between stages (drying, firing, glazing)?
Let pieces dry slowly and evenly at room temperature. Drying times vary, but expect at least 24 to 48 hours for a small mug, longer for larger items. After drying, glaze and then fire according to your kiln’s recommended ramp rates. Rushing is the enemy here, IMO.
What’s the best way to store damp clay?
Wrap damp clay in plastic with a damp towel inside to maintain moisture. Check it often and re-wedge if it starts to feel stiff. FYI, over-wrapped clay can become unpleasantly soft, so balance is key.
How do I fix cracks in an almost finished piece?
Cracks near the surface can sometimes be repaired with a slip and score technique and a careful re-wedging. For deeper cracks, you may need to reinforce from the inside with additional clay and let it dry slowly again. It’s not glamorous, but it works.
Is it okay to reuse scrap clay?
Yes, but don’t mix fresh and old scrap together unless you’re deliberately blending. Old scrap tends to dry out and be stiff, which can cause air pockets. Rehydrate properly and knead until smooth before using.
How do I know if my glaze is compatible with my clay body?
Always check the glaze label for compatible clay bodies and firing temperatures. If in doubt, run a small test tile with your clay and glaze combos. It saves you from surprising and disappointing results later, trust me.
Conclusion
Clay is a friend with a stubborn streak—yet when you learn to roll with it, you end up making stuff you actually want to keep. Start with solid prep, respect the drying and firing timelines, and don’t fear missteps. Every blob, crack, or wonky glaze is just data for the next piece. You’ve got this. IMO, the more you practice, the better your pieces will look—and the more fun you’ll have making them.


