An easy clay turtle with a textured shell sounds simple, right? It is, and you’ll be surprised how little time it takes to get a cute, sturdy little buddy. Let’s dive in and make something that’s oddly satisfying to craft and totally Instagram-worthy.
Why this project sticks
If you’re scrolling through craft ideas, this one is a win: forgiving clay, a shell that looks complex but is totally doable, and a result that begs to be tucked onto a shelf or desk. The textured shell adds personality without requiring miracle sculpting skills. FYI, you’ll learn a few handy texture tricks you can reuse on other creatures too.
Materials you’ll actually want to use
- Air-dry clay or polymer clay (whatever you prefer).
- Clay tools: a small needle tool or toothpick, a soft brush, and a texture sponge or bottle brush.
- Acrylic paints in greens, browns, and a splash of yellow or orange for detail.
- Paintbrushes in a few sizes and a fine-tip brush for tiny scales.
- Sealant or varnish (matte works great for a natural look).
- Optional: a tiny metal bead or toothpick for a realistic eye pupil.
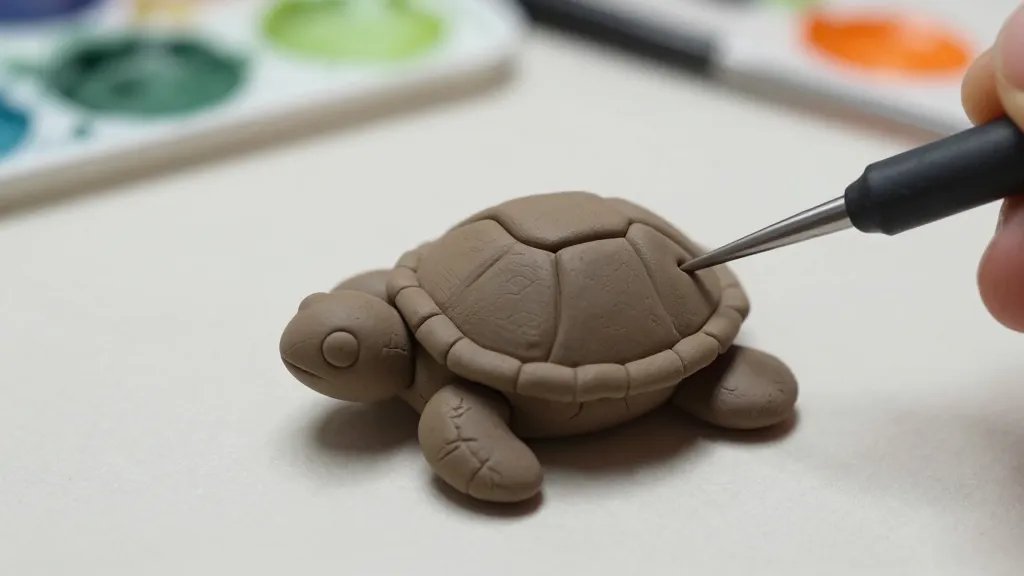
Step-by-step: shaping the body
- Roll a sausage of clay for the body. Flatten one end a bit to create the head, and taper the other end for the tail.
- Sculpt four short legs and a small, rounded head. Don’t worry about perfection—cute is better here.
- Smooth seams where body meets limbs with your fingers or a bit of water if using polymer clay.
- Gently press the limbs into the body so they sit naturally. You want a tiny bit of an underbelly curve for stability.
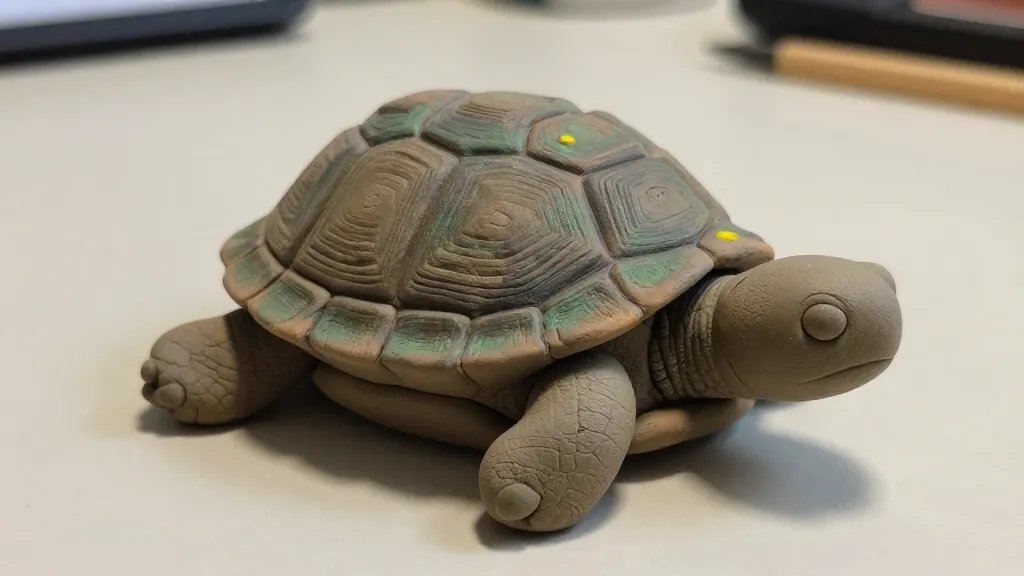
Shell texture: the star of the show
- Roll out a slightly larger piece of clay for the shell base. Shape it into a rounded, slightly domed oval to give the shell depth.
- Use a texture sponge or a bottle brush to imprint tiny ridges and dots all over the shell. Go in a pattern—don’t just mash randomly; it looks more intentional.
- For the segmented look, press a dull edge along the shell in curving segments. This creates natural “plates” without hours of carving.
- Attach the shell to the body with a bit of slip or a light dab of water if you’re using air-dry clay. Give it a moment to set before painting.
Texture tricks you’ll actually use again
– Use a sponge to create subtle pockmarks for a fossil-like texture.
– Drag a comb or fork lightly across the shell to create delicate lines that read as natural segmentation.
– Layer light and dark paints to imitate depth on the plates.
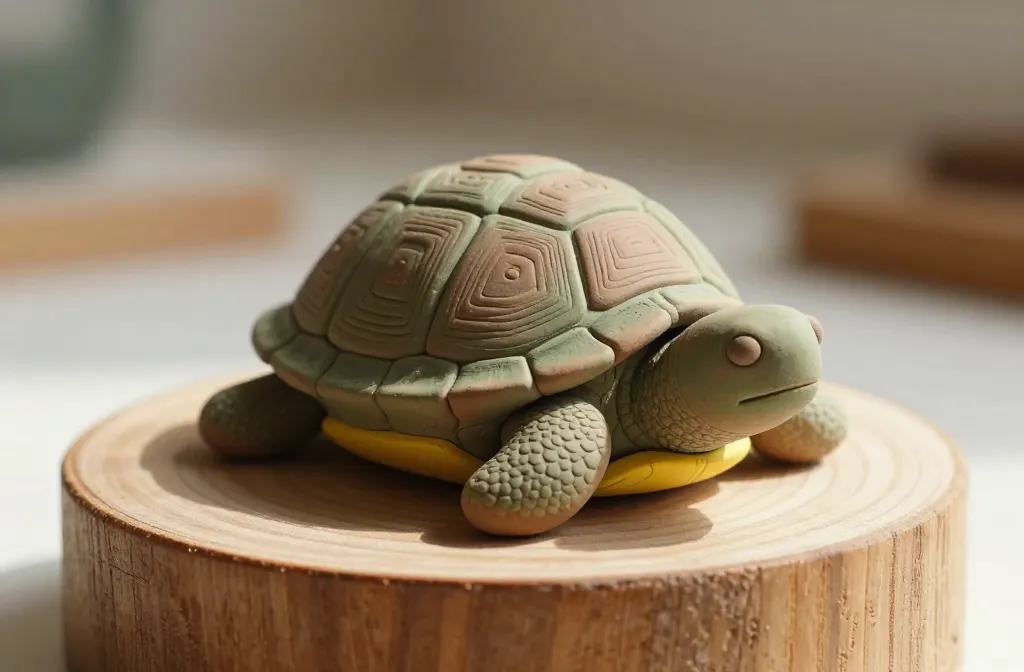
Color and finish: bringing your turtle to life
- Base coat: pick a soft olive or sage green for the shell and a lighter or darker shade for the body. Apply thin layers so details stay sharp.
- Shading: dab a tiny bit of brown or gray into the indentations of the shell plates to create dimension. Don’t overblend—we’re going for mood, not monochrome perfection.
- Highlights: add a touch of yellow-green on the raised edges to simulate catching light. This makes the shell pop on camera.
- Eyes: a tiny dot of black with a white highlight gives your turtle personality. If you’re using polymer clay, you can sculpt tiny eyes or add beads for a glossy finish.
- Sealing: finish with a clear matte sealant to protect the paint and give a cohesive look. If you love a subtle shine, go satin instead of matte.
Common color pitfalls to avoid
– Don’t overdo the contrast; turtles look best with soft, earthy tones.
– Avoid muddy mixes—test colors on a scrap piece first to see how they read after drying.
– If the shell looks too flat, emphasize edges with a slightly lighter outline and a dab of darker shade in the center.
Finishing touches that matter
- Stability check: set the turtle on a flat surface and adjust limbs if it tips. A little clay under a foot can fix wobble instantly.
- Extra texture: if you want a “villainous” look, add tiny scales with a needle tool along the shell seams. It reads as realistic without making you sweat.
- Display ideas: coat a small wooden base with a gli—oops, okay, a bit of glue to secure the turtle on a stand or a tiny scenic backdrop like faux moss adds charm.
Ways to personalize your turtle
- Size swaps: scale up to a bigger garden-friendly piece or shrink for a desk buddy.
- Color twists: try a blue-tinged shell for a whimsical vibe or go monochrome for a modern look.
- Accessories: add a tiny, painted plant on the back or a tiny painted rock as a “hiding spot.”
Care and maintenance for clay sculpture fans
Air-dry clay loves to stay dry, but humidity can make it brittle. Keep your turtle out of damp corners and away from direct heat. If you’re using polymer clay, bake strictly according to package directions, and seal afterward. FYI, a light wipe with a dry cloth keeps dust away without dulling the texture.
FAQ
Can I use air-dry clay for a durable shell texture?
Absolutely. Air-dry clay is forgiving and solid once it dries. If you want extra durability, consider a light coat of sealant to protect the texture and color.
What glues or methods work best to attach the shell?
For air-dry clay, a little water can help join pieces, and you can use a non-toxic craft glue for extra hold. Polymer clay typically bonds well with itself after baking, so just press and bake as directed.
How do I fix a bent leg or wobble after painting?
Gently reattach with a dab of clay or a bit of glue, then hold in place until set. Small adjustments are much easier before the piece dries completely, so tackle wobble early.
Can I paint details after sealing?
Better not. Once sealed, paint adhesion drops. If you want to add more details later, lightly sand the surface and apply a fresh sealant after painting again.
What finishing look should I pick: matte, satin, or gloss?
Matte gives a natural, earthy vibe that hides fingerprints; satin balances color without glare; gloss makes details pop but shows smudges. Choose based on where you’ll display it and how it will be used.
Conclusion
This easy clay turtle with a textured shell is the perfect blend of approachable and impressive. You get tactile texture, adorable form, and a finish that looks far more complex than it actually is. So grab some clay, unleash your inner sculptor, and post your new shelled friend—your friends will be asking for demos and tagging you in every photo. You’ve got this, and FYI, you’re about to become the go-to person for cute DIY projects.


