An itty-bitty milk carton clay charm? Oh yes, it exists, and it’s cuter than your average figurine. If you’ve ever wanted a tiny project that scratches that crafty itch without demanding a full weekend, this little charm might just become your new obsession. Let’s dive into the whimsy, the details, and the tiny drama of sculpting dairy-delight goodness.
What Makes a Tiny Milk Carton Charm So Irresistible
– It’s cute, compact, and totally portable. You can kit one up in under an hour and carry it in your project bag like a tiny celebrity.
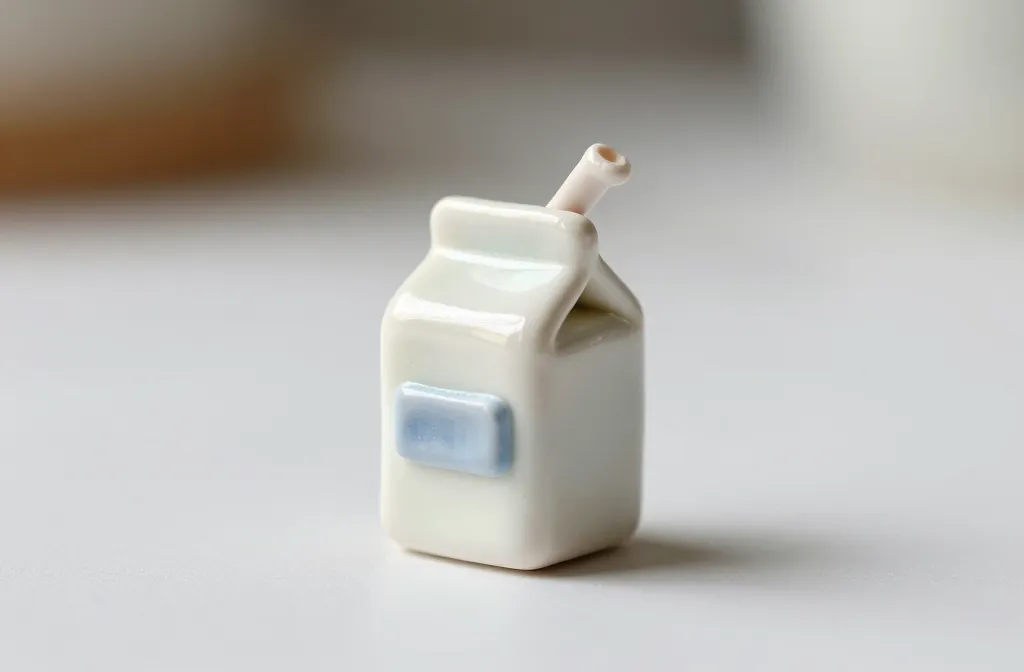
– It’s surprisingly customizable. Swap the milk color, add a straw, or put a mini label that says your name or a silly joke.
– It teaches basic clay skills without dragging you through a tutorial labyrinth. If you can roll a ball, you can make a carton.
Materials You’ll Need (No Drama, Just Do-It)
- Air-dry or polymer clay in your preferred milk shade
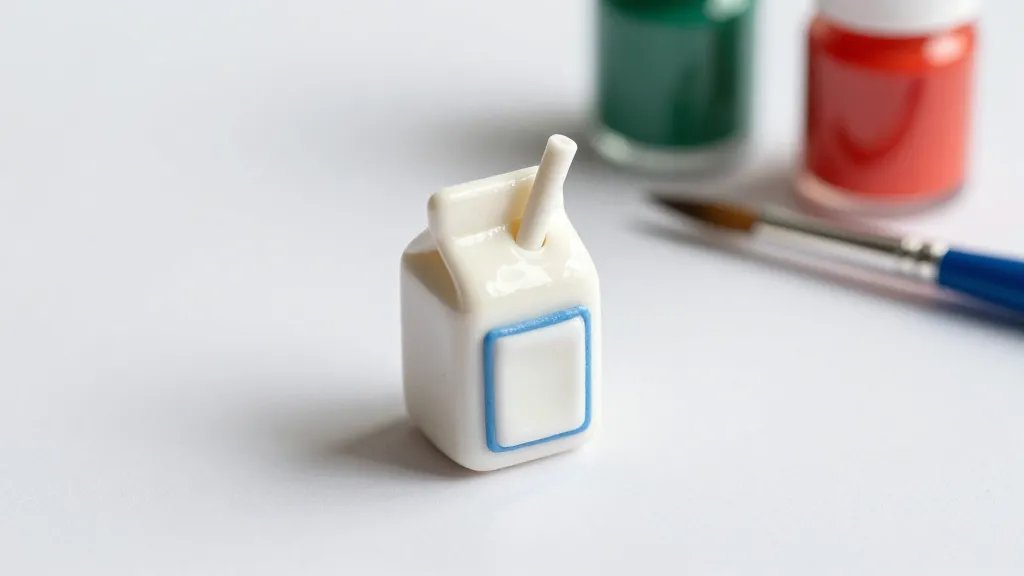
- Acrylic paints for label art and tiny details
- Fine-tipped brush for delicate lines
- Clay tools or household substitutes (a toothpick works in a pinch)
- Clear gloss glaze or varnish for that shiny milk-carton vibe
- Optional: eye pins or a jump ring if you want to turn it into a charm
Step-by-Step: Building Your Tiny Milk Carton
First, roll a small block of clay into a rectangular prism—think miniature cereal-box size, but more dairy chic. Shape the edges crisp, like a carton you’d actually see on a breakfast table. Don’t stress perfect edges; a touch of realism makes the charm feel handmade and loved.
Next, craft the lid by rolling a tiny cap that sits snugly on top. Attach it with a dab of clay and blend the seams so it looks like a real carton lid. If you’re using polymer clay, bake according to the package directions; air-dry clay will air-dry in a few hours depending on thickness.
Label Design: Turning White Clay Into Dairy Aesthetic
The label is where your personality shines. Keep it simple with a bold font-like stripe and a tiny milk logo, or go all out with your favorite slogan. Use a thin brush to draw lines, letters, and doodles. FYI, you don’t need perfection—tiny imperfections add charm.
Label Hacks for Quick Wins
- Print a tiny label on sticker paper and press it onto the clay after baking, if you’re using polymer clay.
- Dip a fine-tipped brush in black paint for crisp typography vibes.
- Seal your label with a clear glaze to prevent smudges.
Textures, Colors, and Small Details That Pack a Punch
Texture is your best friend here. Add a slight grain to imitate carton print, or a tiny embossed line to mimic foiled text. If you want a milk splash moment, sculpt a tiny splash on the side—just a tiny curved line can read as liquid motion from a distance.
Color Tips: Keep It Milk-So-Fresh
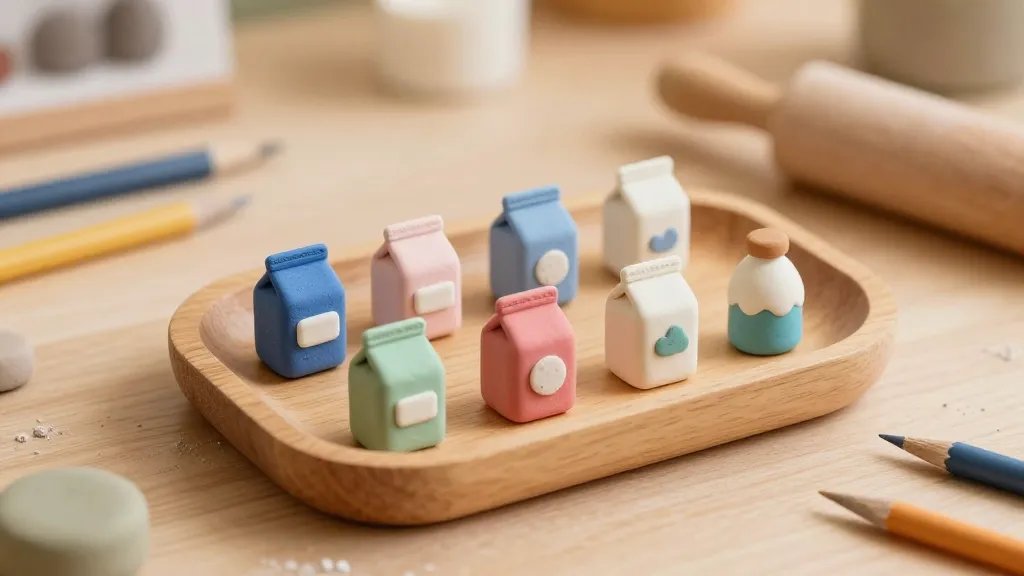
- Mix a touch of cream into your base to avoid a stark white look.
- Use a pale blue or pink accent to mimic brand labeling without overpowering the design.
- Shade along the edges to give the carton depth and a believable 3D feel.
Finishing Touches: Making It a Real Charm
If you want to turn this into a wearable or attachable charm, use a small eye pin or jump ring. Insert the pin before baking if your clay is polymer, or add a wire loop after it cures if you’re using air-dry clay. A quick coat of glaze adds shine and durability, especially if you’re clinking keys with your tiny dairy friend.
Display Ideas That Spark Joy
- Pair it with other miniature food charms for a curated charm bracelet set.
- Place it on a mini shelf alongside other tiny items for a “kitchen nook” diorama.
- Use as a quirky zipper pull on a tote bag or pencil pouch.
Common Hurdles and How to Beat Them
Yes, you might run into a few hiccups, but you’ll survive with a smile. The edges can feel fragile, and the paint might smudge if you rush. Slow and steady wins this race. Also, don’t overfill the carton—less is more for that delicate silhouette.
Edge Crumbling? Quick Fixes
Use a tiny amount of fresh clay to repair cracks. Blend the seam with a crafted brush stroke, and let it dry fully before painting again. For polymer clay, a gentle re-bake can re-melt mishaps back into place.
Showcase: Why This Tiny Charm Slaps with DIY Vibes
Sharing your tiny milk carton charm online gives you instant validation and a little internet dopamine hit. People love cute, accessible crafts that look impressive but aren’t intimidating. IMO, the best part is the tiny story you can tell with it—who left the carton open, which flavor it hints at, or the tiny joke you etched on the label.
Variations to Spark Your Creativity
- Turn it into a mini milk carton with a flavored label, like “Almond Sensation” or “Oatmilk Dream.”
- Make a matching straw accessory and create a mini beverage set.
- Experiment with translucent paints to mimic milk foam or a glossy finish for a fresh carton look.
FAQ
What type of clay is best for beginners?
Air-dry clay is friendlier for beginners since it doesn’t require baking. Polymer clay yields a crisper finish and is great if you want a durable charm that handles frequent wear. FYI, polymer needs baking, so follow the package directions precisely.
How thick should the carton be?
Keep it slim—about 0.6 to 1 cm thick. Too thick and it feels clunky; too thin and the edges crumble with handling. Balance is key for a believable pocket-sized carton.
Can I make this into a keychain?
Absolutely. Add a small loop or jump ring and seal with glaze. It’ll survive a daily commute better than your average key fob charm.
How do I seal and preserve the paint?
Use a clear, non-yellowing glaze for polymer clay or a sealant suitable for air-dry clay. A couple of thin coats protect the paint from chipping and keep colors vibrant longer.
What if I want to gift this?
Include a tiny tag with a sweet message and a note about the materials used. A cute little gift wrap and a photo of your process add a personal touch that makes the charm feel extra special.
Conclusion
Tiny milk carton clay charms are the perfect blend of adorable and doable. They look impressive enough to brag about, yet you can finish one in an evening without letting your hobby take over your life. So grab some clay, a tiny brush, and a sense of whimsy—your next cherished trinket is practically shaping itself. IMO, you’ll want a dozen of these once you get rolling.


