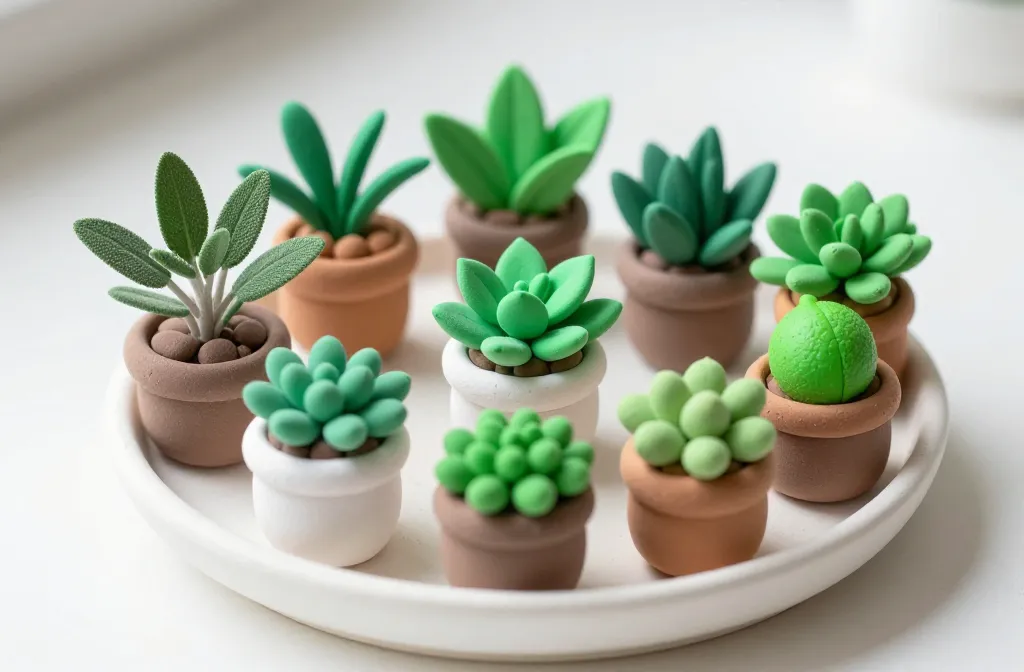
Anunjam style intro: quick, zippy, and straight to the point. You’re here for tiny green vibes, and we’re delivering. Let’s break down how to turn humble clay into adorable mini plants you’ll actually want to display every day.
Why tiny clay plants are secretly perfect for beginners
Tiny clay plants are forgiving, cute, and endlessly customizable. You don’t need natural talent or a green thumb—just a little patience and a few simple tools. Plus, they don’t wilt, fade, or beg for water in the middle of the night. FYI, this is the kind of craft that pays off with instant gratification.
Choosing the right clay and colors
– Pick air-dry or polymer clay depending on your patience and drying time.
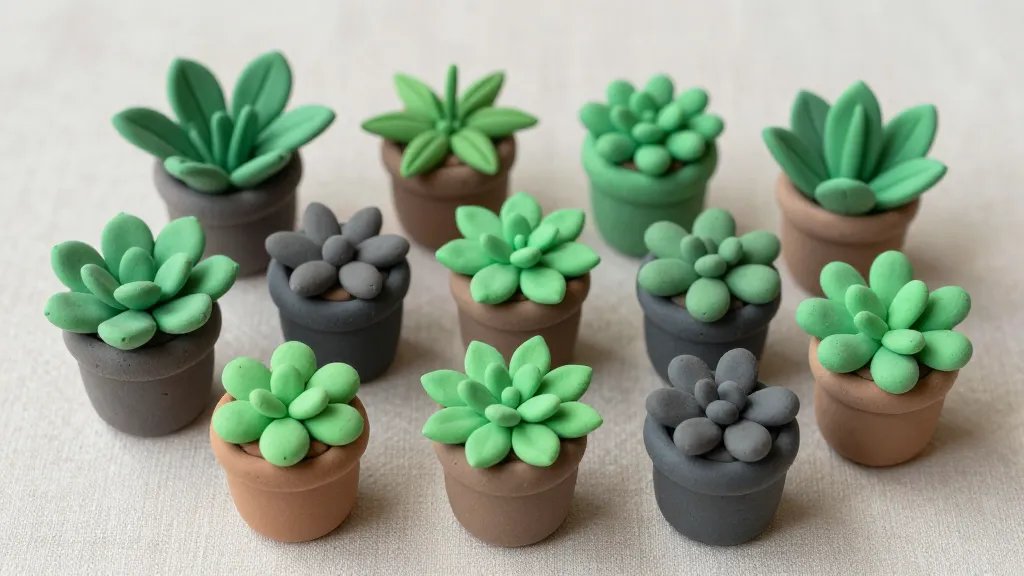
– Start with a basic green palette: sage, olive, and a pop of lime for variety.
– Don’t forget pot colors that contrast with leaves to make your mini forest pop.
– Add tiny details: a glossy finish for leaves or a matte look for succulents.
Subtle tips to avoid clay chaos
– Condition the clay well—knead until it’s soft and pliable.
– Roll evenly using a small rolling pin or a glass bottle.
– Break up big projects into small, manageable sessions to prevent burnout.
Shaping strategies: classic leaves, quirky succulents, and more
You don’t have to sculpt tiny trees to win at this. Begin with simple leaf shapes and go from there. Here are a few sturdy options:
– Round-leaf plants with a gentle curve
– Spiky succulent shapes that stay stiff after drying
– Tiny ferns created with delicate veining
– A bonsai-inspired twist for a dramatic mini tree
Detailing that makes them believable
– Add tiny veins with a toothpick or needle tool.
– Use a fine brush to dab on a lighter shade for highlights.
– Smooth edges with a fingertip dab of alcohol to prevent rough seams.
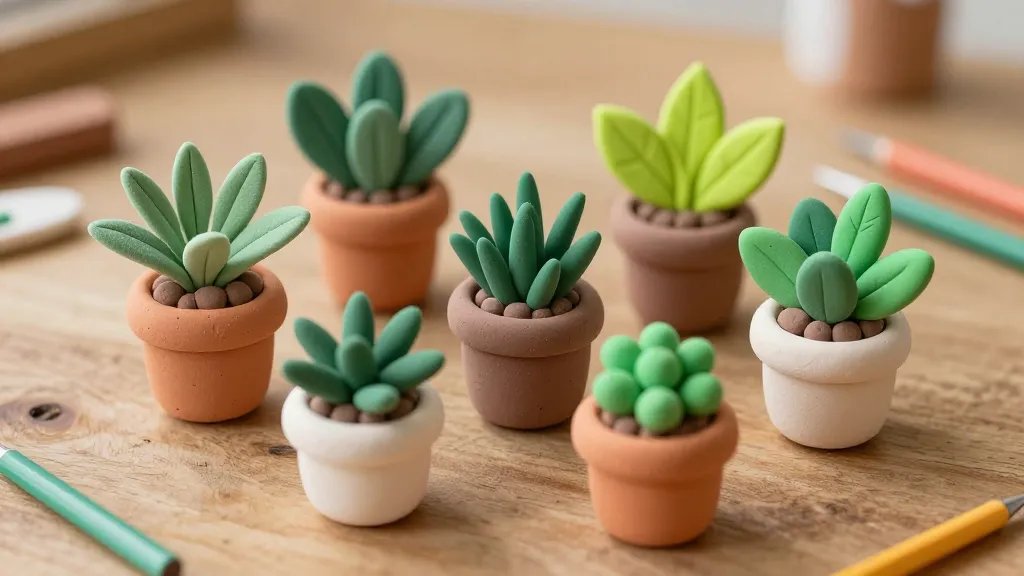
Potting and display ideas that elevate the look
The “pot” is half the vibe, so give it some personality. You can do:
– Ceramic pots in glossy pastels for a cute gallery vibe
– Painted wood slices as rustic mini planters
– Clear resin bases with tiny gravel for a modern mini-terrarium feel
– Whimsical upcycled containers like bottle caps or teacups
How to make tiny planter bases sturdier
– Press a small bead of glue into the bottom of the clay pot to prevent cracking.
– Create a simple drainage layer with a pinch of sand or tiny pebbles if you’re using resin inserts.
– Bake polymer clay according to package directions; air-dry clay dries best in a warm, dry room.
Finishing touches that sell the vibe
– A light glaze can give leaves a “real plant” shine without overdoing it.
– Consider a tiny stand or pedestal for display—height adds drama.
– Personalize with mini labels or painted pot rims for a DIY gallery look.
Maintenance tricks for long-lasting mini greens
– Keep them away from direct, hot sun to prevent fading.
– Clean dust gently with a soft brush or dry microfiber cloth.
– If using air-dry clay, store in a dry place to avoid humidity damage.
When to touch up or rework
– If any leaf color starts to chip, patch with a dab of matching clay and bake again if needed.
– Lose a few tiny leaves? Re-press a couple from a matching scrap.
Common mistakes and how to avoid them
– Overworking the clay: stop when it looks smooth, not stretched.
– Skimping on details: tiny details add huge character.
– Skipping drying time: rushing leads to cracks and tears. Yes, patience matters.
FAQ
What clay is best for beginners?
Air-dry clay is forgiving and quick for beginners. Polymer clay gives you durability and more precise detailing, but it needs baking. Pick based on your patience level and whether you’re fine with baking at home.
Can I make these without a kiln or special tools?
Absolutely. Start with air-dry clay and simple tools like a toothpick, a small blade, and a rolling pin. You can improvise with household items, and your first batch will still look adorable.
How do I prevent cracks in air-dry clay?
Keep the clay evenly thick, avoid overheating while drying, and let pieces dry slowly in a dry, airy spot. If a seam cracks, you can blend it with a tiny bit of fresh clay and smooth it out.
How long do these mini plants last?
With air-dry clay, they’ll last for months if kept out of moisture. Polymer clay pieces can last for years with proper sealing and gentle handling. FYI, a little sunlight exposure can fade colors over time.
What finishes look best on leaves?
A soft matte finish looks natural, while a light gloss on leaf surfaces gives a fresh, wet-look vibe. Layer colors for depth, and glaze sparingly to avoid tackiness.
Are there easy themes for gifts?
Yes. Create mini plant kits with a few tiny planters, a color palette that matches the recipient’s space, and a tiny note. They’re perfect for birthdays, desk toppers, or just a thoughtful “you exist” present.
Conclusion
Tiny clay plants are the kind of craft that starts with a blob of clay and ends with a smile on your face. They’re affordable, creative, and surprisingly satisfying to assemble. Whether you’re recreating a lush mini jungle or a sleek modern arrangement, the fault line between art and play blurs in the best way. So grab some clay, pick a color palette, and start sculpting your own pocket-sized botanical world. You’ll thank yourself every time you glance at your mini garden.


