An art project that looks delicious but won’t crumble under pressure? Let’s dive into the playful world of clay cookies—smiles, sprinkles, and all.
Why Clay Cookies Are a Totally Underrated Craft Project
Ever thought clay could taste like frosting? Neither have I. But handmade clay cookies bring the same delight without the calories. They’re affordable, endlessly customizable, and surprisingly satisfying to make. FYI, you’ll end up with a shelf full of cheery treats that never go stale.
Gathering Your Tools Without the Drama
Before you start biting into imagination, assemble a simple kit:
- Air-dry or polymer clay in your favorite colors
- Clay blades or blunt sculpting tools
- Dotting tools for eyes and tiny details
- Gold or silver paint pens for tiny shines
- Acrylic sealer or gloss varnish
- Clean work surface and a splash of water for smoothing
No need to go all-in from day one. Start with a basic palette and add on as your cookies start to smile back at you.
The Basic Cookie Mold: Round, Flat, and Adorably Wobbly
How do you begin a smiley clay cookie? Shape matters more than you think. Aim for a flat, round disc about the thickness of a credit card. If it’s a touch lumpy, that’s character, not chaos. Soft bends create that “fresh-out-of-the-oven” vibe in miniature. Keep the edges neat or deliberately uneven—the choice is yours.
Tips for Clean Edges
– Roll the dough evenly with a smooth surface.
– Lightly press with a flat tool to flatten seams.
– Smooth with your finger dipped in a tiny bit of water.
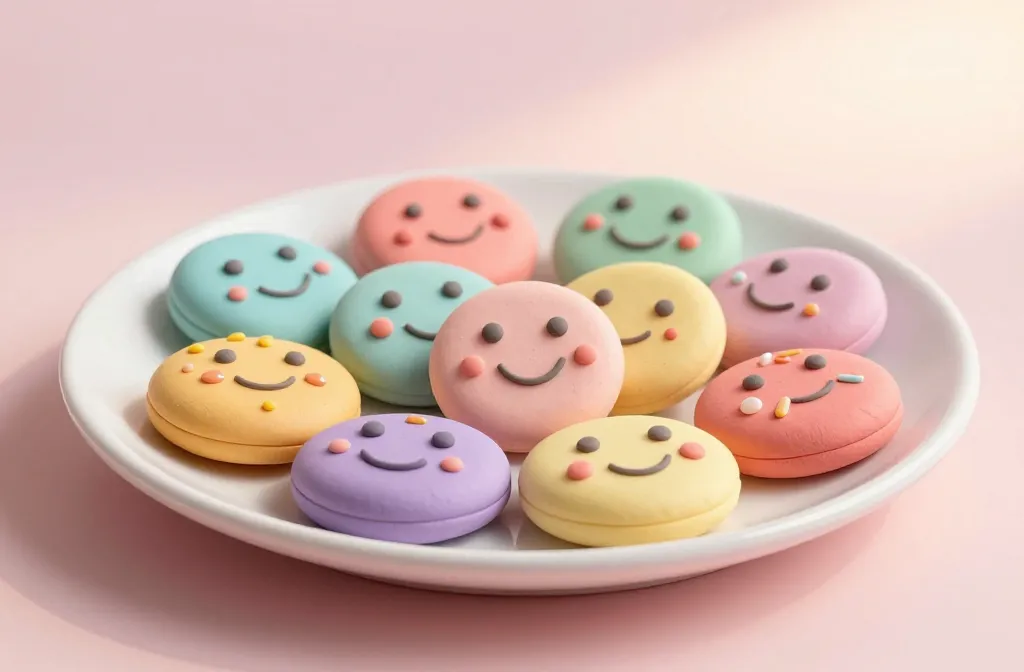
Crafting the Happy Face: Expressions That Pop
Now the fun part: giving your clay cookies a grin. Start with simple eyes and a mouth, then level up with cheeks, tongues, or goofy eyebrows. You can go ultra-minimal or anime-level expressive, depending on your mood.
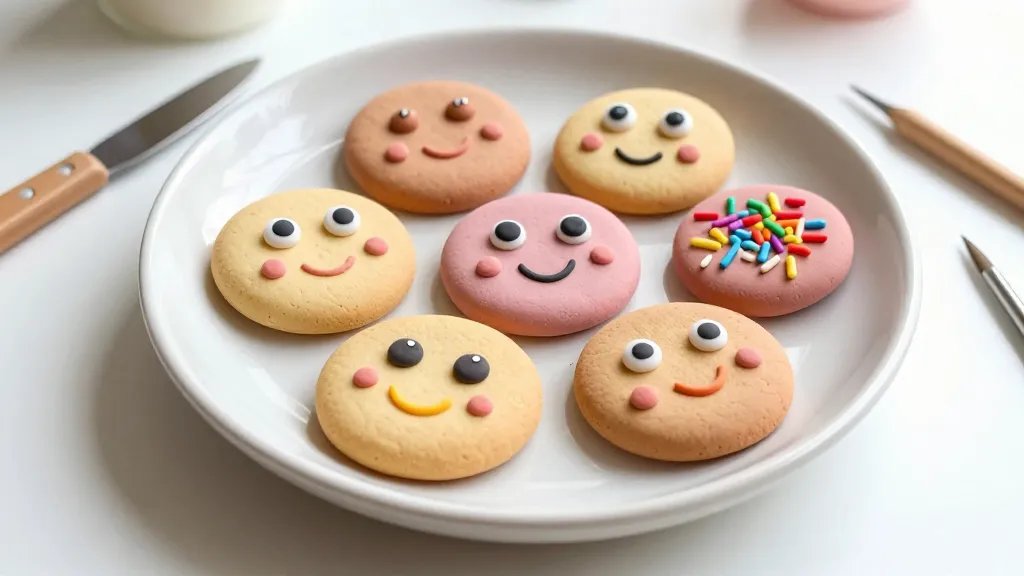
Eyes That Wink at You
Use a tiny ball of white clay for the whites, add a smaller black dot, and a speck of white to give life. Place them slightly off-center for personality. If you’re feeling bold, swap a dot for a tiny heart or star—bonus points for whimsy.
Mouths That Deck Your Halls
A curved crescent becomes a smile; a straight line reads “serious foodie.” Want a giggle? Make the mouth a tiny sideways grin or a surprised “O.” For extra drama, a tongue peeking out is endlessly cute.
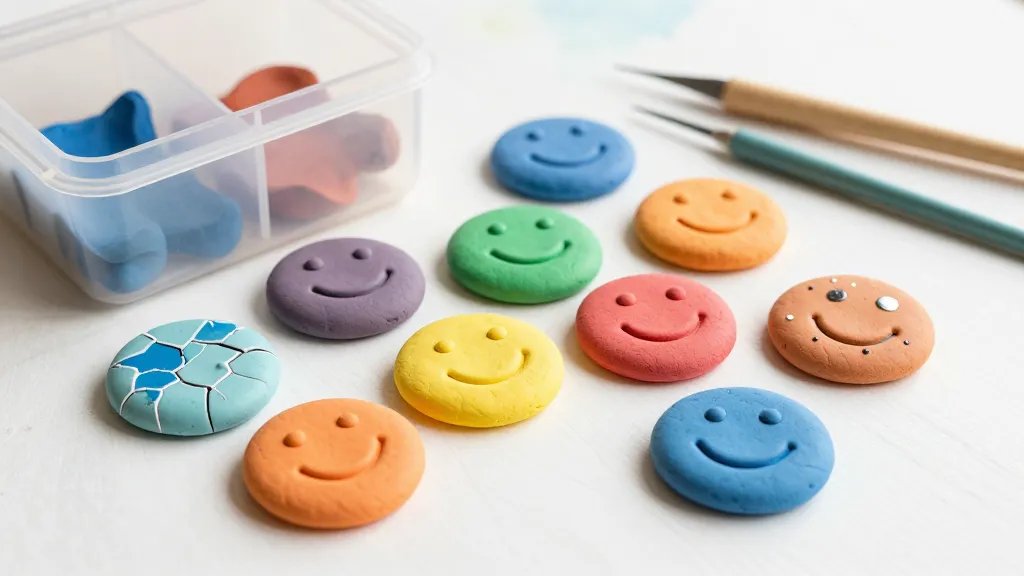
Color Theory for Cookie Aesthetics
Color can sell the vibe. Warm tones feel cozy; pastels scream “cute breakfast pastry” vibes. Mix a few shades:
- Classic cookie tones: beige, light brown, caramel
- Frosting-inspired: pinks, lavender, baby blue
- Statement accents: mint green, sunshine yellow, ruby red
FYI, a glossy finish often makes colors pop more than matte. Apply a light sealant when you’re done.
Tricks to Make Them Durable and Display-Worthy
You don’t have to bake hard-hitting durability into your cookies, but a few pro moves help:
- Let pieces dry fully between stages to prevent cracks
- Use a thin coat of varnish or sealant to protect from fingerprints
- Stilt support for 3D faces—short toothpicks or tiny stands work wonders
If a piece feels too flexible, give it another night to dry and revisit the shape. Patience pays off, promise.
Decoration Depth: Sprinkles, Stitches, and Tiny Details
Details make the piece sing. Add tiny sprinkles with minute dots of paint, or embed micro beads for shiny “sugar” crumble. Draw stitches across seams or on the edge of a bite mark for a playful effect. Metallic pens deliver sparkly highlights that catch the eye.
Finishing Touches You’ll Love
– A glossy sealer over the entire piece for lifelike shine
– Matte sealant on the face to soften the glare
– Tiny edible-looking caps for a whimsical bakery display vibe
Display Ideas: From Shelf to Social
Your smiling clay cookies deserve an audience. Here are some friendly display ideas:
- On a mini cake stand with a pastel backdrop
- A tiny “cookie jar” diorama made from a glass jar and foam
- A felt-lined tray as a cozy desk centerpiece
- Photogenic setups for social media with soft lighting
If you’re posting online, stage a plain background and let the colors pop. IMO, lighting makes all the difference.
Project Variations: Going Beyond the Basic Cookie
Ready to level up? Try these fun twists:
- Smiling cookies with bite marks and crumbs made from tiny beads
- Seasonal themes: hearts for Valentine’s, pumpkins for fall, candy canes for winter
- Character cookies: animals, emojis, or mini scenes built on a single cookie base
Each variation teaches a new skill—cheekier eyes, more detailed mouths, or more precise coloring.
Common Pitfalls and How to Dodge Them
You’ll stumble, that’s normal. Here’s how to dodge the most common issues:
- Cracking: Keep your clay as hydrated as possible before shaping; don’t rush drying
- Color Bleeding: Seal after you’re done painting to lock in pigments
- Disproportionate Faces: Step back, compare with a mirror, adjust symmetry
If you find your smile looks more like a smirk, step back, reassess the mouth shape, and widen the smile. Small tweaks yield big smiles.
FAQ
Can I bake polymer clay cookies like real cookies?
Nope. Polymer clay cures in the oven at specified temperatures, but these aren’t edible. Treat them as art pieces with edible-looking vibes.
Is air-dry clay a good substitute for beginners?
Absolutely. It’s forgiving and sets without heat. Just be mindful of longer drying times and potential stains.
How long do these clay cookies last?
With proper sealing, they’ll hold their color and shape for years. Avoid direct sunlight to prevent fading and keep them away from moisture.
Do I need to seal the cookies after finishing?
Sealing helps preserve color and sheen and protects delicate details. Use a clear, non-yellowing sealant suitable for clay.
What’s the best way to store finished pieces?
Store in a dust-free box or display case, ideally away from humidity and sunlight. A little silica gel in the box helps keep things crisp.
Conclusion
Smiling cookies from clay aren’t just cute—they’re a playful reminder that art can be simple and joyful. You’ve got a toolkit, a handful of cheeky expressions, and a whole world of color to explore. So grab your clay, give your cookies a grin, and watch how their little smiles brighten rooms and feeds alike. Ready to make a batch that vibes with your mood? I know I am.


