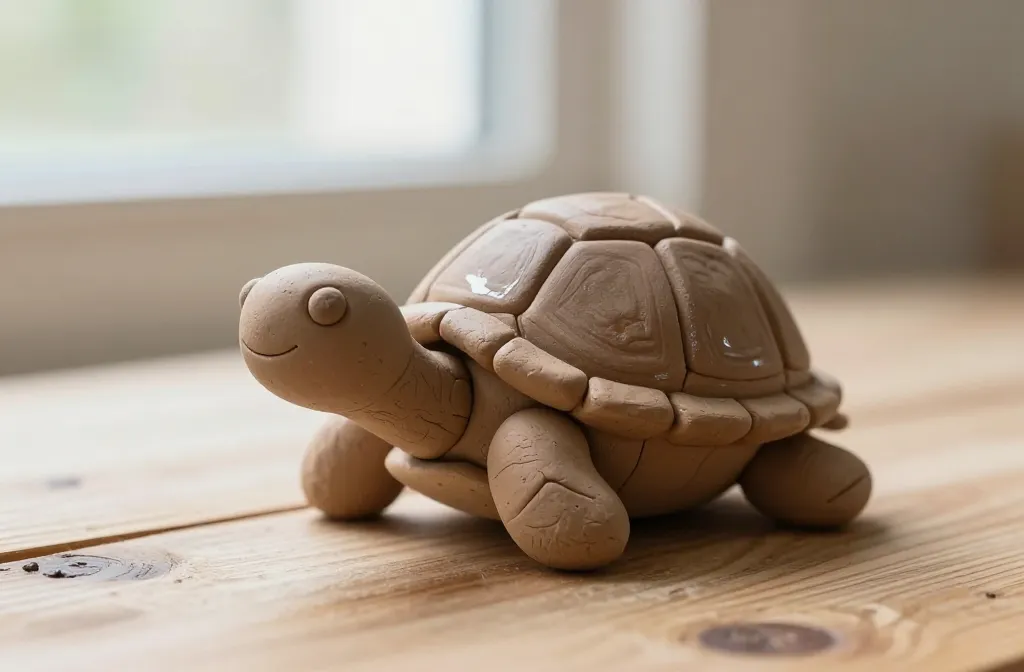
An easy, playful project that’ll have your friends asking, “Did you buy that or make it?” Let’s dive into a smiling turtle clay adventure you can tackle this weekend. Grab your clay, a smile, and a dash of whimsy—we’re making art that purrs with personality.
Why A Smiling Turtle? The Charm of Tiny Joys
Turtles are underrated mood boosters. Their slow vibe and cheerful faces somehow feel like a tiny vacation. Crafting a smiling turtle lets you practice shaping, layering, and glazing without needing a studio full of gear. FYI, happiness is a strong clay additive.
Materials You’ll Actually Use
– Air-dry clay or polymer clay depending on your setup
– A small earthenware glaze or acrylic paints
– Clay tools for smoothing and detail
– A slick water brush or sponge for blending
– Optional: wire or toothpick for armature or smile lines
– Protective workspace and apron, because messes happen
Step-by-Step: The Smile That Pops
- Shape the shell: Start with a rounded oval for the shell. Flatten a mini ridge along the center to hint at segments. Don’t worry about perfection—quirks give character.
- Craft the head and limbs: Roll small spheres for the head and stubby legs. Attach with a gentle score-and-slip technique. Smooth where the limbs meet the body for a natural look.
- Dial in the smile: Curve a small piece of clay into a smile and press onto the head. Use a tool to soften the edges so the smile looks friendly, not smug.
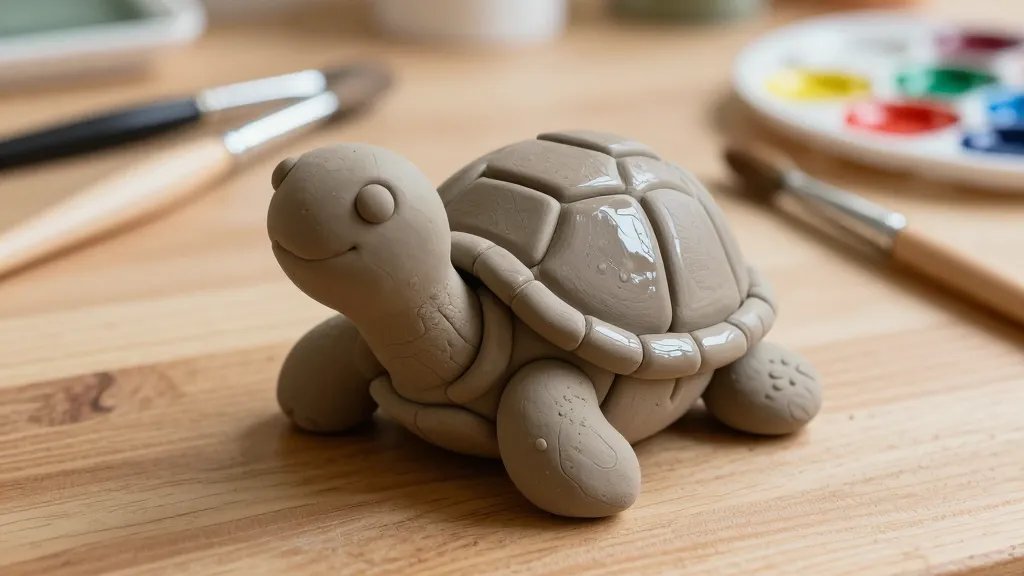
- Eyes and expression: Add two tiny beads or dots for eyes. Leave a tiny highlight by pressing a bit of clay away from the eye to create shine. Optional: tiny lids or brows for extra personality.
- Texture and detail: Gently score the shell to imply plates, and add tiny lines on the legs to mimic texture. A tiny tail peeking out adds whimsy.
- Drying and cure: Let air-dry until solid, or bake according to your clay’s instructions. FYI, polymer clay loves a low, slow bake for best results.
- Paint and glaze: Base coat with a soothing green or brown. Paint the shell patterns in brighter hues or keep it calm and cohesive. Finish with a clear glaze to bring the smile to life.
Pro Tips for a Pro-Level Smile
- Keep the mouth slightly asymmetrical. Humans love imperfect smiles; it reads more friendly.
- Use a damp brush to blend edges. It prevents harsh lines that fight the cuteness.
- Test your clay thickness. Too thick and it feels bulky; too thin and the smile may crack.
Colors, Glazes, and Personality
A smiling turtle can be as bold or as mellow as you want. If you’re going cute:
- Pastel shell with a white belly
- Soft green head and limbs
- Bright, friendly eyes
If you want a whimsical vibe:
- Electric greens or turquoise shell
- Contrasting belly color for zing
- Metallic specks on the shell for sparkle
Glazing 101: Getting that Shine Without Cracking
– Apply thin coats: It’s tempting to glob on color, but thin layers build depth and reduce cracking.
– Allow proper drying time between coats: Patience pays off in gloss and durability.
– Test on a scrap piece: Always try your glaze on something small first, especially if you’re new to glazing.
– Use a sealant if you’re hanging this anywhere humid or outdoors.
Display Ideas: Where Your Smiling Turtle Belongs
– A desk buddy that greets you with a grin every morning
– A tiny shelf companion in a sunny corner
– In a terrarium garden as a cheerful oracle of calm
– Paired with a mini landscape to tell a story
– Gift it to a friend who could use a daily mood lift
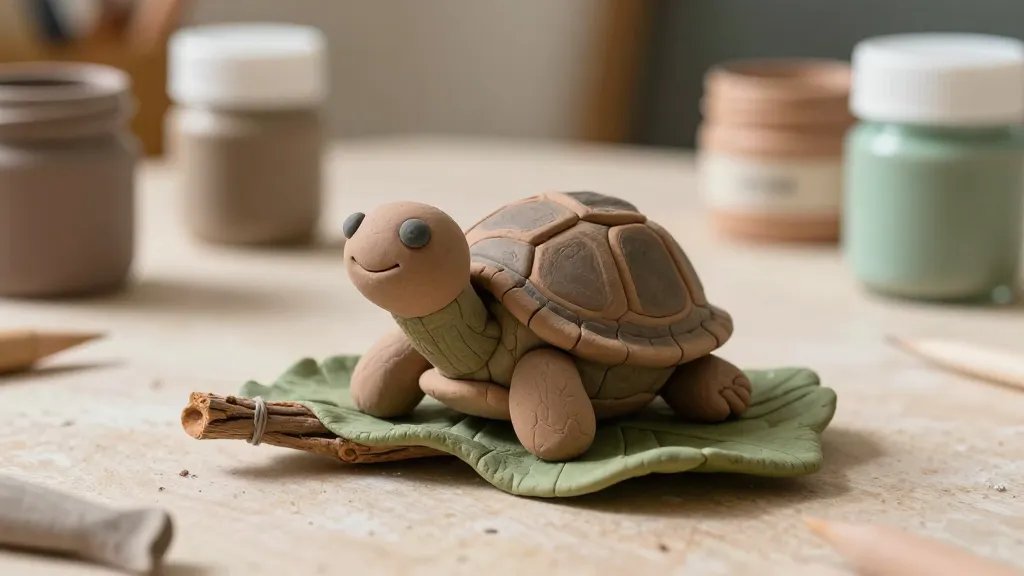
Making a Little Scene
Consider placing your turtle on a small pebble or a painted “pond” base. Add a few synthetic reeds or painted stones to create an oasis. The turtle’s smile will steal the show, but the scene will feel complete.
Troubleshooting Common Hurdles
– Cracking while drying: Slow, even drying helps. Cover with a dry cloth between sessions if your room fluctuates in temperature.
– Smile losing shape: Re-gently press while clay is soft. A tiny amount of water can re-soften small adjustments.
– Shell texture won’t hold: Score the base lightly and use a tiny amount of slip to improve adhesion.
When to Rework vs When to Let It Be
If a feature feels off but the core shape is solid, consider reworking the area while the clay is still pliable. If it’s fully dried, a light sanding and touch-up paint can save the piece without overworking it.
FAQ About Making a Smiling Turtle from Clay
Can I use air-dry clay if I don’t have a kiln?
Air-dry clay works great for this project. It sets at room temperature, so you can finish it without firing. Just follow the package instructions for curing time and handling.
What if my turtle looks more grumpy than happy?
Give the mouth a gentle upward curve and add a small highlight in the eyes. A little asymmetry can boost the friendly vibe. Also consider a brighter shell color to convey a cheery mood.
How thick should the shell be?
Aim for about 5 to 8 millimeters thick. Too thin, and it’s fragile; too thick, and it feels heavy. Balance is key.
Is it okay to mix clay brands?
Mixing brands can work, but consistency matters. If you mix, test a small piece first to ensure similar hardness and drying times.
What are good finishing touches for a polished look?
A light sanding before painting, a couple of thin glaze coats, and a clear sealant top coat give you a durable, glossy finish. Dabbling with metallic paints on the shell edges can add a playful shimmer.
Celebrating Your Creation
You did it: a smiling turtle that embodies whimsy and patience. Share it with friends, snap a quick photo for the ‘gram, and bask in the comments that remind you why creative hobbies are worth every minute. IMO, the best part isn’t just the finished piece—it’s the process, the tiny mistakes that become charm, and that final grin you coax from a lump of clay.
Conclusion
Crafting a smiling turtle from clay isn’t about perfect symmetry or studio-level finesse. It’s about having fun, learning a few practical techniques, and ending up with a miniature friend you can actually hug (well, in a figurine sense). So grab your clay, slap on a grin, and see where this little shelled buddy takes you. If you want more playful clay projects, say the word and I’ll walk you through another quirky creature.


