An introduction set: no fluff, just the good stuff. You want spheres that roll off the tongue and into the plate? You’re in the right kitchen, friend. Let’s make mini spheres that look pristine, feel fancy, and taste amazing without turning your kitchen into a lab.
Why mini spheres, anyway?
Ever notice how spheres feel fancy in food? They’re playful, elegant, and surprisingly versatile. IMO, the world deserves bite-sized orbs that burst with flavor. They’re perfect for amuse-bouches, garnishes, or even tiny desserts. FYI, technique beats luck here—consistency is king.
Tools and ingredients you actually need
– Fresh ingredients with clean flavors
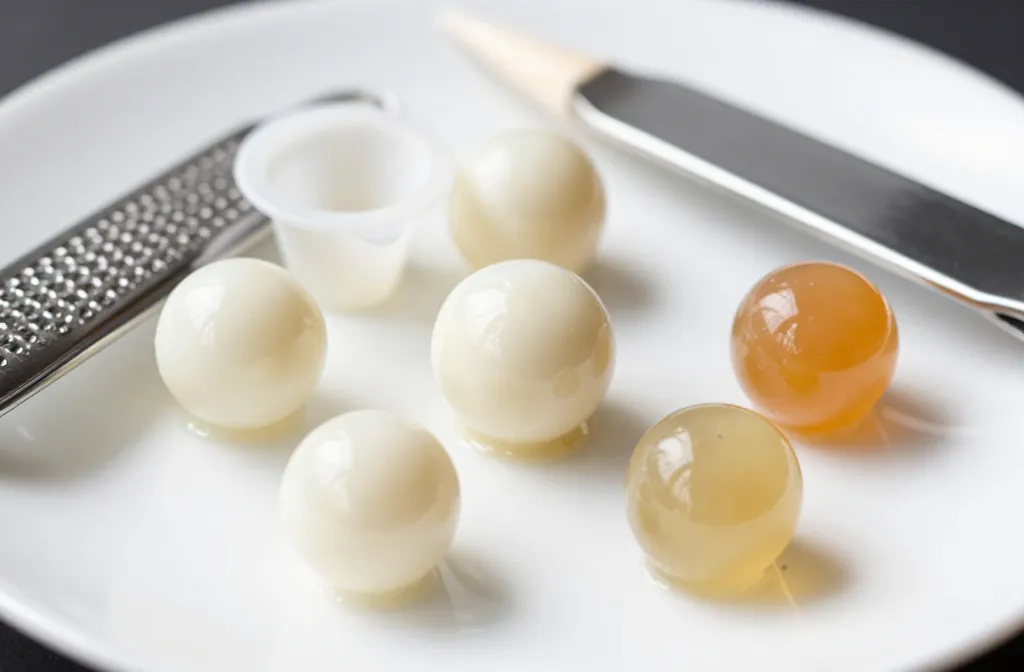
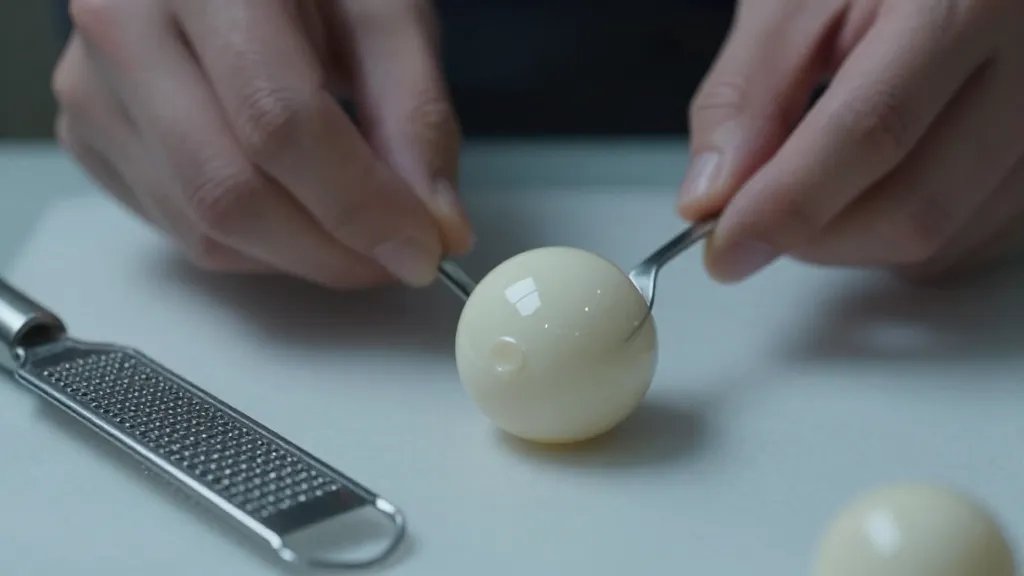
– A small melon baller or rounded spoon
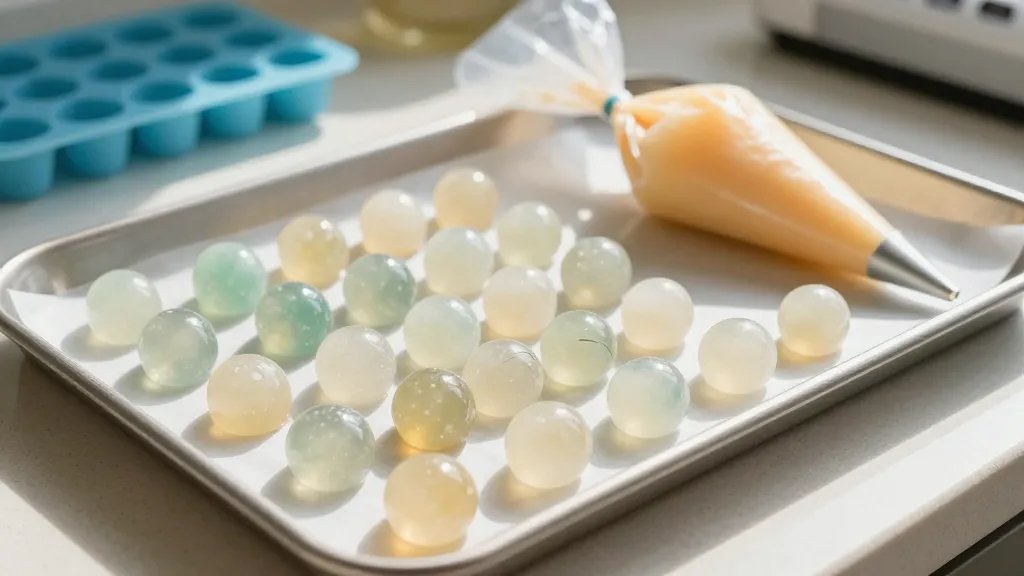
– A piping bag with a small tip for precise shaping
– Silicone molds or ice cube trays for uniformity
– A shallow tray and parchment paper for setting
– Optional: a microplane or zester for texture
- Choose your base. Gel, frozen, or semi-solid bases work best for spheres. Think dairy-free options, fruit purees, or flavorful liquids.
- Keep it cold. Cold outsides seal the sphere; warm interiors ruin the form.
- Practice makes pretty. You’ll get better with time, I promise.
Standard method: the sphere from a gel base
This is the go-to for many cooks who want reliable results.
- Pick a gel base: agar-agar, gelatin, or a vegan alternative. Each has its quirks—read the label like you’re studying a map.
- Set in a shallow tray. Pour a thin layer and chill until just firm.
- Cut or scoop into rounds. Use a melon baller for clean, even edges.
- Finish with a quick glaze or a light dusting of seasoning for shine and flavor piercing.
Method B: sphere shaping with spherification-inspired vibes
A playful technique that yields elegant results while keeping things approachable.
- Prep a flavor-packed “liquid core.” Keep it viscous enough to hold shape but not so thick it destroys itself.
- Dip and roll technique: gently form a ball between hands, then coat with a glossy shell if you want a dramatic finish.
- Set briefly on parchment to prevent sticking, then transfer to a tray for chilling.
Deep dive: creating a glossy, seal-tight finish
To get that restaurant-grade shine, you’ll want a light glaze.
– Use a thin syrup or flavored glaze. Too thick and you’ll dull the sphere’s surface.
– Apply in a single, smooth pass. No fingerprint textures, please.
– Chill briefly after glazing to set the surface.
Texture tricks: how to get that snap and dissolve
Texture is life in small spheres. You want a little bite that yields to a lush interior.
- Implement a light starch or pectin if your base needs it. It helps the outer shell hold up.
- Incorporate a tiny bit of fat for mouthfeel—think cream, coconut milk, or nut butters.
- Balance with acid or bright citrus to cut richness and keep things lively.
Flavor layering without chaos
– Start with a core flavor that will shine through at the center.
– Add a contrasting note on the shell for a pop in every bite.
– Keep overall balance in mind so one note doesn’t steal the show.
Presentation: plate like a pro, but without drama
First impressions matter. People eat with their eyes first, then their curiosity wins.
- Choose a neutral backdrop: slate, white ceramic, or a simple wood board.
- Arrange spheres in odd numbers for a natural, artful look.
- Add microgreens, edible flowers, or a tiny drop of sauce to spotlight the sphere’s flavor.
Pairing ideas that make your spheres sing
– Sweet spheres pair well with citrus reductions, berry coulis, or a touch of honey.
– Savory spheres love a quick herb oil, reduction, or a crispy topping.
– Dairy-free options shine with roasted nut crumbles or a smoky dust.
Troubleshooting: common misfires and how to fix them
Why won’t my spheres hold their shape?
– Check your base’s viscosity. If it’s too watery, it won’t set cleanly. Thicken with a bit of gelatin or agar-agar, or reduce the liquid a touch.
– Chill thoroughly. Dashing them out early invites collapse.
The shell looks dull or sticky
– Give the shells a quick rinse of cold water to remove surface oils.
– Lightly brush with a glaze or finish to revive shine.
– Ensure the glaze isn’t too thick—thin is in.
Texture is off: too soft or too crunchy
– If too soft, add a touch more gelling agent or a little lecithin for structure.
– If too crunchy, reduce drying time and avoid overbaking if you’re using baked elements.
Safety and sanitation: keep it clean, keep it tasty
– Work with clean utensils and wiped surfaces.
– Keep perishable bases chilled until use.
– Label and rotate, so you don’t accidentally serve yesterday’s experiment as today’s masterpiece.
FAQs
Can I make spheres ahead of time?
Yes. Most spheres can be prepared a day in advance and stored chilled on a parchment-lined tray. Keep them covered to avoid drying out. If you glaze them, wait to glaze until serving to preserve shine.
What flavors work best for mini spheres?
Fresh, bright flavors shine. Try citrus zests, ginger, herb oils, berry reductions, or savory blends like mushroom with thyme. IMO, balance is your best friend: one bold core with a complementary outer note.
Do I need special equipment?
Not really. Start with a small spoon or melon baller, a piping bag for controlled shaping, and silicone molds if you want perfect rounds. If you love tech, a spherification kit can be a fun bonus, but it’s not mandatory.
How do I store leftovers?
Keep them chilled in a sealed container. If you glazed them, keep the glaze separate until serving to avoid soggy surfaces. FYI, they’re best eaten fresh, but a gentle chill doesn’t hurt.
Are there vegan options that still look fancy?
Absolutely. Use agar-agar for the gel base, and coconut milk or almond milk for creaminess. Use a vegan glaze and plant-based oils for the finish. The result can be every bit as glossy and delicious.
Conclusion
Mini spheres aren’t just cute; they’re a toolkit for playful, elegant bites. With the right base, a dash of technique, and a little patience, you can shape spheres that hold their shape, pop with flavor, and elevate any plate. So, roll a few, glaze a few more, and plate them with a wink. You got this.


