
An instant mood lift for crafters and collectors alike, these clay animal figurines fuse squishy charm with Japanese kawaii vibes. Let’s dive into why this tiny art movement keeps growing, one goofy whisker at a time.
What Exactly Makes Clay Figurines So Adorably Irresistible?
You’re not imagining it—everything about kawaii clay feels cozy and approachable. The soft textures, rounded shapes, and oversized eyes cue our brains to feel calm and delighted. FYI, it’s basically design magic: simple materials, maximum personality.
- Texture tricks: pinching, smoothing, and a whisper of glaze transform basic clay into plush-looking critters.
- Eye strategy: big, glossy eyes convey emotion in a blink.
- Color psychology: pastel palettes and gentle gradients soften the whole scene.
Tools of the Trade: Getting Started Without D breaking the Bank
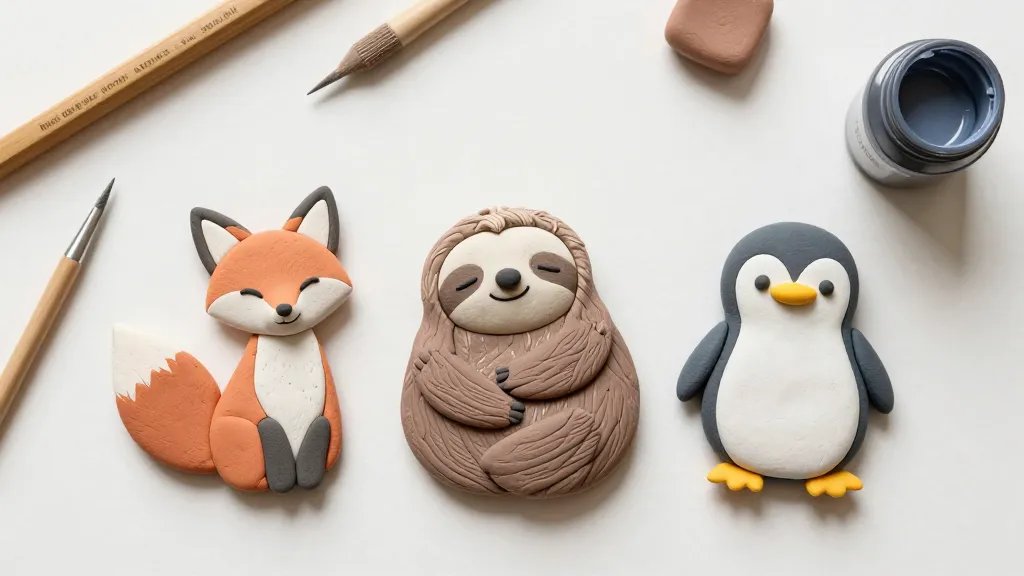
Starting small is the vibe here. You don’t need a studio to begin your kawaii clay journey. Grab these basics and you’re on your way.
- Air-dry or polymer clay (Sculpey or Fimo are popular brands).
- Clay sculpting tools, a sharp blade, and a rolling pin.
- Sealants and a tiny paintbrush for details and gloss.
Quick Start Plan for Beginners
1) Sketch a cute concept on paper. 2) Shape a simple body, add chipper eyes, and a tiny mouth. 3) Bake or air-dry, then seal. 4) Add tiny accessories like hats or bows for personality.
Character Ideas That Always Hit a Chord
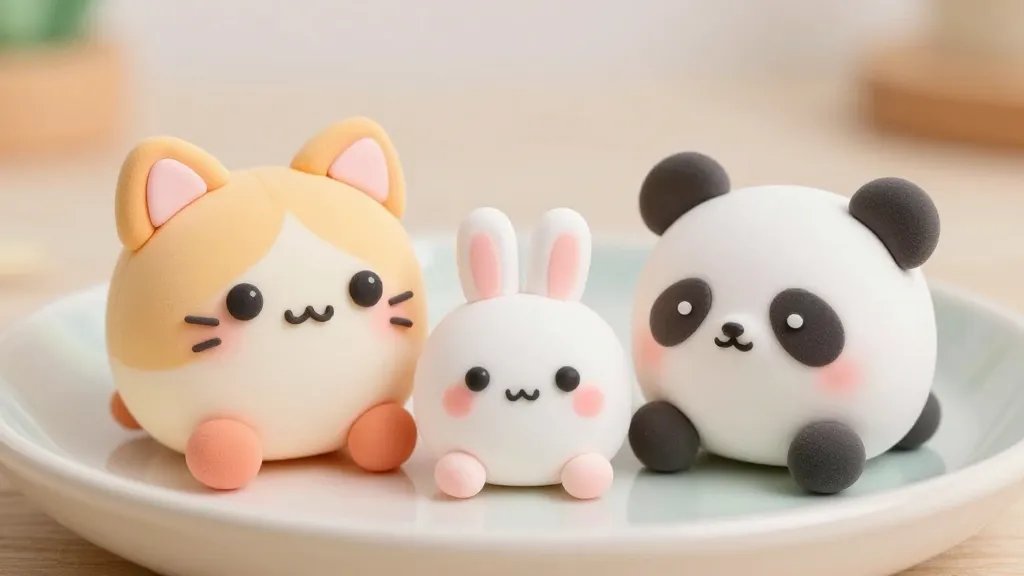
Kawaii clay thrives on character-based charm. Think animals with personality quirks—like a cat that looks suspiciously judgmental or a bunny that’s always sipping tea.
- Mini critters with expressive faces
- Food friends who double as tiny companions
- Seasonal buddies for holidays and celebrations
Animal Archetypes to Inspire Your Creations
– Moon-eyed kittens with oversized heads
– Chubby hamsters who squeak in your imagination
– Tiny bears doing adorable poses, like a yoga stretch
Color, Glaze, and Finish: Making It Shine
The glaze you choose can flip the mood from cute to swoon-worthy in seconds. Don’t overthink it—glaze adds that you-can-pet-it realism without the mess.
- Matte vs. gloss finishes: choose based on the vibe you want.
- Pastel gradients: blend softly for a dreamy look.
- Tiny details: blush, toothy grins, or tiny whiskers make faces sing.
Glossy Eyes, Matte Bodies: A Practical Combo
Keep the eyes glossy to draw focus, while the body stays matte to contrast and feel soft to the touch. It’s the visual balance you didn’t know you needed.
Composition and Display: How to Show Off Your Compassionate Clay Crew
The way you display your figures matters almost as much as the sculpture itself. A tidy shelf, a little diorama, or a tiny teahouse setup can turn a hobby into a story.
- Group scenes create a narrative arc—imagine a tea party with multiple guests.
- Use shallow boxes or shadow boxes to frame scenes.
- Label each piece with a playful name and a tiny backstory.
Creating a Mini Diorama
Start with a flat base, add a tiny bench or rug, and position your figurines as if they’re living their best kawaii lives. FYI, props don’t have to be complex—think a small leaf, a teacup, or a candy pebble.
Maintenance: Caring for Your Clay Crew
Clay figurines are durable, but a little love goes a long way. A damp cloth, gentle handling, and proper storage keep them adorable for years.
- Store away from direct sun to avoid color fading.
- Avoid excessive moisture if you’re using air-dry clay.
- Dust them gently with a soft brush.
Community Sparks: Where to Find Inspiration and Support
You don’t have to go it alone. The kawaii clay community thrives on sharing tips, critiquing kindly, and trading ideas.
- Instagram and TikTok for quick tutorials and inspo reels
- R/Clay or art forums for technique talks
- Local maker spaces or craft groups for in-person sessions
Engagement Tips for Your Creations
– Post progress shots to show your process, not just the final piece.
– Use consistent lighting to capture colors accurately.
– Ask questions in captions to invite comments and collaboration.
FAQs: Quick Answers to Common Questions
What clay is best for kawaii animal figurines?
Air-dry clay is beginner-friendly and forgiving, while polymer clay offers durability and bake-in permanence. If you want easy removal of mistakes, start with air-dry, then graduate to polymer for more ambitious projects.
How do I prevent colors from feathering when painting details?
Seal the base layer before adding tiny details, and use fine-tipped brushes for crisp lines. Tiny test swatches on scrap clay help you pick stable colors.
Can I use accessories like hats or glasses with polymer clay?
Absolutely. Bake those pieces separately and attach with a strong, flexible adhesive after cooling. Small magnets or stitching can add extra charm, too.
How do I display my collection without it looking chaotic?
Group them by theme—pets, snacks, seasonal friends. Use levels (stacks of boxes, shelves) to create visual depth, and keep some negative space to let each piece breathe.
What are some quick ways to improve my kawaii style?
Practice on small forms first, exaggerate facial features, and use soft color palettes. IMO, the magic is in the eyes and the little smiles that say, “hello, friend.” FYI, don’t fear adding tiny props to tell a story.
Conclusion
Clay animal figurines inspired by Japanese kawaii style offer a delightful playground for creativity and a dash of whimsy in everyday life. They’re approachable, collectible, and endlessly customizable. Whether you’re shaping a sleepy panda, a teacup-loving fox, or a giggling hedgehog, the process is as joyful as the result. So grab some clay, start shaping, and let your characters become a tiny, squeaky-cute army of happiness.


