The safest next cut is one that does not count.
Halfway through cutting a paper window, the knife starts lifting the edge instead of slicing it. The next pass leaves a fuzzy notch where earlier cuts were smooth. Stop before pressing harder: extra force can buckle thin paper, pull a tear into the design, or send the blade past the intended line.
Set the project aside and make a light cut on scrap from the same sheet. If the knife still catches on a simple straight cut, the problem can be checked without risking the piece in progress.
Check the blade before replacing it
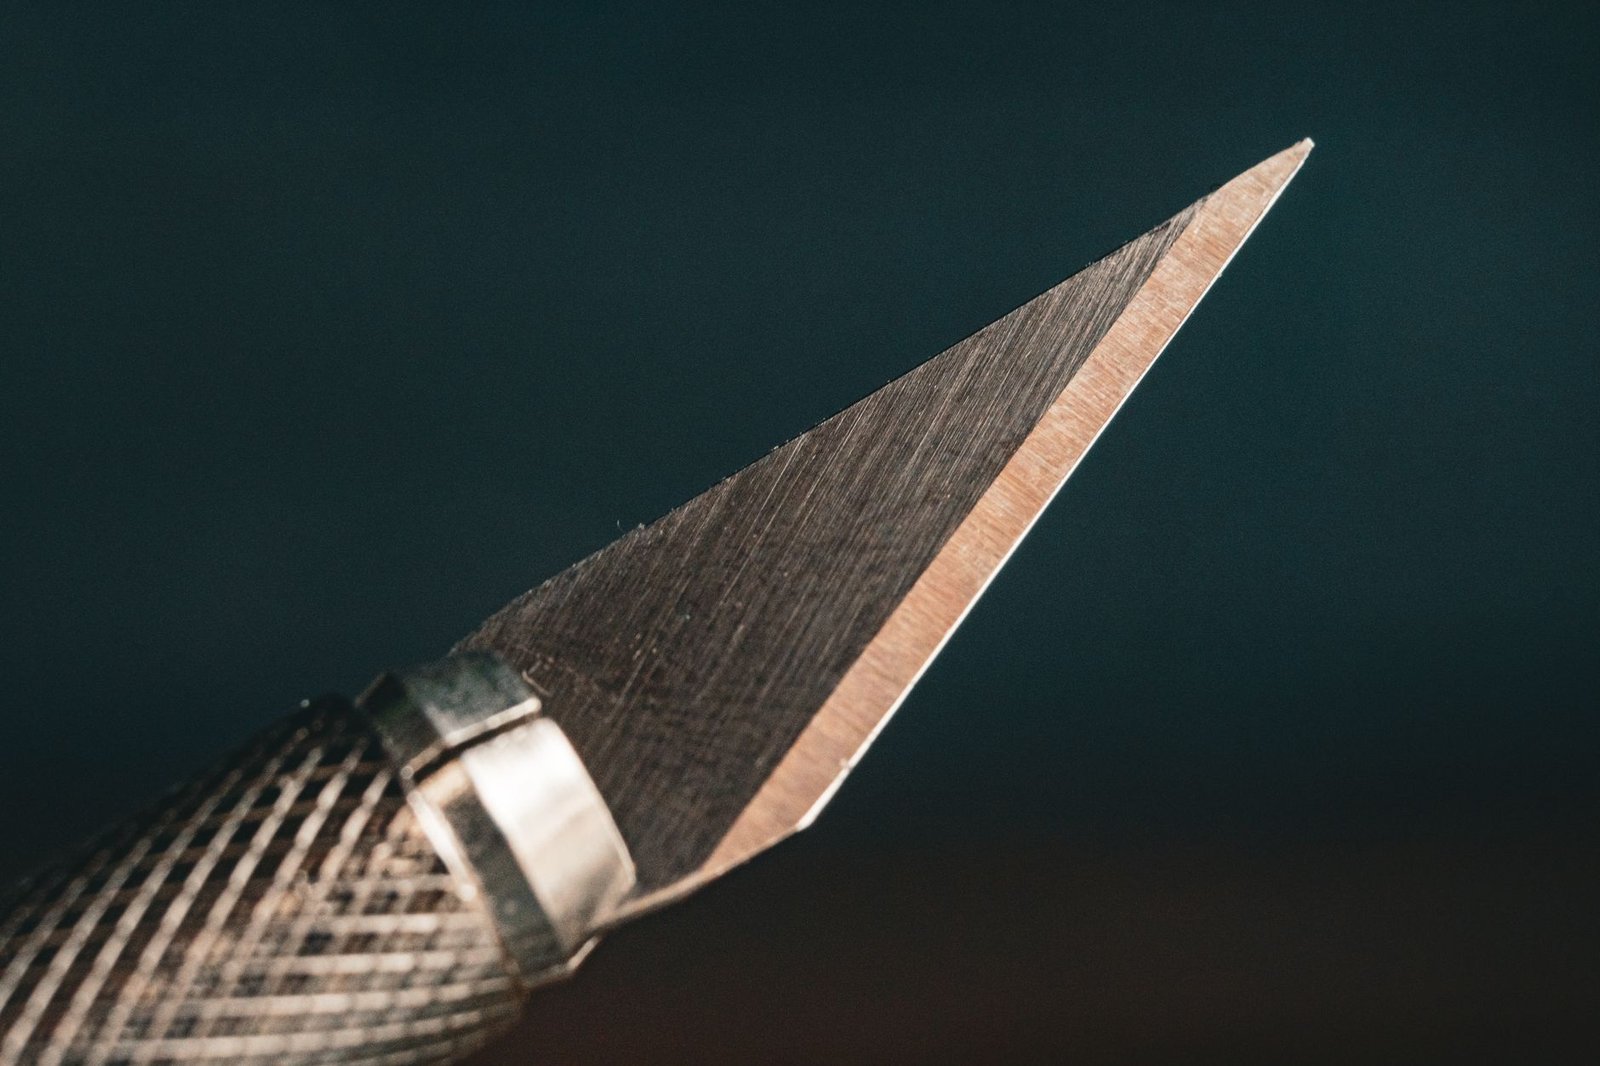
Under a good light, inspect the blade without touching its edge. A bent or missing tip, a visible nick, or a chipped edge means the blade should be replaced. Even a small defect can catch paper fibers and leave a ragged cut.
A blade that looks intact may instead have adhesive or paper fibers stuck to it. Residue can drag across the sheet and make a usable blade seem dull. If the knife can be handled securely, lift residue from the flat of the blade with a cotton swab lightly dampened with rubbing alcohol, keeping fingers clear of the edge and tip. Let the blade dry, then try one cut on the same type of scrap paper. If it still tears or needs extra pressure, replace it rather than forcing the cut.
Never test sharpness with a fingertip. Inspect the blade under light and judge the cut on scrap paper instead.
Test the blade with one light cut
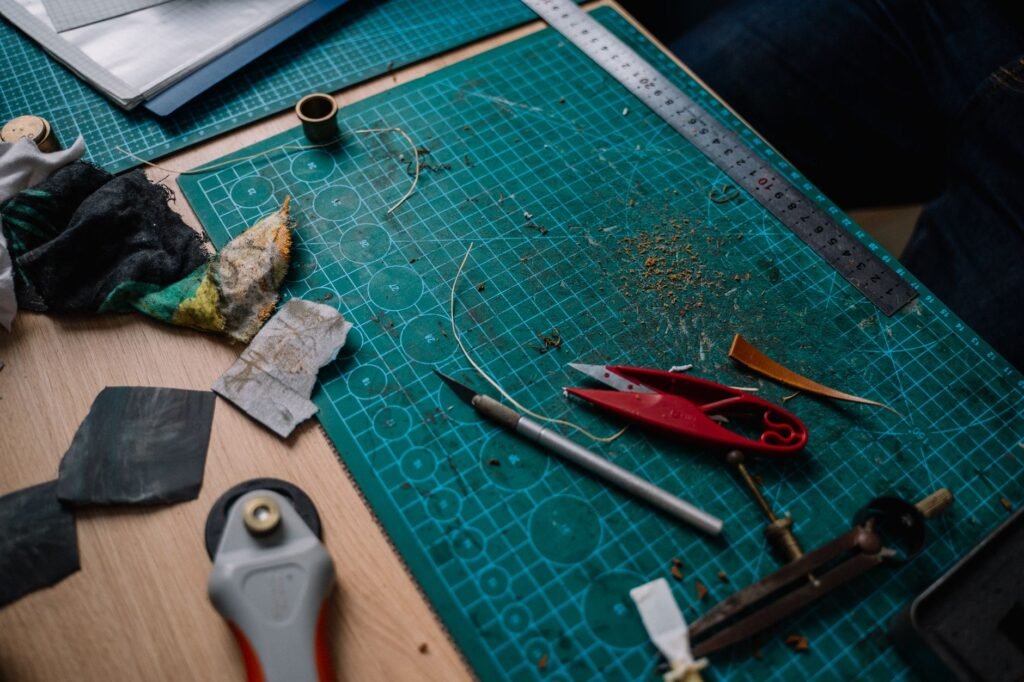
Place a scrap of the same paper on a firm, unscarred area of the cutting mat. Hold it flat and make one short, light cut at the angle normally used for the project. A straightedge can steady the knife for a straight cut; keep fingers clear of its path.
Look at both sides of the slit. A sound blade should move smoothly and leave a reasonably clean edge. Repeated snags, small tufts of lifted fiber, or a cut that stops partway despite steady motion suggest the edge is no longer cutting cleanly. If the knife needs noticeably more pressure than it did earlier, that is another reason to replace the blade rather than push harder.
Make a second separate cut on fresh scrap if the result is uncertain. Change to a clean part of the mat as well: a deep groove beneath the paper can catch the tip and make a usable blade seem dull. A badly worn mat can also affect the finished cut; choosing a suitable cutting mat is worth considering if snags follow the same grooves.
Do not saw over the failed cut or make forceful repeat passes to finish it. Those passes can roughen the paper further and obscure what the first cut revealed.
Rule out the paper and cutting surface
A ragged edge does not always mean the blade is dull. Paper can catch, buckle, or shed its surface even when the edge is sharp. Before changing the blade, compare cuts on the same sheet in different directions.
- Grain: Some papers cut more cleanly in one direction than the other. If fibers lift only on crosswise cuts, turn the sheet and make a short test cut along the grain.
- Coating and texture: A glossy layer may flake at the cut, while rough or handmade paper can leave loose fibers. Check whether the same damage appears on a scissor-cut scrap before blaming the knife.
- Support: A deep mat groove can steer the blade or let paper dip into it. Move the sheet to an unworn part of the mat and keep the paper flat, especially near the end of the cut.
The shape of the cut matters, too. A knife works well for straight lines against a ruler, but a short, wandering curve may require awkward turns that wrinkle the paper. For that kind of cut, craft scissors for clean paper cuts may give better control. If tearing persists on supported scrap across several directions, the blade becomes a more likely cause.
When the blade needs replacing
Replace a blade immediately if its tip is bent, chipped, or visibly damaged. Even a small defect can catch paper fibers, and extra pressure will not repair the edge.
If the blade looks intact, the deciding test is a light cut through ordinary scrap paper after any residue has been cleaned off and the blade and cutting surface have been checked. If it still snags or tears, fit a fresh blade. Ordinary paper makes this a more useful test than textured or heavily coated stock, which may tear even under a serviceable edge.
A blade also becomes impractical before it looks damaged. Needing noticeably more pressure to start a cut, or repeatedly going back over a line to sever fibers, is a reason to stop and test it. Pushing harder can make the knife slip or crush the paper; corrective passes can leave a ragged edge and take more time than a blade change.
There is no reliable number of cuts or days between replacements. Paper thickness, coatings, cut length, and contact with the mat all affect wear. Let the edge’s behavior on a simple test cut—not the calendar—settle the decision.
Replace the blade without forcing the handle
-
01Prepare a clear workspace
Set the knife on a stable cutting mat, with a replacement blade and sharps container within reach. A mat is part of protecting the work surface from blades during the change.
-
02Check how the handle releases the blade
Craft knives may use a screw collar, clamp, or cartridge. Follow the handle maker’s instructions rather than pulling or twisting a blade that has not been released.
-
03Remove and discard the old blade
Hold it by its blunt end if possible, keeping fingers away from the edge. Put it immediately into an appropriate puncture-resistant sharps container; follow local disposal rules.
-
04Fit the replacement
Use a blade made for the handle. Insert it in the correct orientation, then tighten or close the holder as directed—without overtightening.
-
05Check the fit before cutting
Keep the edge pointed away and confirm the blade is firmly seated, with no wobble or movement in the holder. Test it with one light cut on scrap paper.
If the replacement shifts in the holder, stop. Recheck the blade’s compatibility and the handle’s locking instructions; do not try to steady it with extra finger pressure while cutting.
Check the new blade before continuing
After fitting the replacement, make one light cut on scrap from the project paper. A clean edge should separate the sheet without catching, lifting fibers, or needing extra pressure. Check that result before bringing the knife back to a finished piece; the test costs less than a spoiled cut.
If the new blade still tears, stop replacing blades and change one other factor at a time. Move to an ungrooved part of the mat, then try cutting the paper in another direction to see whether its grain or surface is involved. Keep the ruler steady without bearing down so hard that the paper shifts, and guide the knife at a consistent angle rather than twisting it against the ruler.
If one adjustment produces a clean cut, repeat it on fresh scrap before returning to the project. For more on how paper and handling affect the result, see cutting paper without tearing.
Make a quick check part of setup
Before starting a detailed shape, make one light cut in an offcut of the same paper. It takes only a moment and can catch a snagging edge before it spoils a piece that took time to measure or draw. Keep the offcut on the intended cutting mat so the test reflects the work ahead.
After a session, check for adhesive or paper dust near the blade. Remove buildup only when it can be done without bringing fingers across the edge; follow the knife maker’s cleaning guidance if residue is stubborn. Let the blade dry fully before capping the knife, then store it somewhere dry where the cap will not be knocked loose.
Keep a small supply of blades that fit the handle securely, alongside other starter tools for crafting. A labeled pack makes the correct size easier to find and protects unused edges. When a test cut starts to tear, a compatible spare allows the blade to be changed promptly instead of pressing harder to finish the job.
A craft knife blade has no useful expiration date. A blade can nick on its first project, while another may keep cutting cleanly for much longer. Replace one with visible edge damage immediately. Otherwise, clean off any residue and try a light cut on fresh scrap. If it still tears after the paper and cutting surface have been ruled out, replace it. If the cut is clean, there is no need to change the blade just because it is old.