A clean peel can reveal when the bond went wrong.
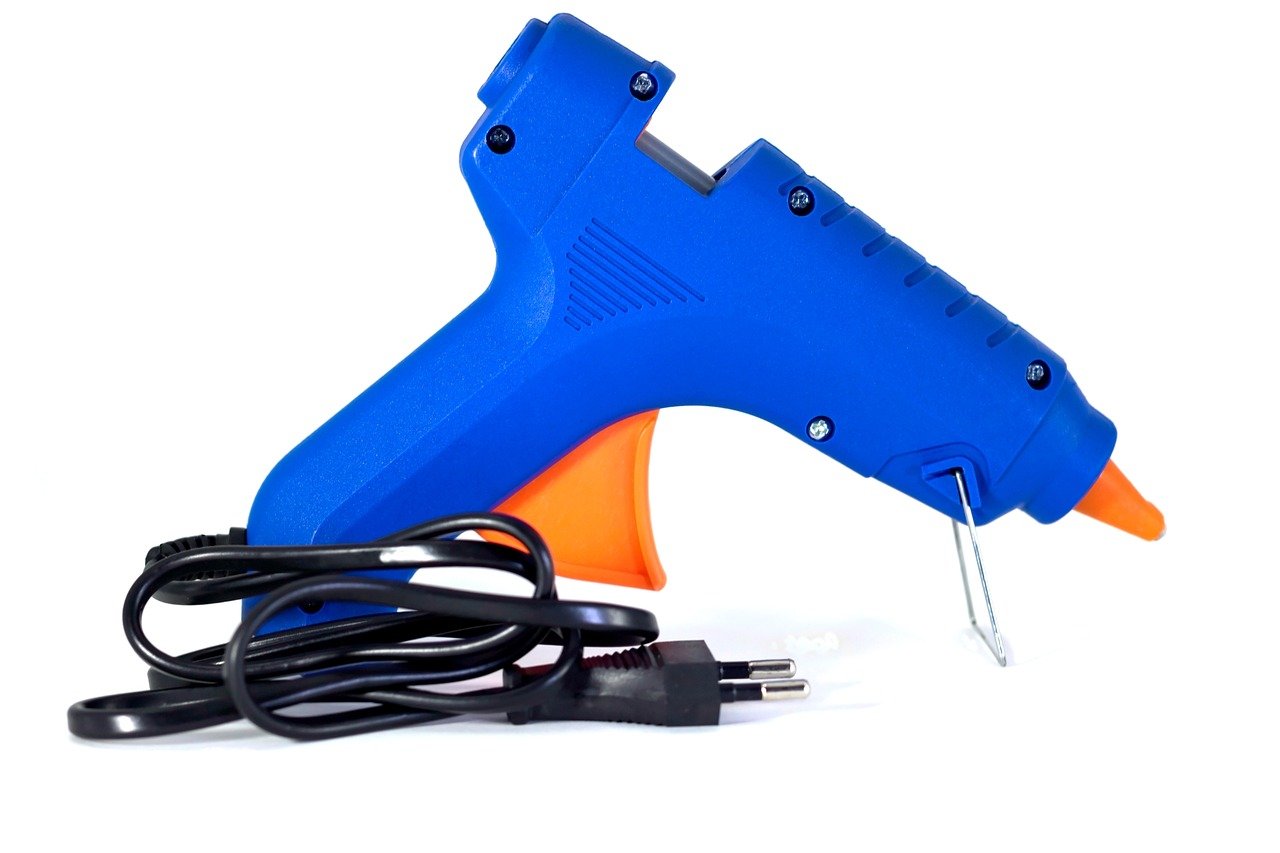
A felt flower holds firmly on cardboard but lifts straight off a plastic storage box. The glue may have hardened into a neat blob without gripping the plastic at all. If it peels away soon after cooling and leaves no residue, that is the likely problem. A glue gun may be one of the basic supplies for craft projects, but plastic does not always give hot glue a surface it can hold onto.
If the decoration stayed attached for a while, look at what happened afterward. A box that flexes when opened, gets knocked about, or sits somewhere warm can strain a weak bond until it lets go. When it failed matters as much as how cleanly it came off.
When the glue peels off in one piece
A cooled glue blob that lifts away intact is a useful clue: the glue held together, but it never formed much grip on the plastic. Adding a thicker blob usually leaves a bigger piece to peel off. A technique for gluing felt and wood securely cannot be assumed to work on a slick plastic surface.
Polyethylene (PE) and polypropylene (PP) are common culprits. Their surfaces have low surface energy, so molten hot glue tends to bead up rather than spread and bond well. Check for a molded recycling number, often on the underside:
- 2: high-density polyethylene (HDPE)
- 4: low-density polyethylene (LDPE)
- 5: polypropylene (PP)
The number is a clue, not a guarantee of how a particular item will behave. If a clean, dry test spot still releases the glue easily, look for an adhesive whose label explicitly names PE or PP. Some systems also require a matching plastic primer to help the adhesive bond; use the primer specified by the adhesive maker rather than assuming any general-purpose primer will do. Test on an inconspicuous area first, especially if the plastic is thin or the bond will bear weight.
When glue sticks in some spots but not others
If hot glue holds on one part of a plastic object but lifts from another, the loose area may have oil, dust, a coating, or a smoother finish. Fingerprints and mold-release residue can be hard to see, so a surface that looks clean may still need attention.
Start by washing the area with mild dish soap and water, then rinse and let it dry completely. On a hard, unpainted surface, a little rubbing alcohol on a cloth can help remove remaining grease. Test it on a hidden spot first: alcohol can affect some finishes, and it is best kept away from painted or delicate details.
If the surface is still slick, lightly scuff a small, inconspicuous patch with fine sandpaper. The aim is to dull the shine, not carve grooves. Wipe away the sanding dust before trying a small bead of glue again. Skip sanding on clear plastic or any finish that must stay intact.
A cleaned and scuffed patch that still releases easily points to a bigger problem: that plastic may not bond well with hot glue. More sanding or more glue is unlikely to fix it.
When the glue cools before assembly
A bead may turn dull and rubbery before the second piece touches it. Try the joint again with the pieces ready to fit together immediately. If the faster attempt holds better, cooling was likely part of the problem. If both attempts peel away easily, speed alone will not fix the poor grip.
Check the fit without glue first, so the pieces can be joined in one motion. Apply a short bead, press the parts together promptly, and hold them with steady, even pressure until the glue firms up. For a long seam, work in small sections rather than laying down a bead that cools at one end before it is covered. Keep the pieces still while the glue sets.
A high-temp gun may give a little more working time on a thick, heat-tolerant part; the differences between low-temp and high-temp glue guns are worth checking before switching. Test a hidden spot first: hotter glue can warp thin plastic, and it cannot make an unsuitable surface hold.
When the plastic warps or shows marks
A bead that holds firmly is not a success if the plastic bows, puckers, turns glossy, or develops a nozzle-shaped dent. Those changes mean heat is damaging the workpiece. More pressure or another pass with the glue gun may make the damage worse.
Stop using the hot glue gun on that piece. Let the plastic cool undisturbed, then remove loose glue only if it lifts without force; scraping can deepen a softened spot. For the next attempt, choose a no-heat adhesive labeled for the particular plastic, such as a suitable plastic repair glue or two-part epoxy. Polyethylene and polypropylene may need a dedicated bonding system rather than ordinary craft glue.
Apply a small amount to an unseen area or scrap of the same plastic. After it has fully cured, check for haze, staining, tackiness, or distortion before gluing the visible joint.
When the joint holds, then breaks in use
A joint that survives assembly but breaks after a few days may have enough grip to sit undisturbed, but not enough to handle the way the object is used. The break often shows where the stress starts: a lifted edge, a cracked glue bead, or a small glued patch that has pulled away.
- An edge lifts first: The part may be acting like a lever, peeling the glue back a little each time it is handled. Moving the joint away from the edge or adding a wider, well-supported contact surface can help.
- The part bends repeatedly: Rigidly holding a flexible tab or case in place can put strain on the bond with every bend. A flexible adhesive rated for the particular plastic may be a better choice; its label should also cover the expected movement and conditions.
- The glued area is tiny: A small dot may hold a lightweight decoration but is a poor bet for a handle, hinge, or other part that takes force. A larger joining surface can spread the load, provided both surfaces fit together closely.
For a decorative piece that rarely gets touched, hot glue may still be adequate after the joint is enlarged. For a part that carries weight or gets tugged, a screw, clip, or other mechanical attachment is usually more dependable than glue alone. A replacement adhesive should be tested on a small area and allowed to cure fully before the repair goes back into use.
Match the adhesive to the plastic and the joint
-
01PE or PP: glue peels away cleanly
Polyethylene and polypropylene often resist ordinary hot glue and general-purpose adhesives. Check the recycling mark or material label, then choose an adhesive system explicitly rated for that plastic; some require a matching primer.
Look forA stated PE or PP rating, including any required primer.AvoidAssuming “bonds plastic” includes PE or PP. -
02Identified rigid plastic: parts fit closely
For some rigid plastics, a matching solvent cement can make a strong, neat joint by softening the mating surfaces. Cement must be specified for the particular plastic: a product for PVC, for example, is not automatically suitable for acrylic or ABS.
Look forCement named for the identified plastic and a close-fitting joint.AvoidTreating solvent cement as a universal plastic glue. -
03Rigid joint: gaps or small contact points
A plastic-rated epoxy can fill modest gaps; plastic-rated cyanoacrylate may suit small, close-fitting parts that will not flex much. Follow the product’s material list and cure time, and test the joint before putting it into service.
Look forA material-rated adhesive suited to the joint’s gap and load.AvoidUsing a brittle bond where the plastic bends repeatedly. -
04Unknown plastic or a joint that keeps flexing
Make a small, hidden test before relying on other all-purpose craft adhesives, regardless of what the front label promises. If the joint must bend or carry weight, check for an explicit flexibility or load rating—or consider a mechanical fastener instead.
Look forA cured test that survives the joint’s expected movement.AvoidTrusting a quick initial grab as proof of lasting strength.
Before trying another bead, check the recycling code or product label and inspect the failed joint. Glue that peels off intact suggests poor grip; a cracked bead or lifted edge may point to stress. Wash the plastic, let it dry, then test the intended adhesive on a hidden spot. Check both its hold and the finish after it cures.
Choose an adhesive rated for the plastic and consider how the joint will be bent, pulled, or exposed to warmth. If the material is still uncertain or the piece is valuable, favor a removable test, clip, or strap over repeated hot glue.