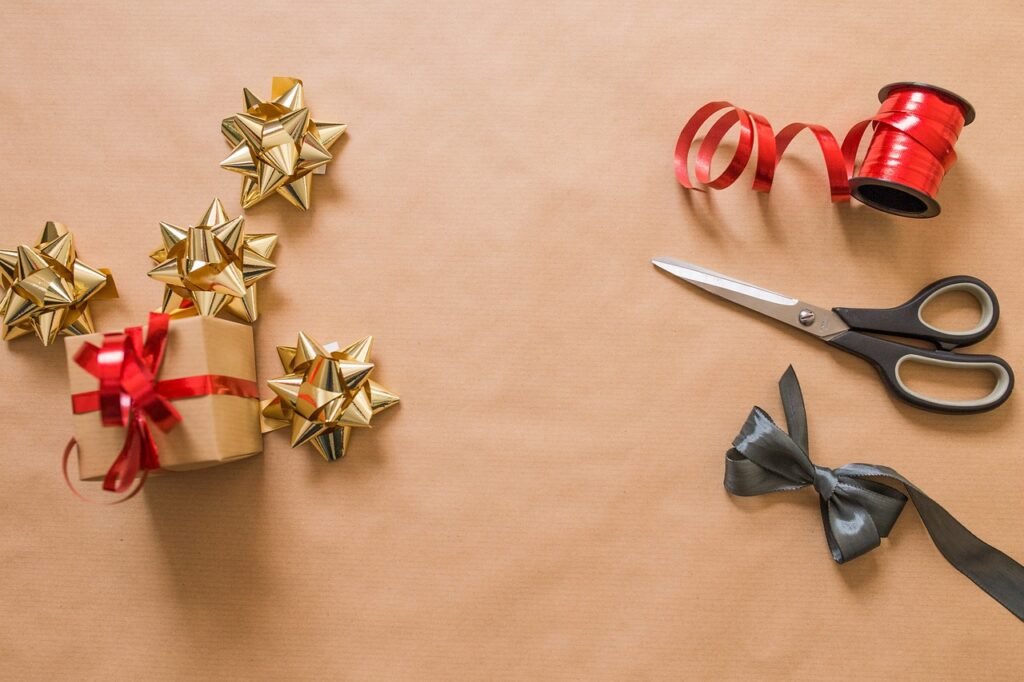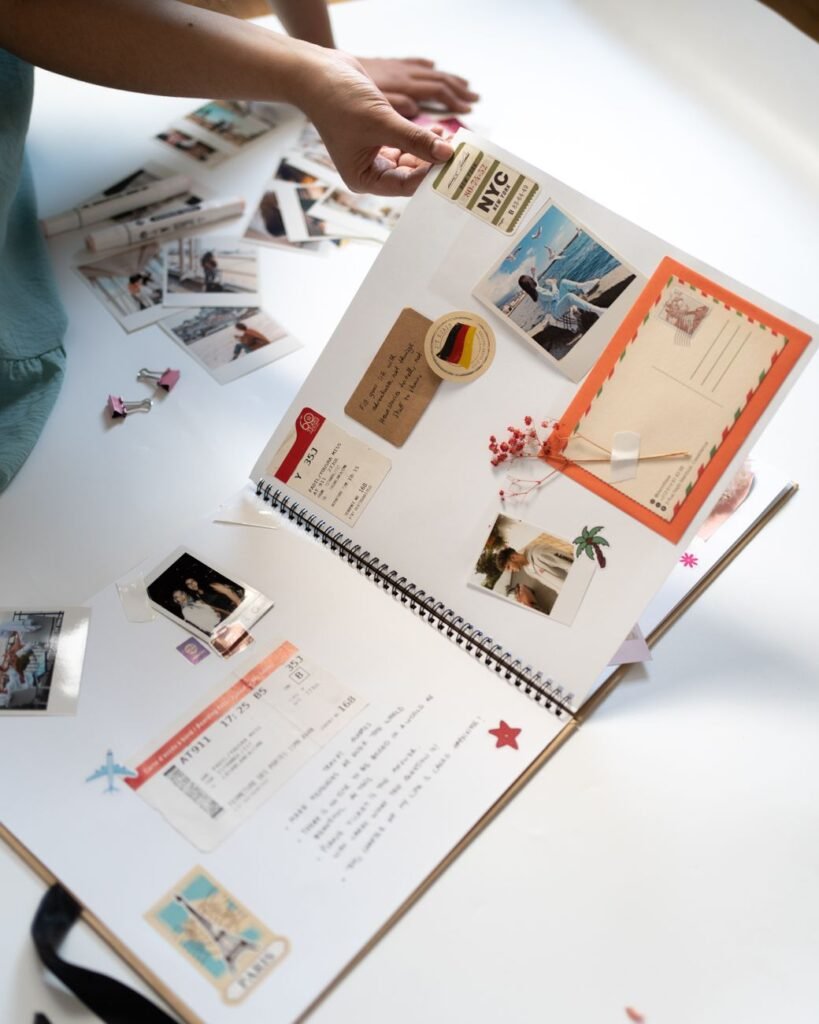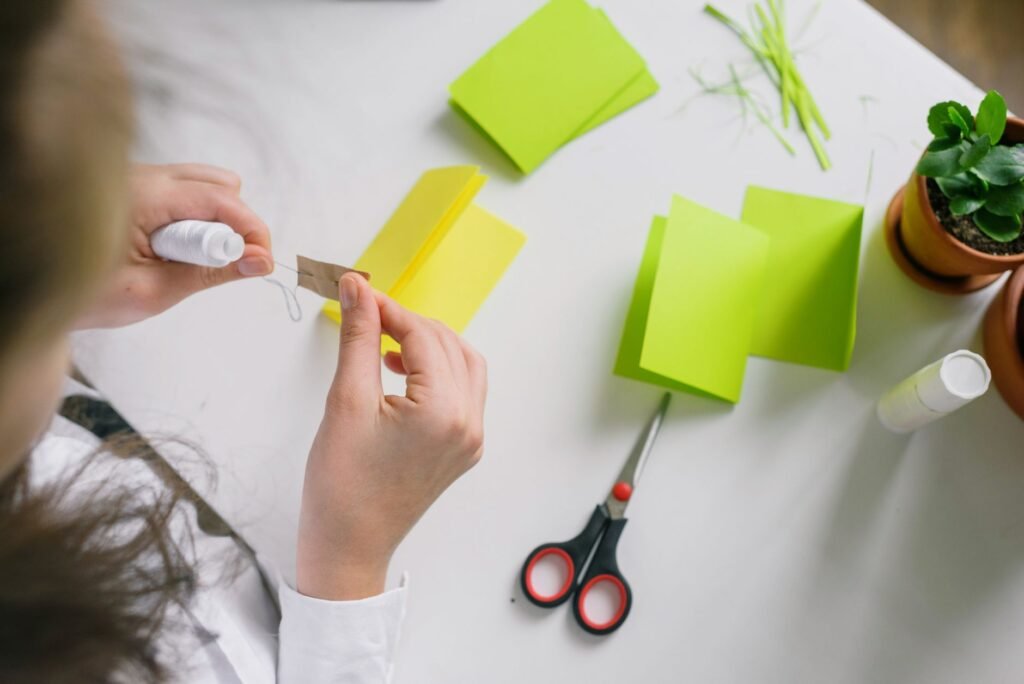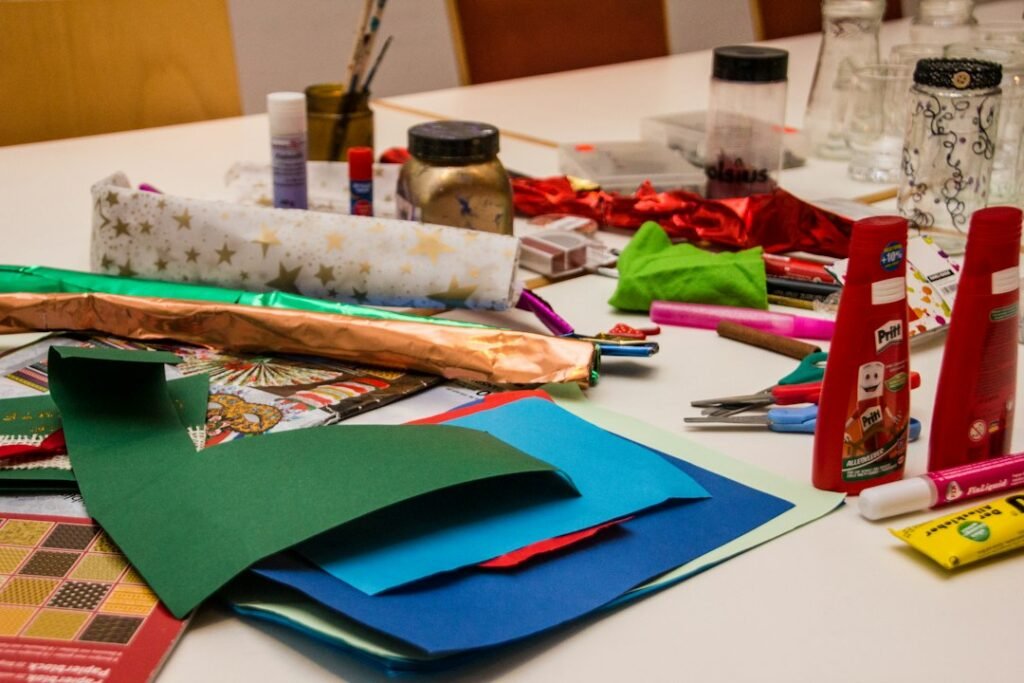
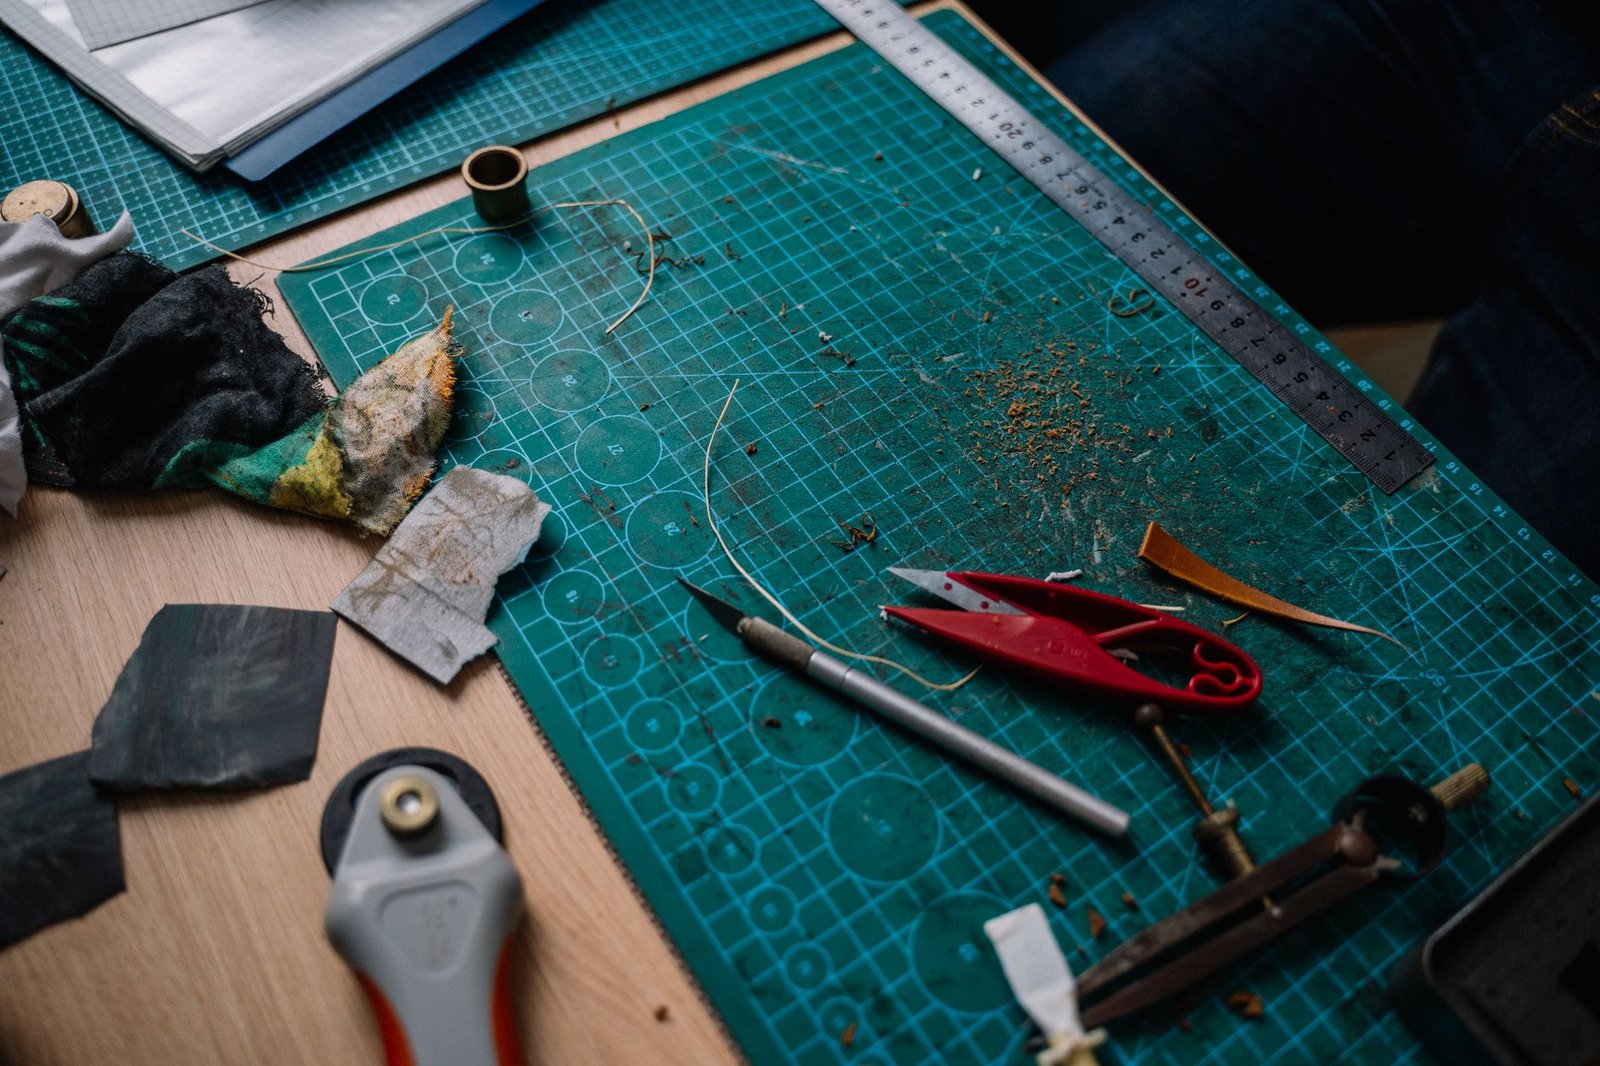
A few minutes of setup can keep a craft session from becoming a furniture repair job.
A small drop of glue can land on the table while a piece is being pressed into place. A knife can slip past a narrow cutting board just as easily. Clear and wipe the tabletop first so trapped grit does not scratch the finish, then give the work a protected area larger than the project.
Set a stable, self-healing cutting mat where the blade will be used, well back from the table edge. Keep glue and wet pieces on a shallow plastic tray or silicone mat beside it. Neither newspaper nor a thin plastic sheet should be the only barrier beneath a blade. Wipe up stray glue before it dries, and lift the coverings to check for spills underneath.
Check the table and materials
Before setting out supplies, identify the tabletop: sealed laminate, painted or varnished wood, bare wood, or delicate veneer. A worn or chipped finish calls for extra caution; even cleaning up a spill may leave a mark. Check joints, leaf gaps, and exposed edges, where runny glue can seep beneath the surface.
Read the adhesive label before choosing protection. White craft glue is usually easiest to remove while wet, but hot glue can leave heat marks, while superglue or solvent-based adhesives may damage some finishes. If a glue is unfamiliar, avoid testing it on the table; choose a nonporous drip barrier instead.
Finally, check which cutting tools the project needs. Scissors pose a different risk from a craft knife or rotary cutter. Plastic sheeting catches drips but cannot stop a blade, so include a proper cutting mat among the essential craft supplies for beginners.
Lay out the work surface
Choose a flat covering that grips the table and extends several inches beyond the area where glue, scraps, and tools will land. A washable silicone mat or wipe-clean plastic sheet can serve as a reusable base. If it slides on a polished surface, place a clean nonslip liner underneath, first checking that the liner will not mark the finish. Smooth out wrinkles and keep loose edges from hanging where an elbow might catch them.
For messy glue work, add kraft paper or scrap paper on top and replace it when it becomes sticky or wet. Paper makes cleanup quicker, but it is a disposable top layer, not reliable protection against a spill that soaks through. A reusable covering still needs wiping and drying before it is put away.
On a small table, center the protected work area and leave a strip along one side for capped glue, a blade holder, and a scrap cup. That layout leaves room to turn a project without knocking tools off the edge. For a shared surface, organizing crafts on a dining table also helps keep the setup easy to clear away.
Thin coverings are not cut-proof or automatically heat-safe. Put a cutting mat under every blade stroke, and check a covering’s temperature rating before using hot tools nearby. Rest a hot glue gun on its stand or a heat-rated tile, never directly on paper or an unrated sheet.
Keep every cut on the mat
-
01Set the mat over the base
Place a cutting mat that protects the table on top of the nonslip base, not directly beside it. Choose a mat large enough for the workpiece and the full length of each blade stroke, with room for a small overrun.
-
02Check the path before cutting
Look at where the blade will start, travel, and stop—not just where the material sits. Keep all three points over the mat. If a ruler is needed, place it so the blade cannot run off the mat at the end of the line.
-
03Move the work, not the blade toward the edge
When a cut approaches an exposed side, turn or slide the workpiece back toward the mat’s center. Reset the ruler and hands before continuing. Short, controlled strokes are safer for the tabletop than one long stroke aimed at the edge.
-
04Skip cardboard and tablecloths
Cardboard can be cut through, especially along a line that has already been scored; it may look intact while the blade reaches the surface beneath. A tablecloth wrinkles and offers little protection from a sharp point. Neither provides a reliable cutting surface.
-
05Change a blade that drags
A dull blade can snag the material and demand extra pressure, making it harder to follow a line or stop cleanly. Replace it rather than pressing harder, then make light passes as needed. Keep fingers clear of the blade’s path.
Set up a separate glue zone
Keep glue bottles, brushes, and pieces left to dry off the cutting mat. A shallow tray or rigid board gives them a defined space and catches drips before they reach the tabletop. Line it with replaceable paper for ordinary water-based craft glue; once the paper becomes sticky or damp, swap it out rather than setting clean pieces on top.
Place bottles upright toward the back of the tray, with caps and brushes in a small dish. Leave enough room to move a freshly glued piece without passing it over the cutting area. For longer drying times, put a clean liner beneath the piece so a stray bead of glue does not attach it to the tray.
Super glue needs more caution than water-based glue. It can bond to some coverings or seep through them, so paper alone is not a dependable barrier. Check the adhesive’s directions, then test any unfamiliar liner on a scrap away from the table before using it under a project.
For hot glue, protect the table from heat as well as drips. Keep the gun on its stand over a heat-rated surface with an insulating layer beneath it; a hot nozzle or a heat-conducting tile should not rest directly on the tabletop.
Lift drying pieces free before replacing a soiled liner. If glue has reached the tray, clean or replace the tray covering before setting down the next piece.
Work in small, clean stages
At each pause, cap the glue before moving a piece. Park the knife in its tool strip with the blade retracted or covered, not beneath a pile of scraps. Leave wet components on the glue tray until they are dry enough to handle; even a brief stop on bare wood can leave a mark.
For an awkward or oversized piece, move the work in stages rather than reaching across the table:
- Cut only the section resting fully on the mat. Set the knife down before turning the piece.
- Move the piece to the glue tray for adhesive, keeping drips and sticky edges over the liner.
- Return it to the mat only after the glue is dry enough that it will not transfer to the cutting surface.
If the knife drags, tears the material, or needs noticeably more pressure, stop and check when to change a craft knife blade. Forcing a worn edge makes a clean, controlled cut harder. Before clearing the workspace, pick up wet offcuts and glue strings while the protective layers are still in place; lifting a messy mat can drag debris across the table finish.
What if glue reaches the table?
What should happen when fresh craft glue spills?
Lift the bottle and blot up excess glue promptly with a soft cloth. For fresh water-based glue, a barely damp cloth may remove the residue if the tabletop finish tolerates moisture; dry the area immediately.
What if the glue has already dried?
Do not pry it up. Check the glue label and the table maker’s care instructions before choosing a remover, since a product that dissolves glue may also dull the finish.
Does the same cleanup work for super glue or hot glue?
No. Specialty adhesives need adhesive-specific guidance, and hot glue should be allowed to cool before it is touched. Test any recommended remover on an inconspicuous spot first.
What if glue runs into a seam?
Blot what remains on the surface without pushing more into the gap. Avoid flooding the seam with water or solvent, especially if the wood or finish is exposed.
Never scrape dried glue from a finished table with a craft blade. A small slip can cut through the finish and turn a removable glue spot into permanent damage.
Clear the workspace without spreading residue
-
Move drying pieces to a protected spot
Set glued pieces on a lined tray or other suitable surface until the adhesive has cured. Keep them off the bare table, even if they feel dry to the touch.
-
Remove loose tools and scraps
Cap the glue, put the blade away safely, and pick up offcuts before lifting any liners. This makes it easier to see where wet adhesive remains.
-
Lift disposable layers inward
Fold or roll used paper toward its stained side so glue and scraps stay contained. Avoid dragging a sticky edge across the mat or tabletop.
-
Check beneath the protection
Inspect the table, mat edges, and mat underside for seepage or trapped grit. Clean any residue using a method safe for the affected surface, then let both surfaces dry before putting them away.
-
Store the mat as directed
Follow its maker’s storage guidance, including whether it should lie flat or may be rolled. Keeping it away from heat and tight bends helps with preventing cutting mat warping.
A clean finish prevents glue on a discarded liner from becoming glue on the table. For the next session, keep the same boundaries: cover the work area, make every cut on the mat, and keep glue in its own zone.