A small, compatible set of supplies beats a drawer full of almost-right parts.
A packet of beads can look ready for a bracelet until the clasp has no way to attach to the cord. The simplest fix is to choose the construction method before shopping for findings.
For a first bracelet, stretch cord keeps the supply list short: beads with holes large enough for the cord, elastic beading cord, scissors, and a ruler. It needs no clasp or special pliers. Make a short test strand first to check that the beads slide on and the cord passes through them without a struggle. A bracelet with a clasp is a different build: flexible beading wire typically needs crimp beads, a clasp, and crimping pliers. Those parts work together, but they are not substitutes for stretch cord and a knot.
Choose a first jewelry technique
A stretch bracelet is the simplest complete first project. It needs beads, elastic cord, scissors, and a ruler—no clasp to attach or metal parts to shape. Choose beads with holes wide enough for the cord, then lay out a pattern before stringing. Test the strand around the wrist, tie the cord according to its package directions, and tuck the knot inside a bead if the hole allows. A short project like this gives a beginner practice handling beads and judging fit without adding new tools.
Beading wire with a clasp is a good next step for someone who wants a less stretchy bracelet or a necklace. The flexible wire holds its shape under the weight of beads, but each end must be secured with a crimp bead and attached to a clasp. That means adding crimping pliers, wire cutters, and a little practice making secure ends.
Simple metal connections open the door to charm bracelets and basic earrings. Jump rings connect charms, chain, clasps, and earring findings; two pairs of pliers help open and close them sideways without pulling the ring out of shape. This is assembly rather than soldering, but it rewards careful handling: a small gap can let a charm slip off.
Gather tools for a stretch bracelet
A first stretch bracelet needs a clear work surface more than a full jewelry toolkit. A bead mat or shallow tray keeps round beads from rolling away, while a ruler helps check the intended bracelet length before stringing. Keep small scissors suitable for cutting stretch cord nearby, and use lidded containers or a divided box for beads and other tiny parts.
Lay out a short bead pattern on the mat before threading it. This makes it easier to spot an uneven color sequence or a bead that looks too large beside its neighbors. The tray also catches pieces if the cord slips during a test fit.
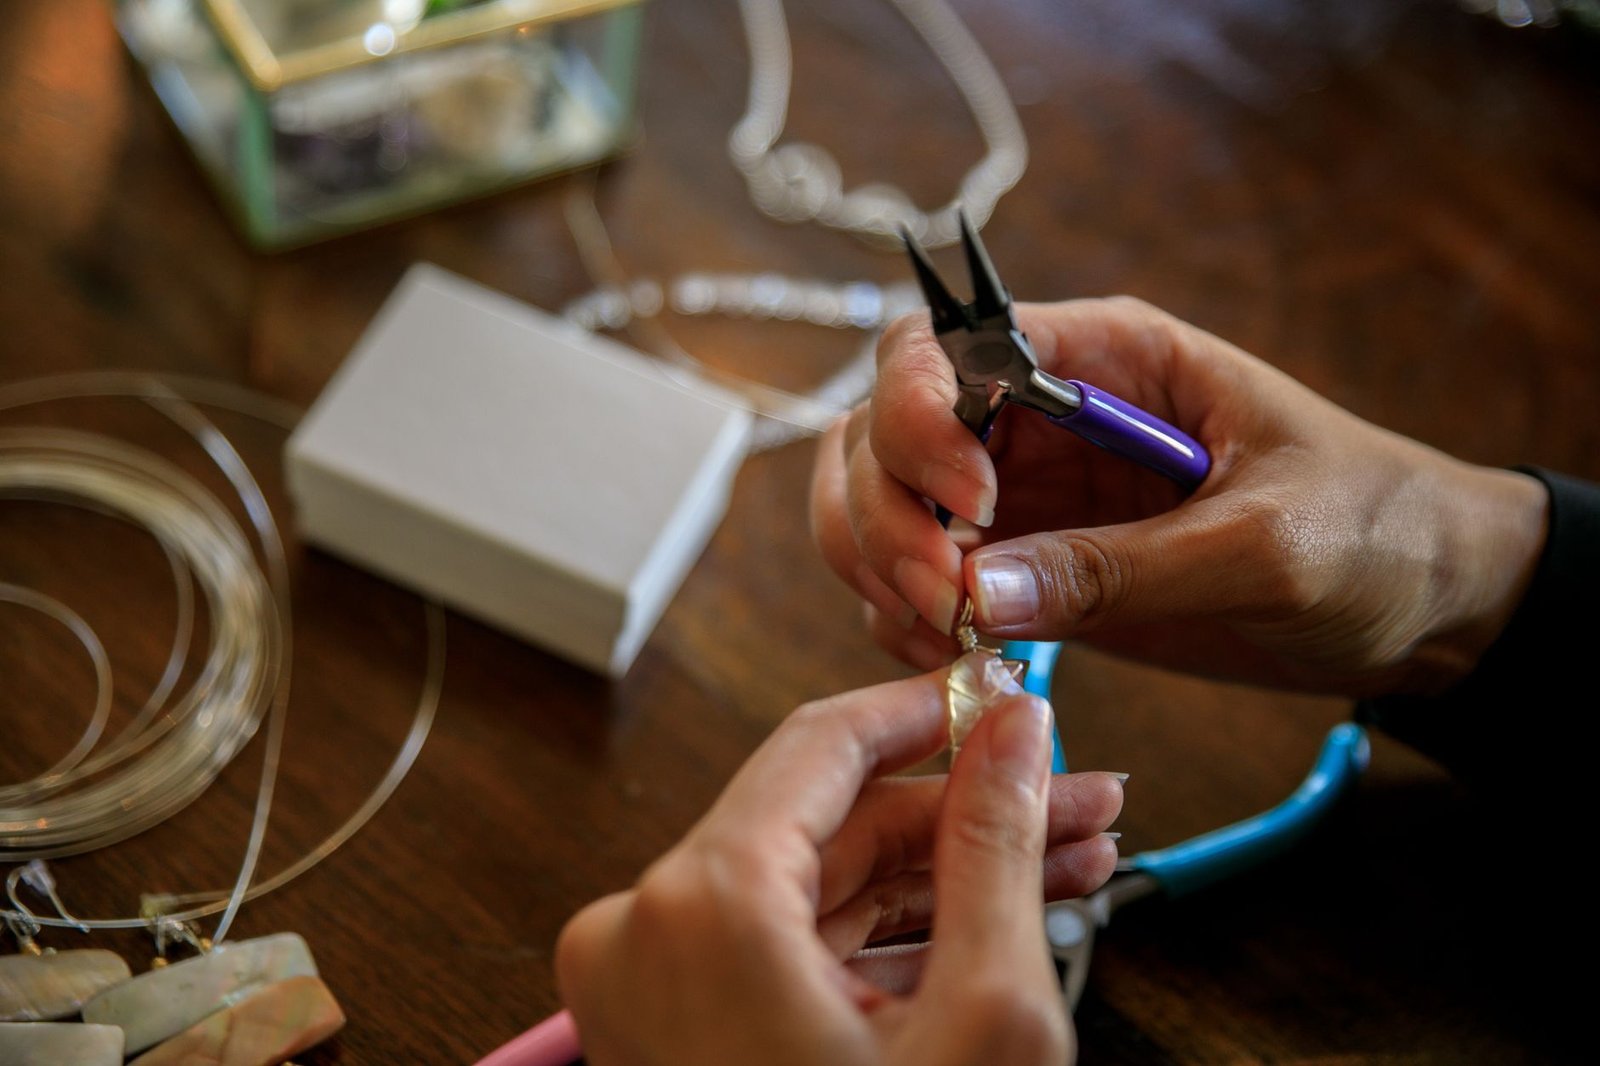
Pliers and metal cutters can wait unless the project uses wire, jump rings, or a clasp. Round-nose pliers shape loops in wire; chain-nose pliers grip and bend wire or open jump rings; flush cutters trim wire ends. Ordinary scissors are for cord, not metal. If a later project calls for metal findings, a guide to choosing beginner jewelry pliers can help narrow down which tool to buy first. For now, keeping the setup small leaves more room to focus on bead spacing and a secure knot.
Choose beads and elastic that work together
-
01Check the bead holes
Elastic must pass through each bead hole easily, with enough room for a second pass when securing the knot. If a bead is a tight squeeze, choose a thinner cord or a different bead; the guide to choosing bracelet elastic explains the trade-offs.
Look forBeads that slide freely onto the chosen cord.AvoidForcing thick elastic through narrow or rough holes. -
02Keep the first bracelet light
A full strand of heavy stone or large glass beads can pull on the elastic and feel cumbersome at the wrist. Smaller, lighter beads make a more forgiving first project.
Look forSmooth, lightweight beads around 6–8 mm.AvoidA whole bracelet of oversized, heavy beads. -
03Plan length from the wrist, not a bead count
Measure the wrist first, then lay beads beside a ruler to estimate the strand length. Larger beads take up more room on the inside of the bracelet, so a chunky strand may need extra length for the same comfortable fit. The wrist-measuring steps help establish a starting size.
Look forA measured wrist and a trial layout before cutting cord.AvoidFollowing a fixed bead count without checking fit. -
04Buy only what the project needs
A simple shopping list is one strand of beads, elastic that fits their holes, sharp cord scissors, a ruler, and a bead mat or tray. A piece of tape can hold one cord end while stringing; leave extra cord for tying and hiding the knot.
Look forA small set of compatible supplies.AvoidClasps, crimps, or pliers for a basic stretch bracelet.
Two metal-connection skills for later
A stretch bracelet needs neither jump rings nor wire loops. Once beads and elastic feel familiar, these two skills open up projects with clasps, charms, and dangling beads.
A jump ring is a small metal ring that joins components. Hold each side of its opening with pliers and twist one end toward the body while the other moves away. Do not pull the ends apart: that can distort the circle and make it harder to close neatly. Reverse the twist until the ends meet.
A wrapped wire loop gives a bead a sturdy connection point. After threading a bead onto wire, bend the wire above it, form a loop with round-nose pliers, then wrap the short tail around the stem below the loop. Trim and tuck in the cut end so it cannot catch on skin or clothing.
Make a stretch bracelet, start to finish
-
01Lay out the beads
Arrange the beads on a mat in the order they will be strung. Measure the row against the intended bracelet length, using the wrist measurement as a starting point. Larger beads take up more space on the inside of the bracelet, so the fit will need checking on the wrist.
-
02Cut extra cord
Cut a piece of elastic about 10–12 inches longer than the bead layout. The spare length makes the beads easier to handle and leaves enough cord to tie a secure knot. If the bead holes are large enough for the cord to pass through twice, folding the cord can make stringing easier.
-
03String the pattern
Thread the beads in their planned order, keeping a finger or bead stopper over the free end. Pause occasionally to check the pattern. Leave several inches of bare cord at both ends for tying.
-
04Check the fit
Hold the ends securely together and slip the bracelet over the hand. It should pass over the knuckles without a hard pull and sit comfortably at the wrist without sliding off. Add or remove beads before tying; forcing a tight bracelet over the hand strains the elastic.
-
05Tie the knot
Bring the beads together without stretching the cord, then follow the steps for a knot that holds on stretch cord. Pull each cord end firmly enough to seat the knot, but not so hard that the elastic thins. Check that no gap opens between the last beads.
-
06Test before trimming
Gently stretch the finished loop a few times, then wear it briefly while the cord ends are still long. Inspect the knot for slipping and the bracelet for an uncomfortable fit. Only after both checks pass should the tails be trimmed, leaving a small margin rather than cutting flush against the knot.
The knot is the likeliest place for a stretch bracelet to fail. If its tails move during the gentle stretch test, untie and redo it while there is still cord to work with. A bead can hide a secure knot if its hole is wide enough, but pulling the knot into a narrow hole may loosen it.
What to make next
A clasped beaded bracelet builds on the layout and fit skills from a stretch bracelet. It adds beading wire, crimps, and a clasp: each end needs a secure finish before the bracelet is ready to wear. If the maker will fasten it alone, the clasp should be easy to grip and close with one hand. Testing that motion before attaching it can save a frustrating remake.
Beaded earrings are a smaller project, but they introduce metal findings and pliers. A bead on a head pin can be finished with a loop, then attached to an earring hook; making two similar loops is useful practice. For sensitive ears, hook material deserves attention because it touches the piercing. Clearly identified metals, such as implant-grade titanium, are a better starting point than unlabelled hooks, though reactions vary.
Check the finish before wearing
A finished piece deserves one last check, even if it looks secure on the work surface. Look closely at each connection: a jump ring should close without a visible gap, and no sharp wire end should catch on a fingertip. Gently tug each finished end rather than pulling hard on the whole piece. If anything shifts, fix it before wearing it.
Then try the piece on and notice how it hangs. A bracelet should move comfortably without sliding off; earrings should hang as intended rather than twisting. On a crimp-finished design, a bead that slips along the wire signals a loose finish that needs reworking. Stretch bracelets have no crimps, so their knot and cord are the points to check instead.
For a necklace, check the chain for weak or open links, especially if it carries a pendant. Let the pendant hang freely and see whether its front faces outward. A pendant that repeatedly turns sideways may need a different connection to the chain.
A finished bracelet makes a better shopping list than a cart full of possibilities. Wear it for a day: does it pinch, roll, or slide over the hand? Check the knot and elastic again after a few wears. A poor fit or frayed cord is worth fixing before making another. Then let the next project set the purchase: crimps and pliers for a clasped bracelet, hooks and head pins for earrings, or chain and findings for a necklace.
Seed-bead weaving is a separate path, not a required next step. Once handling small beads feels comfortable, starting peyote stitch with a stable first row opens up patterned beadwork instead of another strung design.