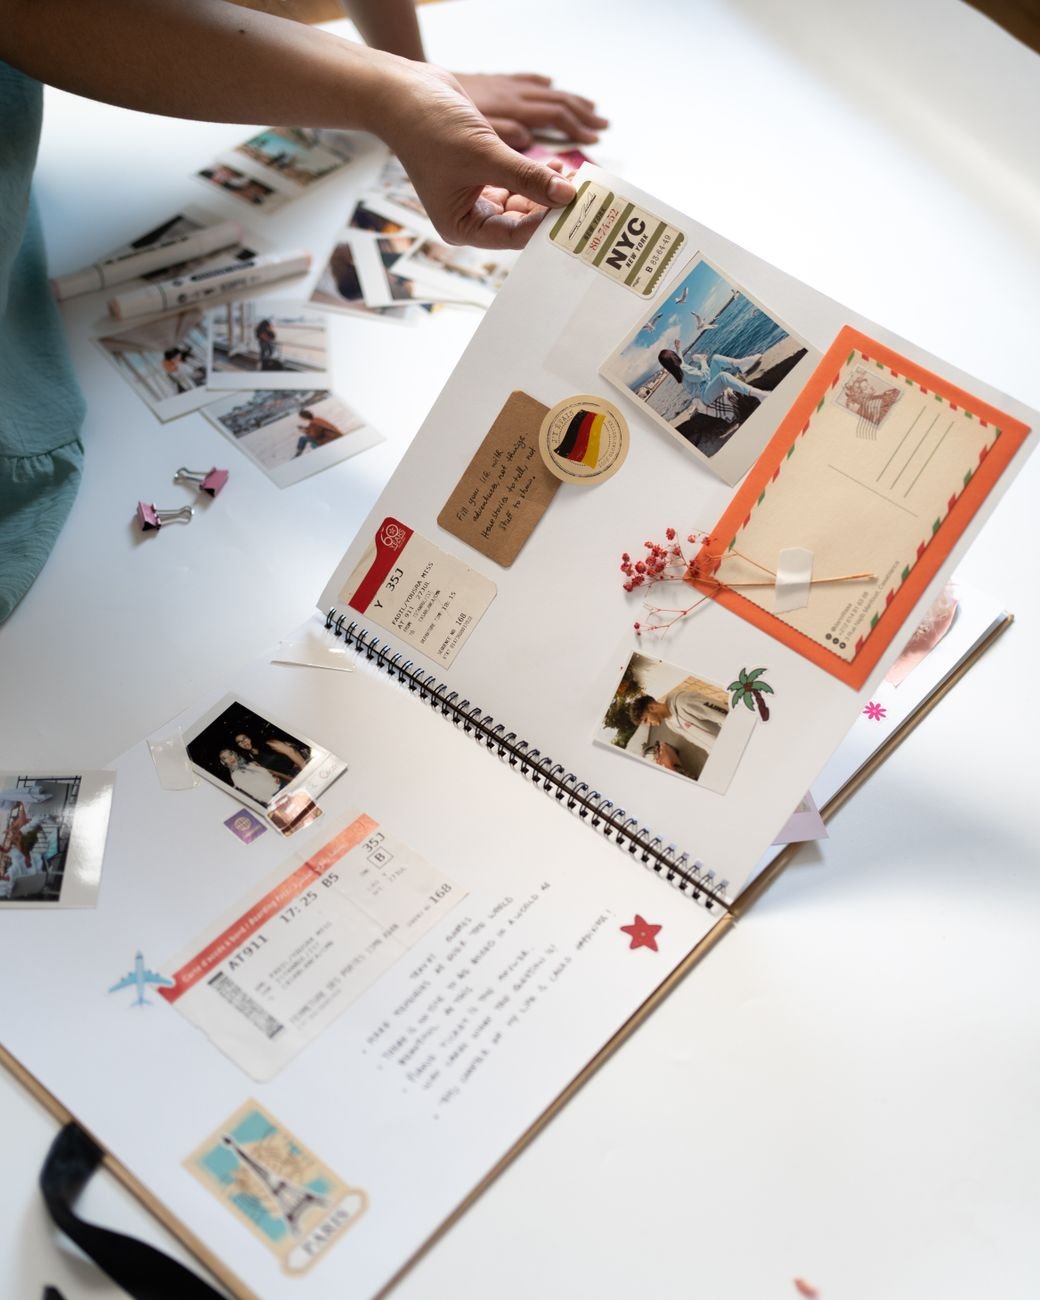
The easiest way in is to make something small enough to finish today.
A stack of photos beside a pile of patterned paper can make a quiet afternoon feel oddly complicated. Choose one photo for a scrapbook page, then give it a date and a short caption. A plain sheet of cardstock leaves plenty of space; a strip of patterned paper is enough to add color.
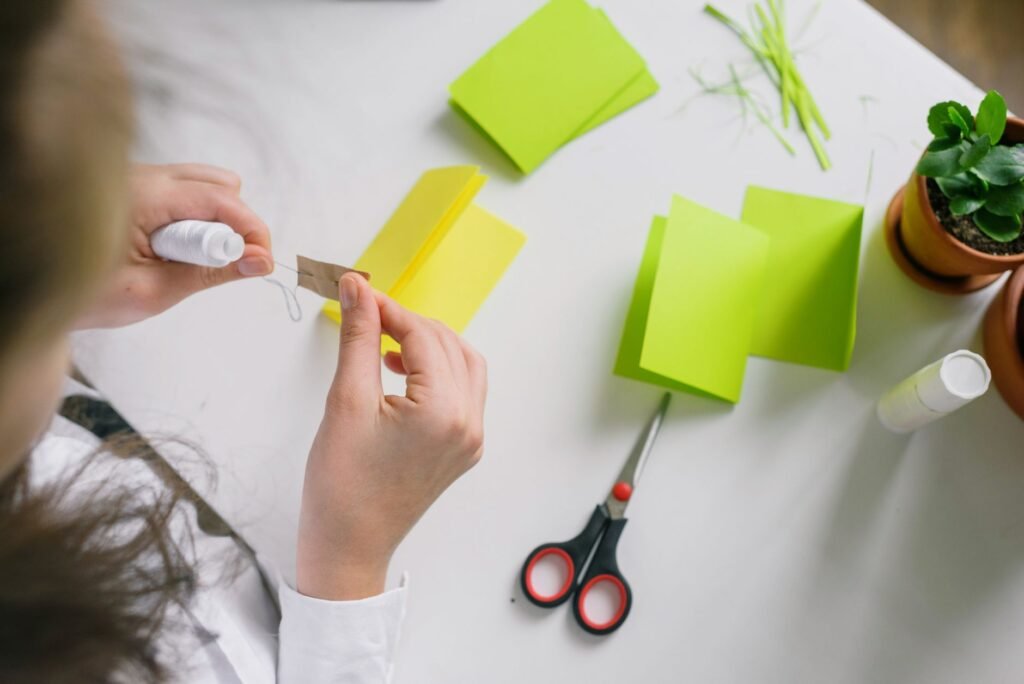
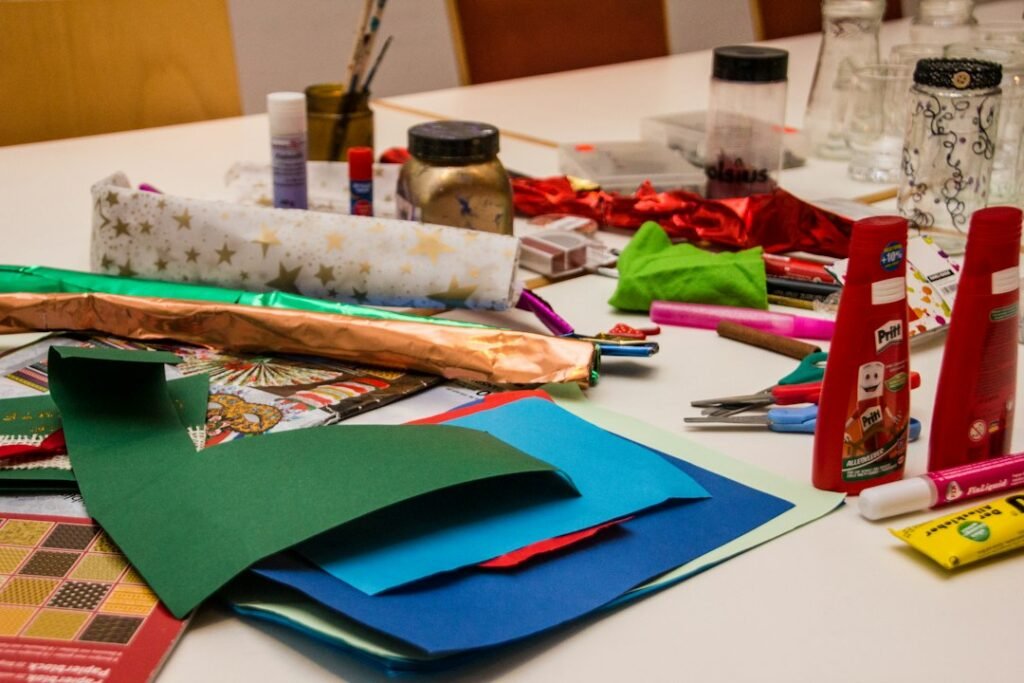
For a first card, fold another sheet of cardstock and use an offcut from the page on the front. Add a handwritten message inside. Scissors, adhesive, and a pen can carry both projects from start to finish, with no need to settle on a signature style first.
Choose the moment and the recipient
A first scrapbook page is easier to plan when it records one moment, rather than an entire holiday or event. A birthday candle being blown out or a dog’s first walk gives the page a clear subject. Choose one to three photos that show it; if two look nearly identical, keep the sharper one. A short caption can name the people, place, and date.
For the card, decide who will receive it and why before choosing decorations. A note to a friend recovering from a cold calls for a different message than a thank-you to a neighbor. Draft one or two sincere sentences on scrap paper, leaving space in the card for a signature.
Settle on a page size and check that the photos fit without crowding the edges. For the card, choose an envelope first, then plan a folded card slightly smaller so it slips in easily. Arrange the photos, caption, and message before cutting anything; moving paper around is easier than fixing a photo trimmed too tightly.
A small kit for the first page and card
-
01Paper that fits the project
One sheet of background paper is enough for a scrapbook page. A plain folded card blank provides a ready-made base for a card.
Keep handyA page-sized sheet and a card blankSkip for nowLarge paper packs before a design is chosen -
02Simple measuring and cutting tools
A ruler, pencil, and sharp scissors handle most first-project cuts. Mark measurements lightly on the back of the paper.
Keep handyA ruler, pencil, and scissorsSkip for nowBuying a paper trimmer for one project -
03Adhesive suited to photos
Use adhesive labeled photo-safe, or use photo corners to hold a print without putting adhesive on its back. Keep ordinary household tape off photographs.
Keep handyPhoto-safe adhesive or photo cornersSkip for nowHousehold tape on prints -
04Extras with a purpose
Paper offcuts can add color to a card without a new purchase. Decorative supplies, a home printer, and heavier cardstock can wait until a project needs them.
Keep handyUseful offcuts from the first pageSkip for nowBuying supplies for projects not yet planned
Make a page from an ordinary afternoon
-
01Pick two or three photos
Choose one photo that shows the moment clearly, then one or two that add a detail: muddy shoes, a half-finished cake, or the view from a walk.
-
02Arrange before attaching
Set the main photo slightly off-center and place the smaller ones nearby. Leave a clear border around the group and an open spot for a caption; if the page feels crowded, remove a photo rather than shrinking every gap.
-
03Add one paper accent
A strip of colored paper beneath the photos can bring the group together. Keep it flat so the page turns easily.
-
04Write what the photos cannot show
Include a date or place and one small detail: “Saturday walk to the bakery; the rain started just as the pastries came out.” A couple of lines are enough.
-
05Attach and let the page rest
Once the arrangement looks balanced, secure fresh prints with photo-suitable adhesive and attach the flat paper accent. Check that no edges lift before sliding the page into an album.
Fresh prints and ordinary paper are practical to trim and attach. Old original photos and ticket stubs deserve a different approach: scan or photograph them for the page, then store the originals separately. If an original belongs on the page, use a suitable sleeve or photo corners rather than putting adhesive directly on it. Avoid laminating ticket stubs; some printed tickets fade with heat.
Make a card base that fits its envelope
-
01Measure the envelope first
Measure the space inside the envelope, not just its outside edge. A common A2 envelope, about 4⅜ × 5¾ inches, takes a flat card measuring 4¼ × 5½ inches.
-
02Mark and cut the cardstock
For that size, cut a letter-size sheet of cardstock to 8½ × 5½ inches. Mark the cut line lightly in pencil and check its distance from the paper edge at both ends before cutting; uneven marks make a crooked card.
-
03Find the fold
Measure 4¼ inches along the 8½-inch side and mark the midpoint at the top and bottom. Fold the sheet so its cut edges meet, then press the crease firmly with a ruler or the back of a spoon.
-
04Check the blank card
Close the card and compare its corners and edges. Trim a small overhang if needed, then slip the card into the envelope. It should slide in without bowing or catching.
-
05Keep the measurements
Write the cut size and fold position on a paper scrap for the next card. Leave this first card flat until the fit is right; raised decorations can change how easily it goes into the envelope.
Give the card front one focal point
The folded card is ready for a front design. Either a short greeting or a small photo can carry it; neither needs a border of decorations to feel finished. Leave a clear margin around the focal point so it stands out when the card is held at arm’s length.
- Stamped greeting: Try “Happy birthday” or “Thinking of you” in the center or lower third of the card. Test the stamp on scrap paper first, then press it straight down and lift it straight up. Let the ink dry before folding or stacking the card.
- Small photo: Place a trimmed photo slightly above center, with open space on all sides. A copy works well when the original matters. Before attaching it, lay the photo on the card and check that its edges sit comfortably away from the fold.
Stick to one or two colors and, at most, one extra paper layer. A narrow strip of contrasting paper can anchor a photo, but it is optional; if the front already looks balanced, stop there. Put the longer, personal note inside the card. That keeps the front easy to read while giving the recipient something worth opening.
Small fixes for first-project snags
Before attaching anything, lay the pieces on the page or card and step back. A quick dry arrangement makes it easier to spot a crowded corner or a greeting that sits too close to the fold. On a card, check that the front still opens freely and fits the envelope.
- If the page feels crowded, take away one accent before moving everything else. Leave a little clear space around the photo and caption so both remain easy to see.
- If a card piece looks crooked, lift and reposition it before pressing the adhesive firmly. For a piece already stuck down, leave it rather than risk tearing the card; a slight slant may be less noticeable than a repair.
- If an edge lifts, add a small amount of suitable adhesive beneath the loose corner and press it down gently. Keep wet glue away from photos, since excess moisture can wrinkle paper.
Small adjustments usually do more than an extra decoration. Once the arrangement looks settled, attach the largest piece first, then check the placement of smaller pieces as they go on.
Set the page or card flat on the table and look at it from arm’s length. If the focal point is clear, there is no need to fill every gap.
Give both projects a safe place
Once the adhesive has dried, slip the scrapbook page into a photo-safe page protector. It keeps fingerprints and loose paper edges away from the photo while making the page easy to handle. If a protector is not available yet, store the page flat between clean sheets of paper until it can go into an album.
Close the album gently after adding the page. Thick buttons, stacked foam pieces, and other raised accents can make pages bow or leave marks on the page opposite. A paper cutout or a stamped detail gives a first page a finished look without taking up much room.
Put the finished card, including any note tucked inside, into its envelope before sealing it. It should slide in without a push, and the envelope should lie reasonably flat. Bulky decorations can catch on the envelope or get crushed in transit; they may also affect postage requirements. Flat finishes are the simpler choice for a first card that will be mailed.
- Pick a moment Choose one or two photos from a single moment, and decide who will receive the card.
- Ready the table Set out paper, ruler, pencil, scissors, photo-suitable adhesive, photos, and an envelope. Check sizes before cutting.
- Try one change Make the page or card again, changing only the paper color, caption, or greeting. Keep the tools and layout familiar.
A second try shows what the small kit can already do. If a specific task remains difficult, that is a better reason to add a supply than an empty-looking corner.