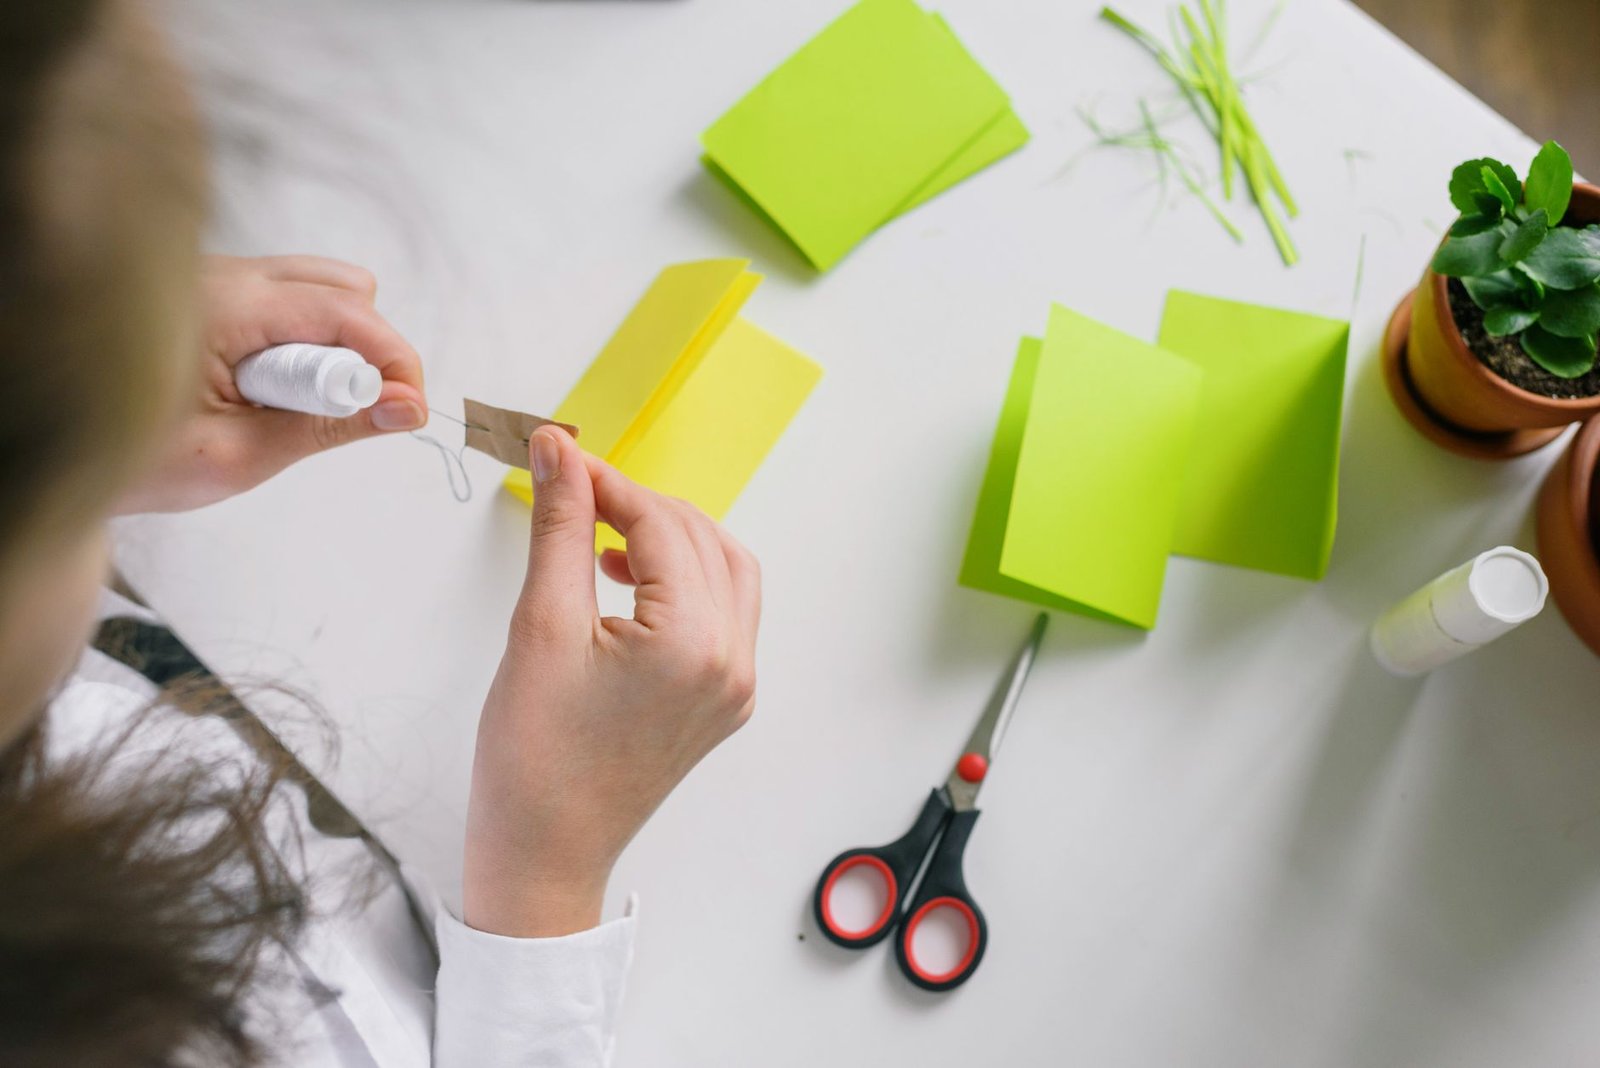
A blank sheet feels less daunting when it has a purpose.
A birthday visit is tomorrow, and the craft drawer holds only paper, scissors, glue, and a pen. A folded greeting card is a good first project: it uses familiar supplies, leaves room for a personal message, and can be finished in one sitting. If there is no glue, a simple folded bookmark is an even easier place to begin.
Pick one small result rather than trying to learn cutting, folding, and decoration all at once. A slightly crooked edge rarely matters on a handmade card; a finished piece is more encouraging than a pile of ambitious starts.
A small kit is enough to start
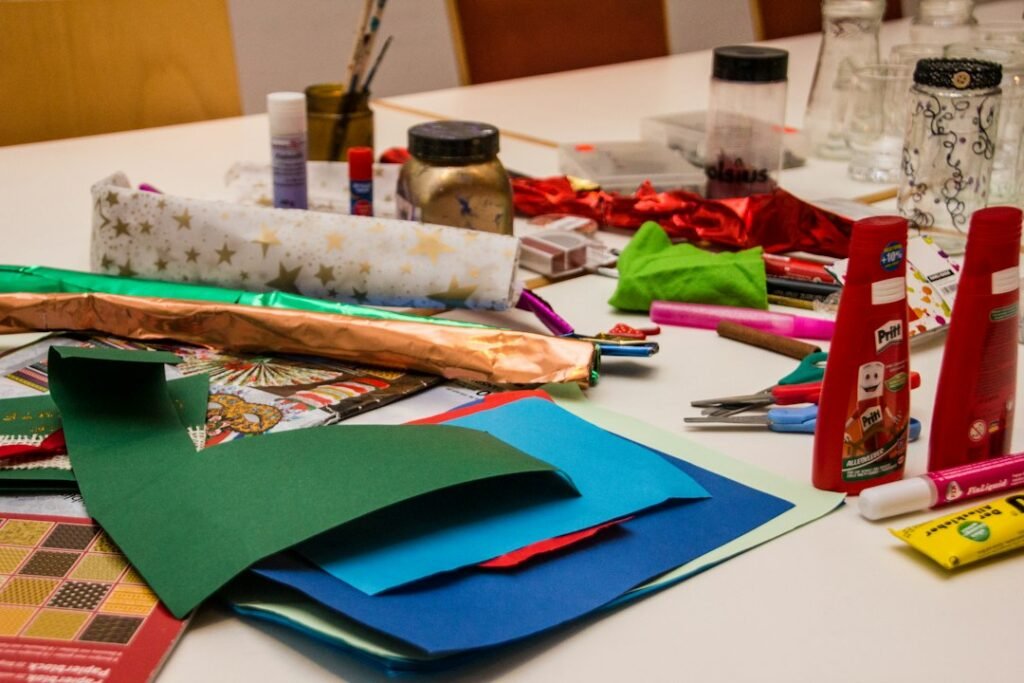
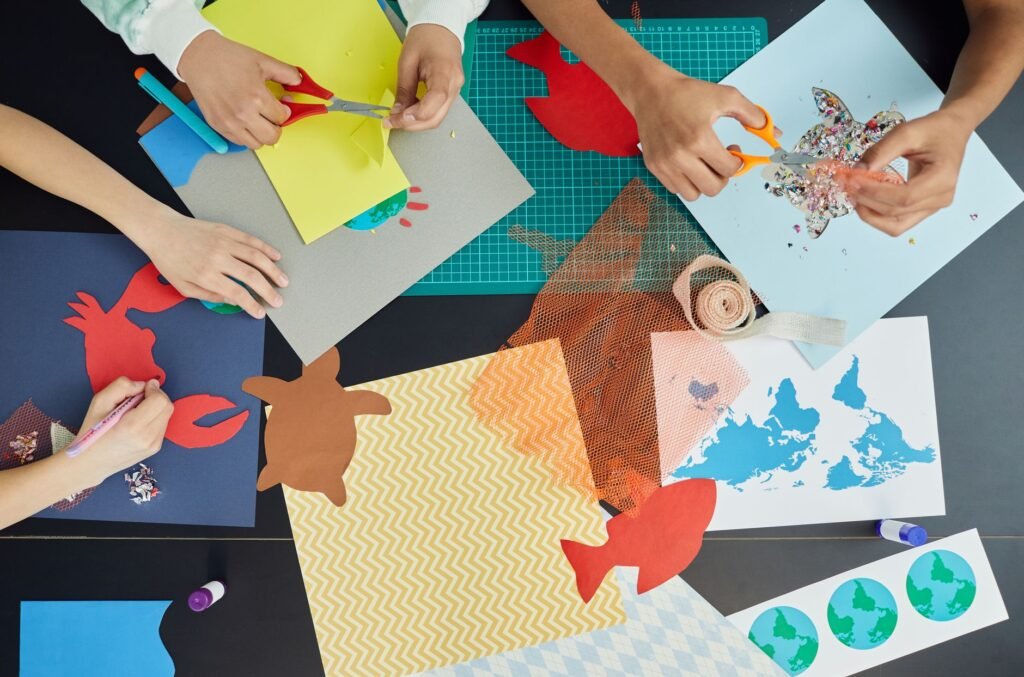
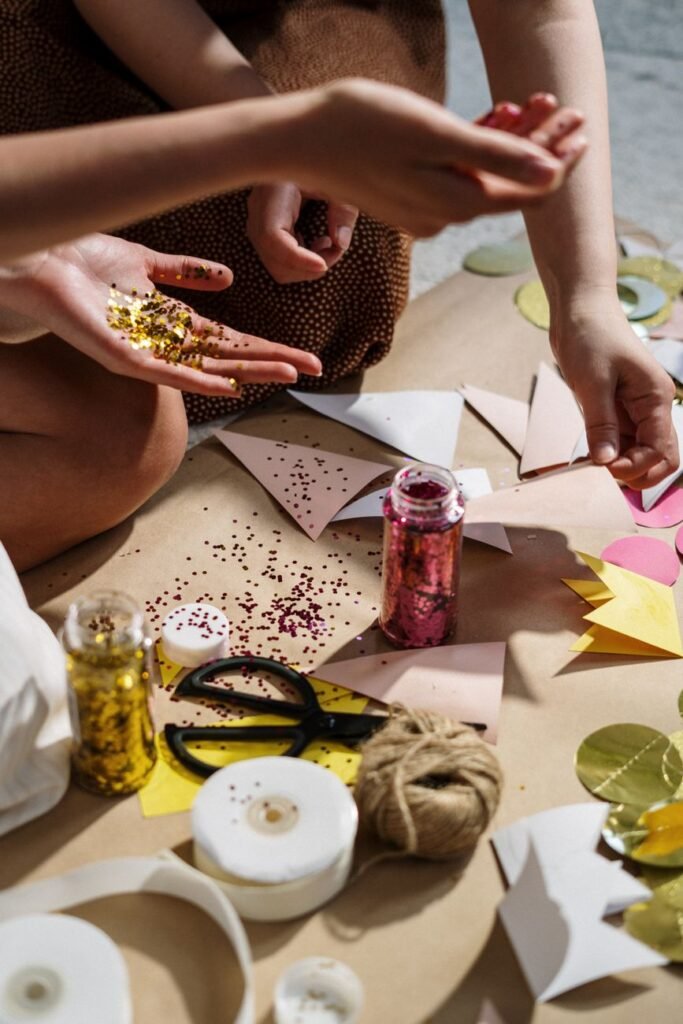
A first project needs little more than printer paper, a few colored sheets, scissors, a ruler, a pencil, and a glue stick. Printer paper is inexpensive enough for practicing folds and cuts; colored paper makes even a simple card or bookmark feel finished. A ruler helps keep folds and cut lines straight, while pencil marks can be erased or hidden on the back.
Paper choice matters more than having a large collection. Thin paper folds easily and works well for origami-style shapes, though it can wrinkle under too much glue. Sturdy paper holds its shape better for cards, standing decorations, and pieces with several layers. If the colored sheets feel flimsy, gluing one to a folded piece of printer paper can add some firmness without another purchase.
Absorbent paper is useful for painted washes or wet ink because it takes up moisture. Ordinary printer paper may buckle when damp, so a small test is worthwhile before adding water to a finished piece. The same goes for any unfamiliar glue or marker: try it on an offcut first and let it dry.
After a card, bookmark, or folded shape, it becomes easier to tell whether thicker or more absorbent paper would actually help. Specialty supplies can wait until a project calls for them.
Fold a corner bookmark
-
01Start with a square
A 15 cm (6 in) square of thin paper is easy to handle. Set it on the table with one corner pointing up.
-
02Make a triangle
Fold the bottom corner up to meet the top corner. Align the edges before pressing the crease from the center outward.
-
03Mark the side folds
With the triangle’s point at the top, bring each bottom corner up to meet it. Crease both folds, then unfold them.
-
04Make the pocket
Fold only the front layer of the top point down to the middle of the bottom edge. Leave the back layer in place.
-
05Tuck in the corners
Bring the bottom corners up along their earlier creases and tuck their tips beneath the folded-down flap. Smooth the edges, then slip the pocket over a page corner.
A crane can be a next project for anyone who enjoys folding; it takes more steps, not more talent.
Cut a snowflake that opens into a surprise
-
01Start with a square
Use a square of ordinary printer paper, about 15 cm (6 in) across. It is thin enough to cut through several layers without much effort.
-
02Fold it into quarters
Fold the square in half, then in half again. Press the creases flat; the corner where both folds meet will become the center of the decoration.
-
03Sketch a few broad cuts
Draw a shallow curve along one outer edge and a wide V-shaped notch along one folded edge. Leave plenty of paper around the double-folded corner so the finished piece stays connected.
-
04Cut through the layers
Cut out the drawn shapes with scissors, turning the folded paper rather than forcing the blades around a tight corner. Two or three generous cuts are enough for a striking pattern.
-
05Open it slowly
Unfold one crease at a time to reveal the repeated shapes. If the paper catches, ease the layers apart rather than pulling: thin strips and narrow bridges tear more easily than broad ones.
The same folds work for a small symmetrical decoration; changing the outer edge gives it a different silhouette.
Make a card with paper coils
Quilling turns narrow paper strips into small shapes that sit slightly above the surface of a card. Strips cut from ordinary colored paper work well for a first try; precut quilling strips simply save the measuring and cutting.
Cut several strips about 3 mm wide. Wrap one around a toothpick, slide it off, and let it relax into a loose coil. A tiny dab of glue on the free end keeps it from unwinding. Make five or six coils of roughly the same size, but leave room for small differences—matching them exactly is not necessary.
For a flower, pinch one side of each coil into a point to make petals. Arrange them around a small round coil, then glue the edges that touch the card rather than pressing the coils flat. A narrow green strip makes a stem; two more pinched coils can become leaves.
The same loose coil can become a balloon instead. Glue one round coil near the top of the card and draw a fine string beneath it. Before attaching any shapes, lay out the design dry: a small gap between coils helps each shape remain visible.
Build a simple layered flower
A paper flower needs no realistic petal pattern to look lively. Cut six to eight rounded petals, making half slightly smaller than the rest. Uneven edges are fine; a little variation keeps the flower from looking stamped out.
Before gluing, give each petal a shallow curve by drawing it gently over a finger. Crepe paper offers more shaping control: its stretch lets a petal form a small cup. Tissue paper creates a softer, airy flower, but it tears easily, so handle it lightly rather than trying to stretch it.
Glue the larger petals around a small paper circle, overlapping their bases. Add the smaller petals on top, offsetting them so they sit over the gaps below. A crumpled paper ball or a few tiny scraps make an easy center. Let the glue dry before lifting the flower onto a card or gift tag.
Build a sculpture from curved strips
A few paper strips can make a standing sculpture without paste or drying time. Unlike a sharp fold, which gives paper a definite edge, a smooth curve lets it rise into an arch. Medium-weight cardstock works well: it bends around a pencil but stays firm enough to hold its shape.
Cut three strips about 1.5 cm wide, in lengths of 12, 16, and 20 cm. Gently draw each strip over the side of a pencil to start the curve; avoid pressing hard enough to leave a crease. Attach both ends of the longest strip to a small cardstock base with double-sided tape, making an arch. Place the shorter arches inside it, securing their ends in the same way.
If an arch keeps springing flat, curve it a little more before attaching it. If it droops, try sturdier paper or shorten the strip. The finished piece can stand on a shelf, and the same method works with a single loop hung from thread.
Shape a small paper-mâché bowl
-
01Cover the mold
Turn a small bowl upside down and cover its outside with plastic wrap, smoothing it over the rim. The wrap keeps the paper from sticking to the bowl. Tear newspaper or other soft paper into strips about a finger wide.
-
02Mix the paste
Prepare enough paste to coat the strips without leaving thick blobs. The paste preparation steps offer a starting point for a mixture that holds the layers together.
-
03Build thin layers
Dip each strip in paste, slide off the excess with two fingers, and lay it across the covered bowl. Overlap the strips in different directions, stopping short of the mold’s bottom so the finished bowl has an opening. Add two or three thin layers rather than one soggy coat.
-
04Let it dry, then lift it off
Set the mold somewhere with moving air and leave the paper until it feels firm and dry. Carefully loosen the edge and lift the shell away with its plastic wrap; peel the wrap off gently. If the inside feels cool or damp, let it dry longer. The checks for a damp interior help when drying stalls.
-
05Finish the edge
Once both sides are dry, trim any uneven paper at the rim with scissors. Paint or add a light paper decoration if desired; the bowl is for display, not food or water.
A dry-looking outside can hide a damp interior. Wait until the inside is completely dry before painting or adding decoration; a coating can trap moisture in the paper.
- Quick and useful A folded corner bookmark is a quick, useful first project that needs no glue.
- Surprise reveal A folded-and-cut snowflake rewards a few broad cuts with a pattern revealed when the paper opens.
- Decorative or sculptural A coiled card or layered flower makes a small decoration; curved cardstock strips offer a freestanding shape without wet glue.
- Multi-day project A paper-mâché bowl takes longer because its overlapping strips must dry before the bowl can be trimmed or decorated.
The best first attempt is a small test piece, not a finished showpiece. One bookmark, cutout, petal, arch, or molded layer reveals how the paper behaves. Once that works, extra detail, layers, or specialty paper become easier to judge—and less frustrating to use.