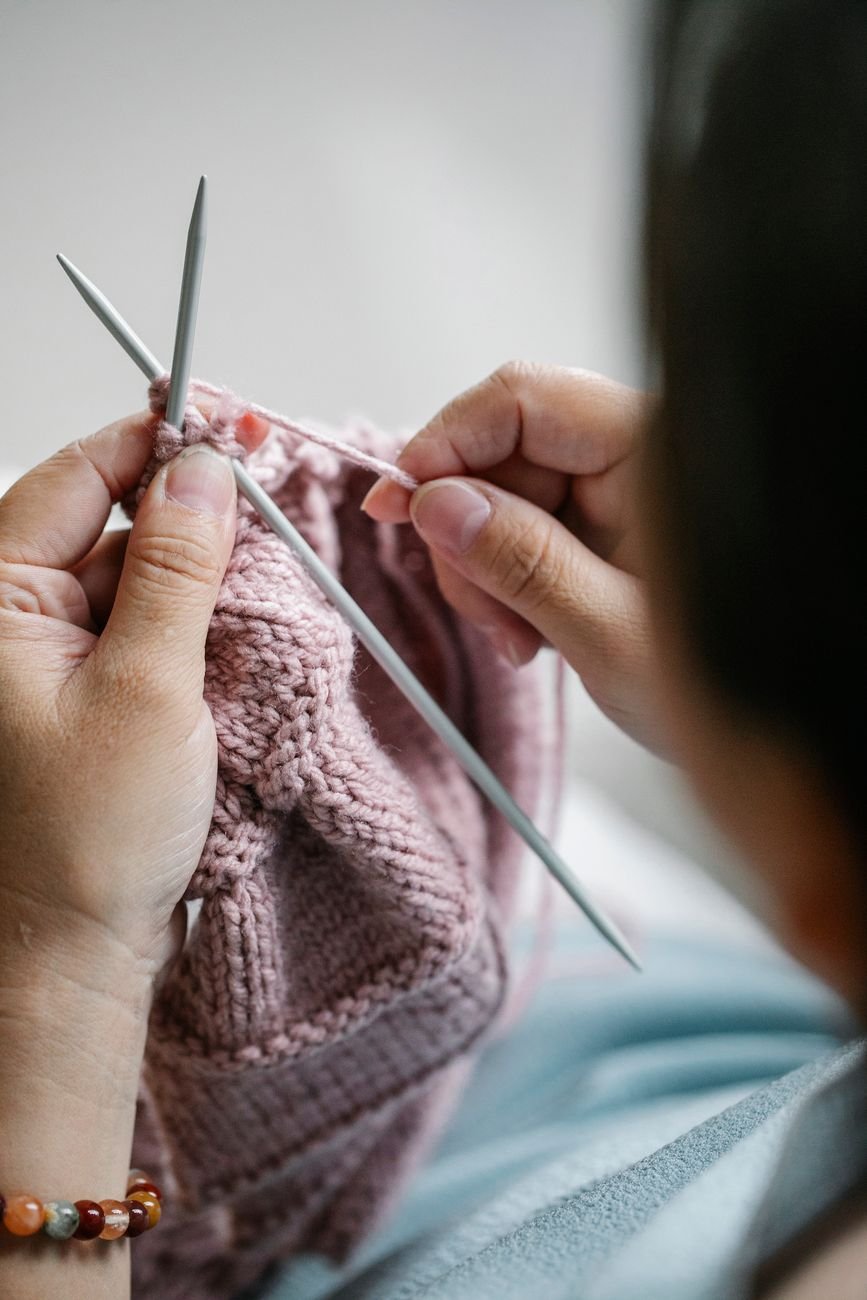
The first stitches can be useful long before they look polished.
At a craft-store shelf, dozens of yarns and tools can make a simple first project feel complicated. One ball of smooth, light-colored, medium-weight yarn is easier to see and handle than fuzzy or very dark yarn. Add either a pair of knitting needles or a crochet hook in the size suggested on the yarn label; there is no need to buy both.
A small dishcloth or practice swatch leaves room for uneven stitches without demanding a perfect result. Once the basic motion feels familiar, choosing a larger project becomes much less of a guess.
Knitting or crochet first?
Knitting uses two needles to hold a row of live stitches: each new row is worked through loops still sitting on a needle. It often makes a flexible, smooth fabric suited to scarves and stretchy cuffs. A dropped stitch can unravel down several rows, but that is less daunting on a small practice piece.
Crochet uses one hook and usually keeps just one active loop on it. Each stitch is completed before the next begins, so it is easy to pause or pull back a few stitches. Crochet fabric is often thicker or more textured, making a coaster or granny square an appealing first project.
Neither craft is automatically easier. Some beginners prefer managing one hook; others find the rhythm of two needles more natural. A look at how the learning curves compare may help, but the fabric or project that sounds most enjoyable is a better reason to begin. The other craft can come later.
Buy only what the first project needs
-
01Match the tool to the yarn
A yarn label usually suggests a hook or needle size in millimeters. That size is a practical starting point; a first practice piece does not require exact gauge.
Look forOne hook or pair of needles near the label’s suggested sizeSkipBuying a full set before trying a stitch -
02Choose a comfortable grip
A hook handle or needle should feel easy to hold without squeezing. If a thin hook feels awkward, a cushioned handle may be worth the small extra cost.
Look forA tool that rests comfortably in the handSkipChoosing solely by appearance -
03Consider how stitches move
Bamboo or wood needles have a little grip, which can help new stitches stay put; smooth metal lets stitches slide faster. Either works, so comfort matters more than finding a perfect material.
Look forNeedles that feel controllableSkipAssuming the most expensive material is easiest -
04Add two finishing basics
Small scissors cut the working yarn. A blunt yarn needle threads the loose ends through finished stitches so they stay tucked away.
Look forScissors and a blunt needle with a large eyeSkipLeaving loose ends knotted and dangling
Choose yarn that makes stitches easy to see
A smooth, light-colored medium-weight yarn makes the first stitches easier to find and count. A plain acrylic or acrylic blend is an inexpensive practice choice. Check the pattern’s yardage before buying for a small project, and get enough of the same yarn to finish it; changing yarn halfway through can alter the fabric’s look or feel.
Dark colors make it harder to see where one loop ends and the next begins. Fuzzy yarn hides the needle or hook’s entry point, while heavily textured yarn can make an even stitch look uneven. Those effects may be appealing later, but they make early mistakes harder to spot.
Practice yarn need not be the yarn for every project. A stuffed toy needs firm stitches and a fabric that holds its shape, so yarn choices for amigurumi deserve a fresh look. A sweater calls for different priorities: softness, drape, and care requirements matter more in yarn meant for regular wear.
Knit a small rectangle
-
01Cast on 15 stitches
Make a slip knot on the left needle. Insert the right needle through the loop, wrap the working yarn—the strand attached to the ball—around it, pull a new loop through, and place that loop on the left needle. Repeat until 15 loops, or stitches, sit on the needle.
-
02Knit across
Insert the right needle into the front of the first stitch. Wrap the yarn, pull a new loop through, then let the old stitch slide off the left needle. Repeat across the row.
-
03Turn and repeat
Move the needle holding the stitches to the left hand and knit back across. Keep making rows until the piece is as long as desired; counting 15 stitches after each row helps catch a dropped stitch early.
-
04Bind off
Knit two stitches, then lift the first over the second and off the needle. Knit another and lift the previous stitch over it. Continue across, then cut the yarn and pull its end through the last loop.
Crochet a small rectangle
-
01Make a chain
Put a slip knot on the hook. Wrap the working yarn around the hook and pull it through the loop; repeat until there are 16 chains.
-
02Work the first row
Insert the hook into the second chain from the hook. Wrap the yarn and pull up a loop, then wrap again and pull through both loops on the hook. This makes one single crochet; repeat in each chain for 15 stitches.
-
03Turn for the next row
Chain one, then turn the work. Single crochet into the first stitch of the previous row and continue across. The turning chain gives the row height but does not count as one of the 15 stitches.
-
04Repeat and secure the end
Turn and work rows the same way until the rectangle is long enough. Cut the yarn, pull the end through the loop on the hook, and tighten gently.
Keep the rectangle on track
A practice rectangle does not need tidy edges to be useful. After each row, pause and count: for knitting, count the loops on the needle; for crochet, count the V-shaped stitch tops across the row, not the working loop on the hook. A 15-stitch sample should still have 15 stitches unless the instructions deliberately add or remove them.
The ends are where counts often change. In crochet, the final stitch can hide beside the turning chain, while the turning chain can look like an extra stitch. Place a removable marker in the first and last stitch of a row, then move the markers up as the work grows. Follow the instructions for the chosen stitch to decide whether the turning chain counts. In knitting, check the edge loops before turning, especially if one looks loose or has slipped off the needle.
Lay the rectangle flat every few rows. Edges that drift outward or inward with a changing stitch count suggest an accidental increase or missed stitch. If the count holds steady but some rows look wider, uneven tension is more likely; that usually settles with practice. A slightly wavy first sample is not a reason to start over.
Read a first pattern
A beginner pattern usually starts with a materials list: yarn amount, hook or needle size, and any extras such as a yarn needle. Look nearby for the project’s finished size and, if more than one size is offered, which set of instructions applies. Check the pattern’s abbreviation key before starting; a familiar-looking letter can mean something different in another pattern.
Next, find the starting count. Knitting patterns state how many stitches to cast on; crochet patterns usually give a foundation chain count or another starting method. Count that first row or chain before moving on. In crochet, also check whether the turning chain counts as a stitch—the pattern should say.
Work through the numbered rows or rounds one instruction at a time. A round joins or continues around a shape; a row works back and forth. Parentheses or brackets often group stitches to repeat, while a number at the end may give the expected stitch count. If the count differs, it is easier to find the mistake now than several rows later.
Finally, read the finishing directions before cutting the yarn. They explain when to bind off or fasten off, how long a tail to leave, and whether the piece needs seaming or woven-in ends.
Choose a small first project
A first project is easier to finish when it uses the same stitch across a simple shape. Flat squares and rectangles let a beginner concentrate on making each row and keeping the edges steady. They also give the piece a clear endpoint: a chosen number of rows or a useful finished size.
- For knitting: A dishcloth works well in a washable yarn. Knit every row for a textured square, then bind off when the length roughly matches the width. A short scarf section offers the same practice without requiring a perfect square; it can become a small neck warmer if it reaches a comfortable length.
- For crochet: A square coaster needs only a few inches of repeated rows. A washcloth follows the same idea on a larger scale. Single crochet makes a firm fabric, while a familiar taller stitch can make the rows grow faster.
The goal is not perfectly even edges. A slightly lopsided washcloth still works, and finishing it provides practice securing ends and seeing how the fabric behaves after the last stitch. Shaping, seams, and color changes can wait until repeated rows feel less demanding.
A round coaster may look tempting, but a flat square keeps the starting count easier to check. Once that feels comfortable, making circular crochet without losing track of the rounds is a natural next step.
A first project is finished when the last stitch is secured and the loose yarn ends are threaded through nearby stitches with a blunt needle. After trimming the ends, it helps to note one snag—perhaps an uneven edge or a confusing pattern repeat—and choose just one skill to practice next. That might be counting edge stitches more carefully or following a simple increase.
A sweater can wait until those smaller projects feel comfortable. Before buying yarn, check the pattern’s finished measurements against a garment that fits well. Interchangeable needles are worth considering only if several needle sizes or future projects call for them; basic needles may be enough. Seaming and blocking can be learned when the sweater is actually underway.