An egg-cellent guide is here. If you’ve ever wanted a tiny, fluffy chick perched on your desk or table, you’re in the right place. We’ll walk through a playful clay Easter chick tutorial that’s beginner-friendly and surprisingly adorable.
What You’ll Need Before You Start
– Air-dry clay or polymer clay, plus a few colors: yellow, orange, white, and a dash of black for eyes.
– A small rolling pin or a smooth bottle to flatten clay.
– Simple shaping tools: a toothpick, a blunt needle, and a small pairing knife.
– Gloss glaze or a dab of water to smooth edges.
– Optional: tiny accessories like a miniature ribbon or a painted nest.
Got everything? Great! FYI, you don’t need a fancy kit to get a sweet little chick. The goal is to have fun and end up with something you’re proud of.
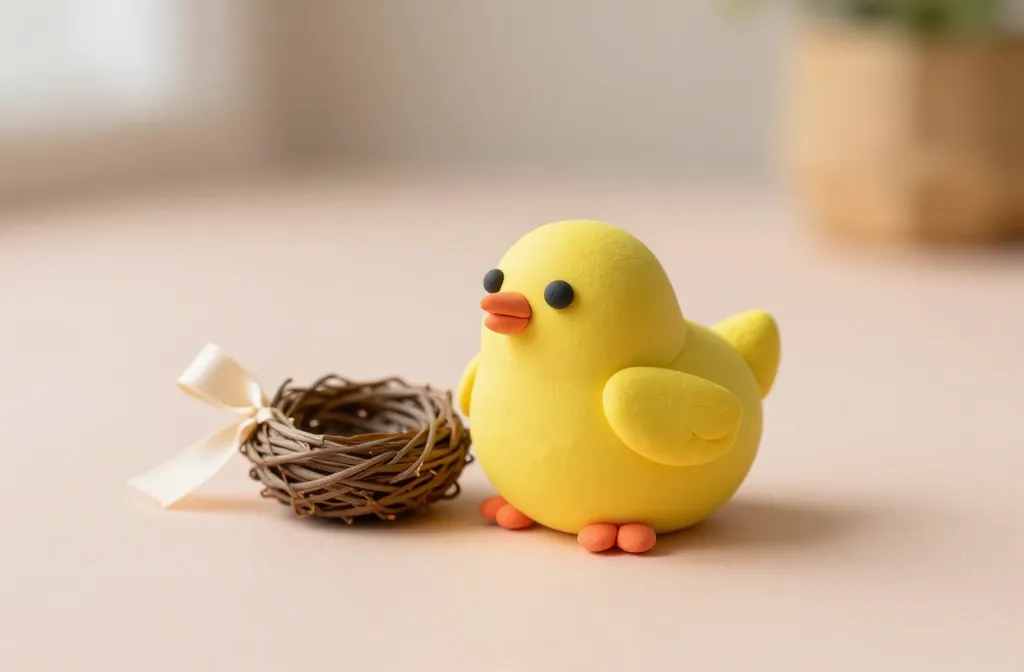
Step 1: Shape the Body Like a Tiny Cotton Ball
Carefully roll a small ball of yellow clay. If it starts to feel springy, don’t fight it—re-roll until you’ve got a soft, bouncy bead. Then gently roll to elongate into a chick-shaped oval. Curious: does it resemble a marshmallow with a pep in its step? That’s the vibe we’re going for.
Tip: Keep your hands clean and dust-free so the clay doesn’t pick up stray fibers. Nobody wants a fuzzy chick.
Substeps: Smooth and Refine
– Use a clean finger or a silicone tool to gently round the sides.
– Gently pinch the bottom to flatten just a tad so your chick can stand or perch.
– If seams show, smooth with a damp fingertip or a drop of water.
Step 2: Create the Head and the Expression
Roll a smaller ball for the head and attach it to the body with a dab of clay. Press lightly where they meet to blend the seam. Your chick’s personality lives in the face, so pay attention here.
Eyes come next: tiny black beads or a pair of painted dots will do. If you want a cuter vibe, give it a little white sparkle spot on each eye. A tiny orange triangle becomes a beak—place it just below the eyes, pointing downward for extra charm.
Subsection: Optional Eyebrow Play
If you’re feeling fancy, craft two little curved clay strips above the eyes. It becomes an instant “sassy chick” vibe—perfect for a playful display.
Step 3: Add Tiny Wings and Texture
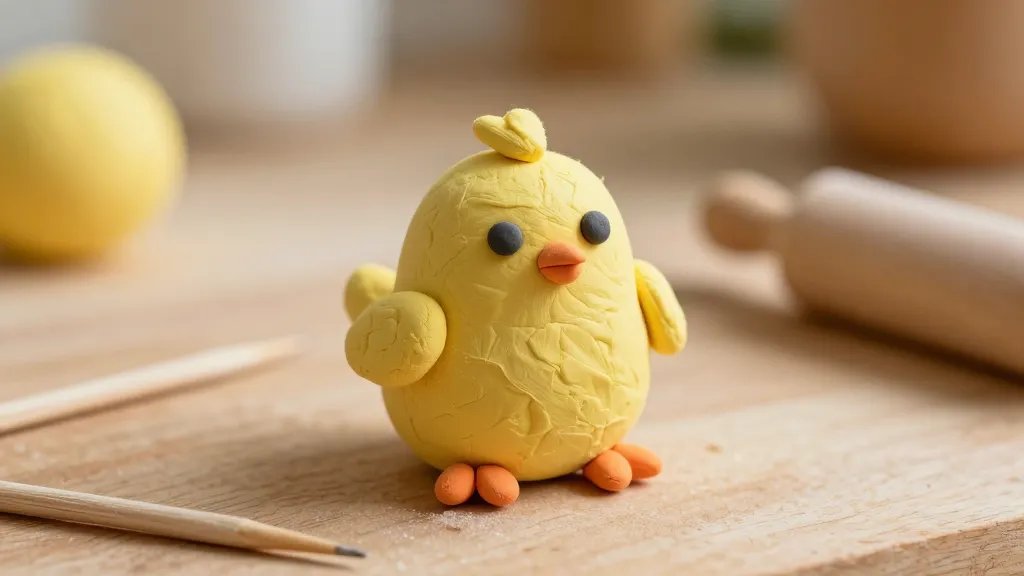
To give your chick some personality, roll two little wing shapes from yellow clay. Attach them to each side of the body with small dabs of clay, then pat the seams smooth. Lightly press to create a feather texture with your tool or a toothpick.
Texture tip: tiny horizontal lines mimic feathers. Don’t overdo it—subtle is adorable.
Step 4: Stand It Up or Let It Perch
If you want a grounded chick, give it a little flat bottom by gently shaping the base. For a perched look, flatten the back a bit and add a tiny strip of clay to act as a stand or perch. This is where you can decide the chick’s destiny: on a shelf, in a nest, or as a bookmark buddy.
Step 5: Add Color Accents and Embellishments
– Brush a thin bead of orange onto the beak for a bright pop.
– Add a blush dot on each cheek by dabbing a pinch of pink clay or a light pink paint.
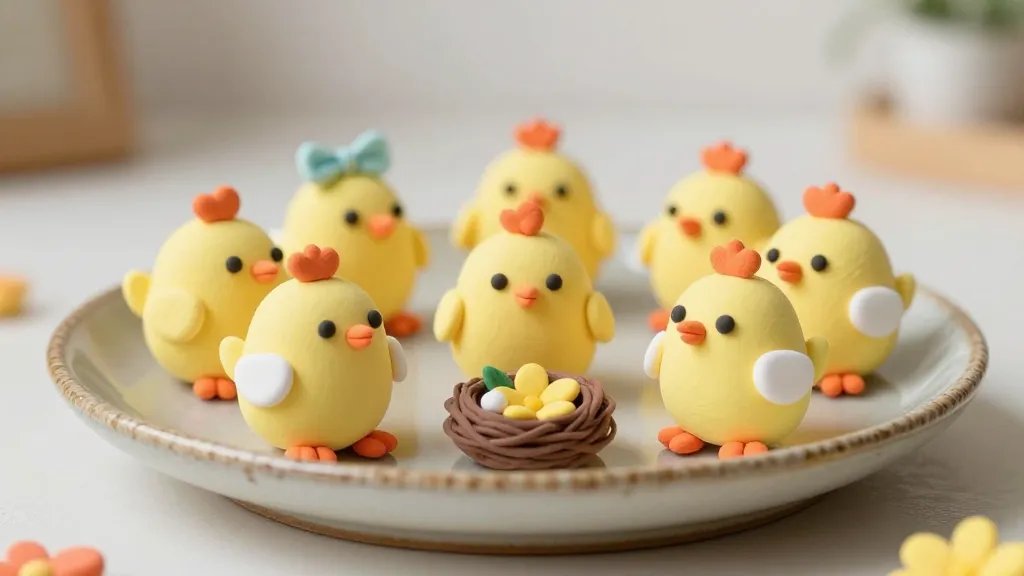
– Consider a tiny bow tie, a scarf, or a mini Easter egg tucked near the chick for a seasonal vibe.
If you’re working with polymer clay, bake according to the package instructions. If air-dry, give it 24 hours to cure. Patience, my friend, yields better beaks.
Step 6: Sealing and Finishing Touches
Once your chick is fully cured, seal with a clear glaze or a light coat of craft varnish. This adds shine and protects the tiny details. Pro tip: apply in thin layers to avoid smudging the eyes or beak.
A quick spray sealant makes it easy to keep your chick looking fresh on a display shelf. FYI, a glossy finish can make the eyes pop and give your chick a studio-quality glow.
Creative Variations to Try
– Decorate with pastel shells around the base to craft a mini Easter scene.
– Use white clay for a fluffy chick look, then dust with a tiny bit of beige for shading.
– Create a family set: a few different sizes and expressions. It’s like a clay chick gang.
Subsection: Mixed Media Minis
If you own tiny beads, wire, or floral accents, weave them in for a whimsical display. A miniature flower crown? Yes, please. The more playful, the better.
Common Troubleshooting (And Quick Fixes)
– Cracking: if the clay dries too fast or becomes brittle, wrap it in a damp cloth for a few minutes, then smooth with a finger.
– Eyes won’t stick: use a tiny dab of glue or a fresh pinch of clay underneath to anchor.
– Uneven base: shave a sliver of clay from the bottom and re-attach to create a flat, stable base.
From Hobby to Holiday Decor
This chick isn’t just for Easter. It can brighten desks, kitchen windowsills, or a spring center display. Make a little flock for a cute tabletop vignette, or gift a chick to a friend who loves handmade decor. The joy of clay is that small, sparkly accomplishment you can hold in your hands.
FAQ
What is the best clay for beginners?
Air-dry clay is forgiving and easy to work with, making it ideal for beginners. Polymer clay works great too if you’re comfortable with baking. Start with air-dry to learn the forms, then graduate to polymer for longer-lasting pieces.
How long does a clay Easter chick take to dry or bake?
Air-dry pieces typically cure within 24 hours, depending on thickness. Polymer clay bakes according to package directions, usually around 15-30 minutes at a low temperature. Always follow the product’s instructions.
How do I prevent fingerprints on my chick?
Work cleanly and lightly. Keep your hands dry, then handle sparingly. When shaping, use soft tools and avoid heavy touches on delicate areas like the eyes.
Can I paint details after the piece dries?
Yes. Acrylic paint works well on both air-dry and polymer clay. Do a light coat, let it dry, then seal with a glaze for protection and shine.
What should I do if my chick won’t stand up?
Ensure the base is flat and the body isn’t top-heavy. If needed, add a small clay “foot” or adjust the bottom to distribute weight evenly.
Conclusion
Clay Easter chicks are tiny, joyful projects that yield big smiles. They’re perfect for a cozy afternoon craft session or a playful gift for a friend. With a little patience and a lot of whimsy, you’ll have a pocketful of adorable chicks ready to brighten any space. So grab your clay, channel your inner crafter, and get ready to wow someone with your charming, handmade chick. Yes, you can do this—and you’ll probably want a second one for yourself.


