Springtime deserves something playful and cozy in your space, and handmade garlands are the perfect way to do it. They’re affordable, customizable, and basically a DIY love letter to brighter days. Ready to craft something that looks like it came straight from a sunlit boutique? Let’s dive in.
Why Handmade Garlands Earn Their Corner Of Your Home
Garlands are the visual equivalent of a friendly wave. They soften edges, add color, and make even a plain room feel festive. When you make them by hand, you get character, quirks, and a story you can tell guests. FYI, there’s no licensing fee for joy here.
Choosing Your Materials Without Losing Your Mind
– Start with a color palette: pastels for a breezy vibe, bold hues for a punch, or a mix for a boho look.
– Pick a base: twine, ribbon, baker’s twine, or a thin garland chord works well.
– Decide on textures: felt, paper, fabric scraps, dried flowers, or lightweight greens.
– Think about scale: longer rooms need wider garlands; smaller nooks benefit from delicate strands.
Low-Cuss Alternatives If You’re Short On Time
If you’re in a hurry, go for pre-cut felt shapes, faux florals, or eco-friendly burlap. You’ll still get that handmade charm without losing your weekend to a glue gun marathon.
Three Quick Styles To Try This Spring
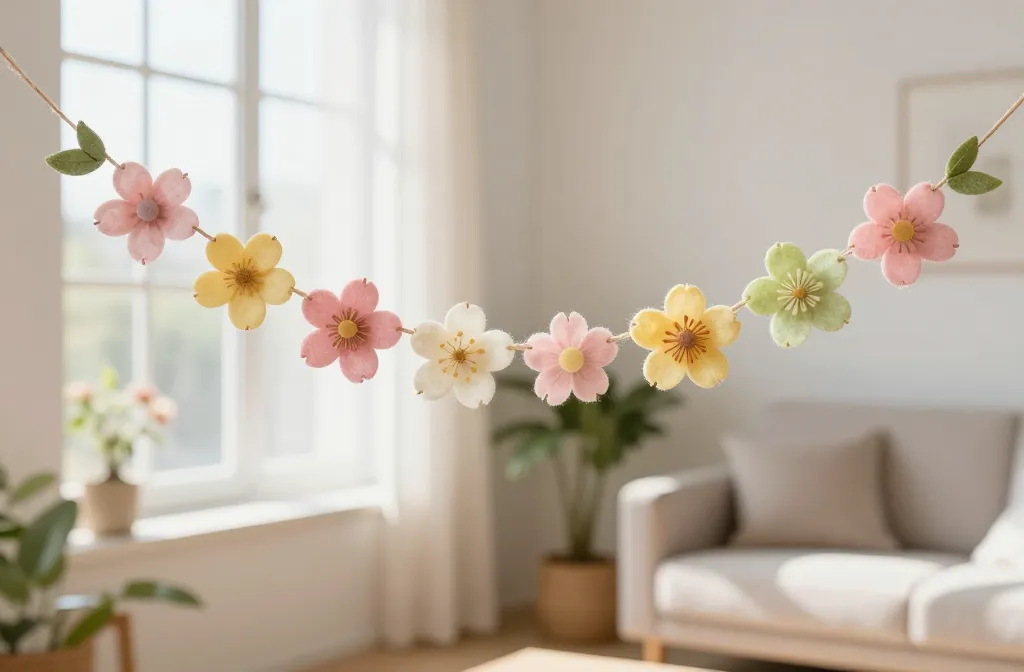
– Floral Frenzy: Paper blossoms or felt petals threaded onto twine. It looks airy and cheerful.
– Minimalist Greens: Fresh or faux greenery with tiny accents like lemons or berries for a modern touch.
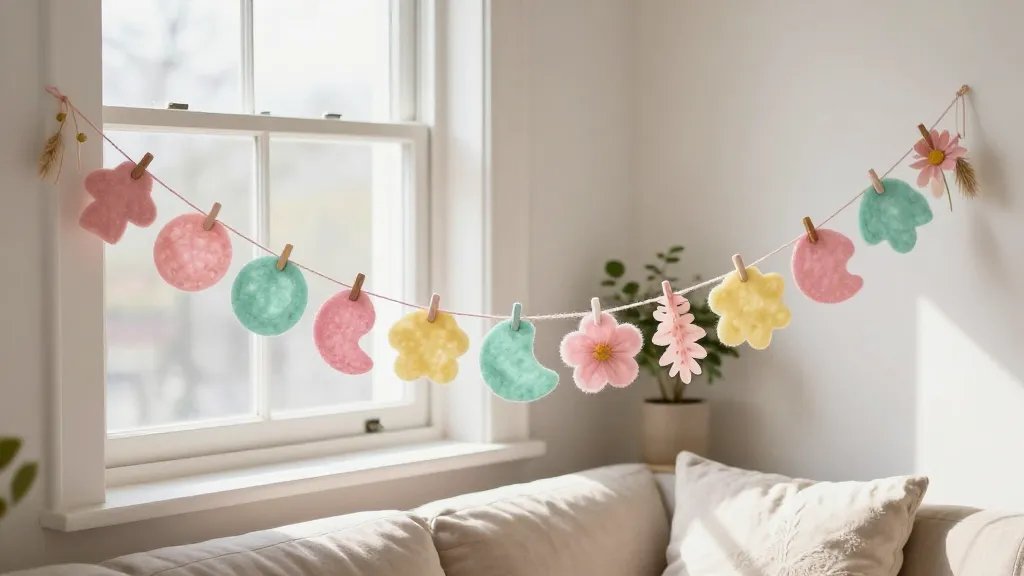
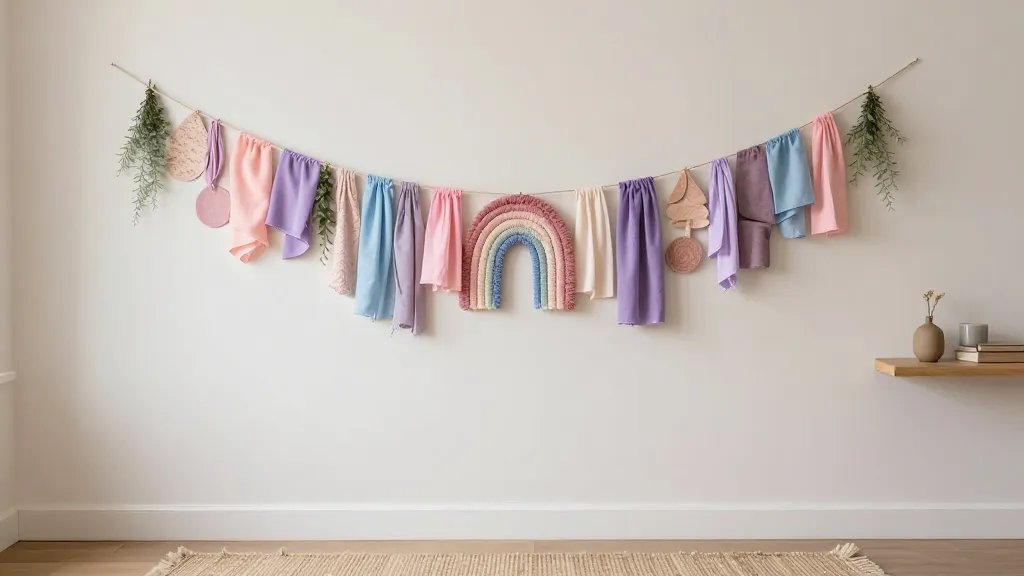
– Mixed-Media Whimsy: Combine fabric lanterns, wooden shapes, and dried flowers for a cottage-vibes explosion.
Style A: Floral Frenzy Details
Cut lightweight paper flowers or felt petals in a handful of colors. Attach with a dab of hot glue or a simple zigzag stitch. Space them evenly or cluster them for emphasis. Want extra drama? Add a few tiny pearl beads at the centers.
Style B: Minimalist Greens Details
Thread small faux leaves along a thin twine, then punctuate with citrus fruit slices or paper stars. It feels fresh and modern, like your home just swallowed a week-long vacation.
Style C: Mixed-Media Whimsy Details
Combine fabric strips, wooden beads, and dried flowers. Use varied textures and thicknesses to create a joyful, pulled-together look that still feels effortless.
DIY Steps: From Idea To Hanging Deco In An Hour
1. Lay out your plan: spread paper, pick colors, and map the length of your space.
2. Cut materials: trim shapes to uniform sizes or intentionally varied lengths for a playful vibe.
3. Assemble: glue, stitch, or tie shapes onto your base. Don’t overthink it—imperfection is part of the charm.
4. Space and secure: tape, nails, or removable hooks work. Leave a little slack so garlands breathe.
5. Hang with love: aim for eye level for the best impact, and adjust until it feels right.
Finishing Touches That Elevate The Look
– Add scent: a few dried citrus slices or spice sachets tucked in the garland give a subtle aroma.
– Layering: use more than one garland at different heights for depth.
– Coherence: tie in cushions, rugs, or wall art with similar colors to unify the room.
How To Make It Kid-Friendly (And Still Chic)
Skip sharp edges and hot glue where a kid might reach. Use fabric or felt shapes that clip or tie onto a secure base. Bright colors and friendly shapes—stars, hearts, animals—make it a playful craft for the whole family.
Maintenance Tips: Keeping Your Garland Looking Fresh
– Dust lightly with a brush or microfiber cloth; avoid wet cleaning on fabric pieces.
– If you’re using fresh greens, refresh weekly or swap in faux greens for longevity.
– Store carefully: roll garlands and place in a dry, cool box to prevent fabric creases or cardboard warping.
Creative Twist: Seasonal Variations To Extend The Joy
– Spring into Summer: add leaf garlands or citrus slices for a fresh twist.
– Holiday Ready: swap in red and green accents, pinecones, or lightweight metallic cords.
– Everyday Cozy: neutrals and natural textures create a timeless look you’ll reuse.
FAQ
Are handmade garlands difficult to make if I’m a beginner?
Not at all. Start with simple shapes and a single color. As you gain confidence, you can layer on more texture and color. The beauty lies in progress, not perfection.
What materials are best for a long-lasting garland?
Choose sturdy base materials like twine or ribbon, and opt for durable shapes such as felt, cardstock, or dried elements. If you want real greens, keep them indoors only for short periods or use faux greens for longevity.
How tall should I hang a garland?
Aim for eye level, about 5 to 6 feet off the ground in most rooms. For alcoves or shelves, run garlands along the edge rather than the center to avoid crowding.
Can I reuse garlands year after year?
Yes! Store them flat or loosely coiled in a labeled box. If you use delicate fabrics, wrap them to protect from dust and sunlight. FYI, a little TLC goes a long way.
How can I incorporate scent into a garland without overpowering the room?
Use light, natural accents like dried citrus slices or cinnamon sticks tucked sparingly into fabric folds. They release a hint of fragrance rather than a loud statement.
What’s a quick way to switch up the look seasonally?
Invest in interchangeable elements: a base garland with attachable shapes or charms. Swap the shapes for the season, and you’re rolling with zero-fuss updates.
Conclusion
Handmade spring garlands bring personality, warmth, and a sprinkle of whimsy into any space. They’re easy enough for a casual weekend project, but flexible enough to feel personal and polished. So grab some colors, stretch a string, and let your home bloom with one-of-a-kind charm. Ready to get crafting? IMO, your spring decor will thank you.


