An easy, step-by-step guide to making a cute clay duck that actually looks like a duck. No scary sculpting skills required—just a little patience and a lot of wonky charm. Let’s dive in and craft something you’ll want to show off to friends and pets alike.
Materials You’ll Actually Use (No Gummy Bear Drama)
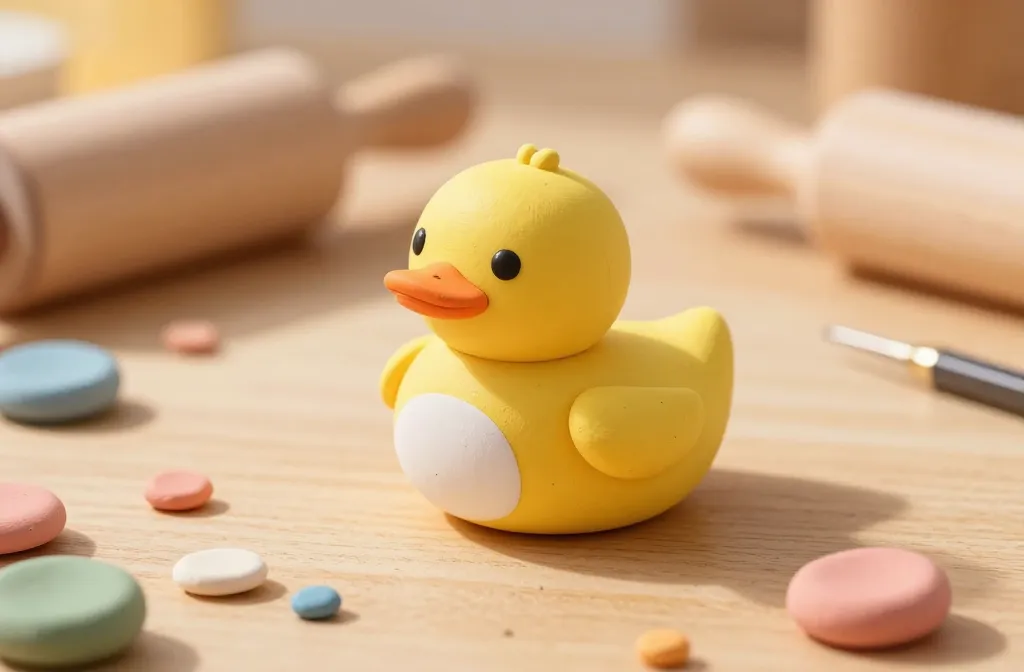
– Air-dry clay in yellow, white, orange, and a touch of black for eyes. If you’re feeling fancy, polymer clay works too—just bake per the package directions.
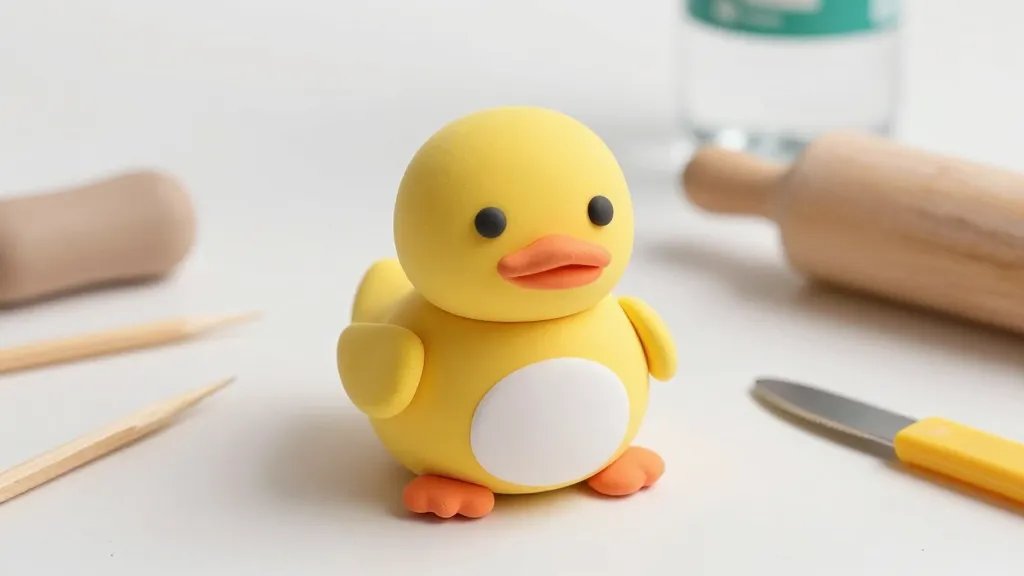
– Clay tools or simple household items: a toothpick for details, a plastic knife for clean cuts, and a rolling pin (a bottle works in a pinch).
– A small brush for painting tiny highlights or a dab of glaze for extra shine.
– Acrylic paints for beaks, eyes, or tiny feet details.
– Sealant (optional but nice) to keep your duck from looking crusty after a few weeks.
- Set up a clean workspace. Mess is fine—just not on the couch.
- Prep your clay by kneading until soft. If it’s stiff, a quick warm hug in your palms helps.
- Have a tiny bowl of water handy for smoothing edges. FYI, damp fingers do wonders.
Shape It Like a Pro (Or At Least Like You Know What You’re Doing)
– Start with the head: roll a small ball, then flatten one side to attach to the body. No need to get scientific with proportions—cute has its own rules.
– Build the body: roll a slightly bigger oval. Think of it as a soft, friendly egg with a tail.
– Attach the neck: a slim cylinder between head and body; press gently so the seam isn’t visible.
– Add the beak: a tiny orange teardrop, pointed at the end. Smooth the base so it hugs the face. Want more character? Give the beak a tiny smile edge.
– Create the wings: flatten two mini ovals and press them onto the sides. A little fold can imply a tucked-in wing for extra charm.
– Feet time: roll two small cylinders, flatten into little webbed shapes, and position under the body. If your duck looks like it’s about to moonwalk, you nailed it.
Tip: Secrets to a Smooth Finish
– Use a damp finger to blend seams. Tiny smoothing makes your duck look polished, not pieced together.
– If edges feel rough, dab gently with a water-soaked cotton swab. It’s weirdly satisfying.
Color and Personality: Bringing Your Duck to Life
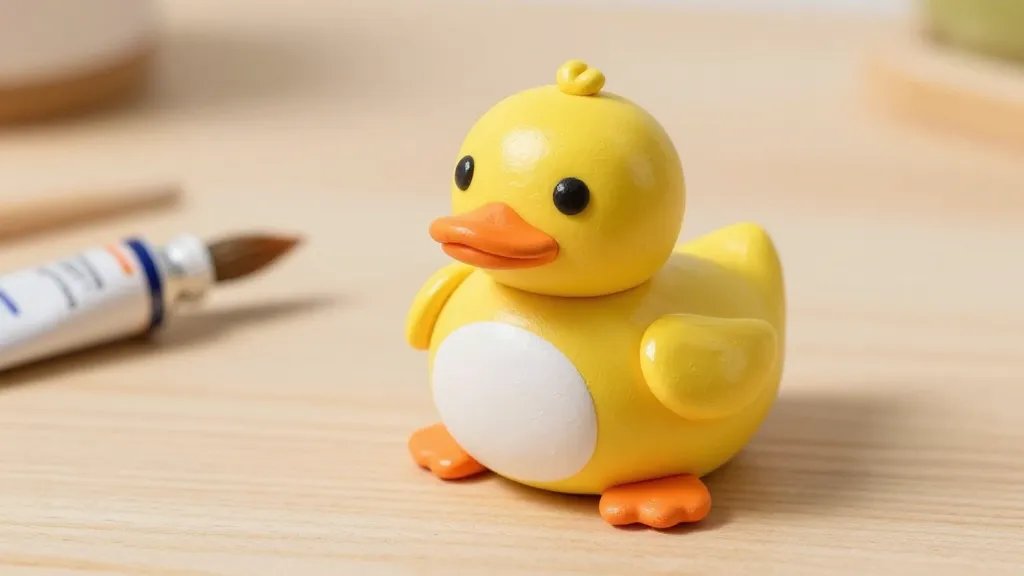
– Base color: keep your body a warm, sunny yellow. Don’t forget a touch of white for highlights on the belly.
– Eyes: tiny black beads or paint dots. Place them a touch toward the top of the head for a cute, alert look.
– Beak perfection: bright orange or peach works. Add a dab of white for a shiny beak tip if you’re feeling fancy.
– Adds-ons: a tiny bow, a hat, or a scarf can upgrade your duck from cute to ultra-chic. Your call, your vibes.
Subtle Details That Make a Huge Difference
– Tiny air pockets? No biggie—they read as cute quirks. Don’t stress perfection.
– A small pearly glaze on the eyes can create a glossy, lifelike twinkle. IMOs, it’s totally worth it.
Texture Tricks: How to Keep It From Looking Like a “Flat Duck”
– Add a little feather texture by gently scoring shallow lines along the body with a toothpick.
– For a plush, huggable effect, blend the clay layers where pieces meet. Smooth seams, big payoff.
– If you want a matte finish, skip glaze; for a subtle shine, a thin glaze layer does wonders.
Optional Finishes
– Matte varnish for a soft look.
– Clear gloss on the eyes for a glassy pop.
– A tiny splash of watercolor wash on the body to give depth—use super light touches.
Drying, Curing, and Saving Your Duckie
– Air-dry clay: let it sit for 24–48 hours, depending on thickness. Don’t rush; patience = cuteness.
– Polymer clay: bake according to package directions. Pro tip: cool completely before handling.
– Sealing: apply a light coat of sealant to protect from fingerprints and dust. FYI, DIY glory is in the details.
Displays and Gift Ideas: Show Off Your Creation
– Shelfie-worthy display: a tiny woodland scene with reeds and pebbles makes your duck feel at home.
– Miniature diorama: create a little pond on a small tray; your duck can be a star resident.
– DIY gift: wrap your duck in clear bag with a ribbon. People love a handmade critter that fits in a palm.
Common Mistakes (And How to Avoid Them)
– Too thick clay: your duck can look chunky. Roll thinner sheets and layer to build up shape.
– Sticky fingers syndrome: keep a damp cloth handy to wipe off excess oil from your hands before smoothing.
– Rough seams: take a moment to blend edges. It’s the tiny touches that elevate the craft.
FAQ
What if my duck’s head detaches after drying?
That’s annoying, but fixable. Reattach with a dab of fresh clay, blend the seam, and give it time to dry again. You can also add a tiny “neck seam” glue line as reinforcement.
Can I use polymer clay without baking it?
Polymer clay is designed to be baked. If you’re not into baking, air-dry clay is your friend. FYI, epoxy or air-dry resins can also work for a glossy finish, but read the instructions first.
How do I make multiple ducks with consistent sizes?
Create a mini scale: make a standard size base form (a rough ball) and use it as a template. Roll heads and bodies to match. A little comparison in front of you helps keep sizes in check.
What colors should I choose for a cute vibe?
Sunny yellows, bright orange beaks, and crisp white highlights give that cheerful, friend-next-door look. Add tiny black eyes for the classic duck expression.
Do I need to bake or cure clay?
If you’re using air-dry clay, no heat is needed. For polymer clay, follow package directions. Always err on the side of patience—dry thoroughly before handling.
How long does a simple duck take from start to finish?
Most people can complete a cute duck in 45–90 minutes, depending on how detailed you go. If you’re aiming for “wow,” give yourself extra time for drying and finishing touches.
Conclusion
So there you have it—your friendly, practical guide to crafting a cute clay duck that shines with personality. You don’t need fancy skills to pull off this little masterpiece; just a dash of patience, a sprinkle of creativity, and a willingness to roll with it. FYI, the more you practice, the cuter your ducks become. Ready to start? Grab your clay, and let the feathered fun begin.


