An easy, friendly guide to sculpting a adorable clay puppy without the overwhelm. You’ll learn fast, keep it messy-free, and actually finish something cute on your first try. Let’s dive into a project that proves creativity can be simple and seriously satisfying.
Why a Clay Puppy Is The Perfect Starter Project
– It’s forgiving: clay blends, squashes, and reshapes without drama.
– You’ll see progress quickly: a few shapes become a cuddly pup in minutes.
– No fancy tools required: your hands and a simple set of supplies do the job.
Materials You’ll Need (No Special Tricks)
- Air-dry or polymer clay in your favorite colors
- Basic clay tools (a smooth roller, a needle tool, and a toothpick works)
- Strong glue or clear drying adhesive
- Optional: acrylic paints for extra detail
- Protective work mat or old parchment to keep the surface clean
FYI, you don’t need to raid the craft store for a fancy starter kit. A few household items and a bit of patience will do the trick. Ready to roll?
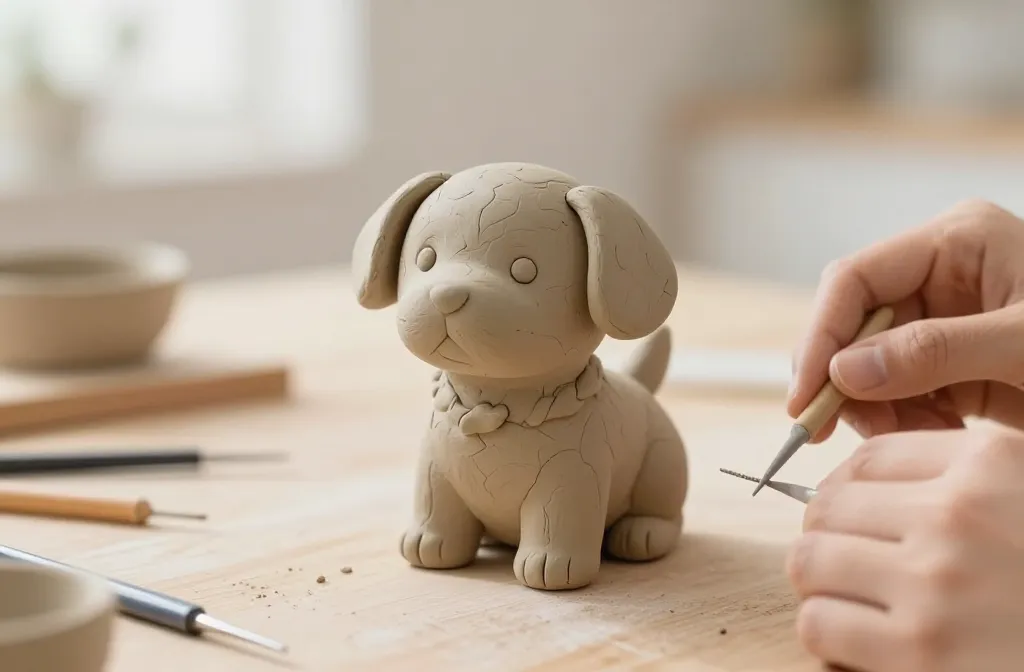
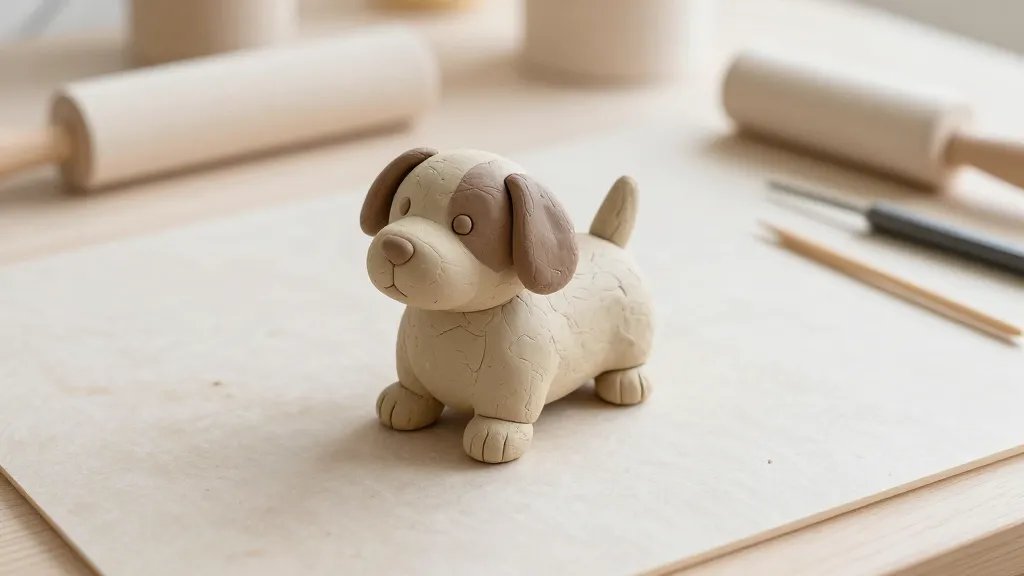
Step-by-Step: Sculpting Your First Puppy
Pro tip: keep your hands a little damp with water if the clay sticks too much. It sounds silly, but it helps a ton.
- Shape the head: Roll a smooth ball about the size of a large grape. Slightly flatten the bottom so it sits steady.
- Make the muzzle and snout: Roll a small cylinder, pinch one end to form a tiny snout, and blend it onto the front of the head.
- Add ears: Create two teardrop shapes, flatten the base, and attach them to the top of the head. Let the joins set a moment to strengthen.
- Craft the body: Roll a larger oval for the torso. Attach the head to the front with a gentle blend of clay, smoothing along the seam.
- Legs and paws: Roll four short cylinders for legs and tiny ovals for paws. Attach them evenly under the body; depression marks give cute paw hints.
- Tail and finishing touches: A small rolled cone for the tail or a curved smoking-handle shape works. Add eyes with a tiny dab of black clay or paint after it dries.
- Final details: Add a collar or a tiny tongue if you’re feeling fancy. Let everything rest for 15–20 minutes so the clay firms up before any painting.
Common Pitfalls And How To Fix Them
- Clay won’t stick? Score the surface lightly with a toothpick and dampen the joint before re-joining.
- Uneven surface? Smooth with a fingertip dipped in water, then lightly roll over the area with a clean tool.
- Eyes looking googly? Use smaller beads of clay or dot with a fine brush after painting.
Deeper Dive: Painting and Sealing Your Puppy
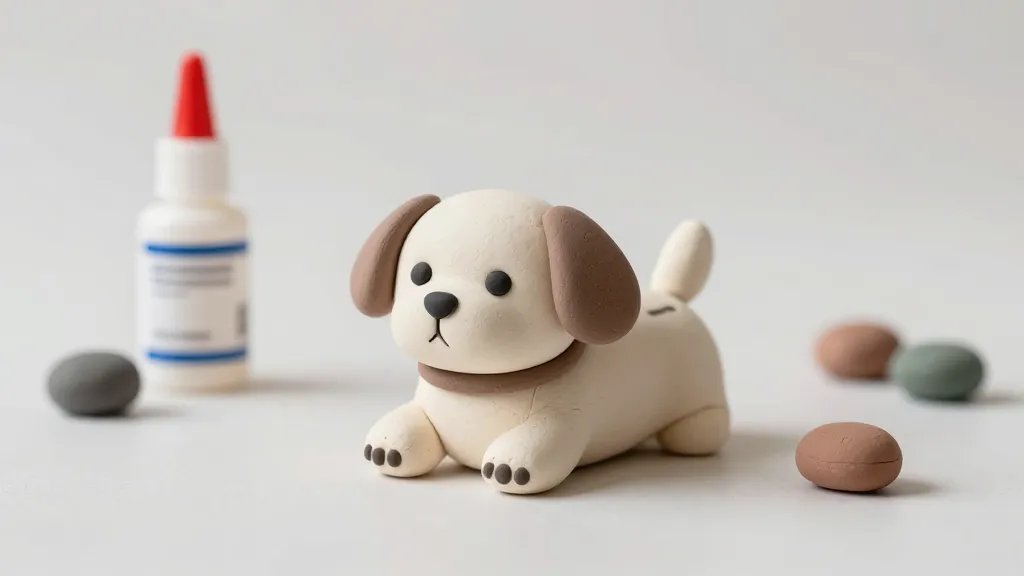
Paint can bring your puppy to life, but you don’t have to go heavy with it. IMO, a couple of simple details go a long way.
Color Tips
- Choose a base color that contrasts nicely with the eyes and nose.
- Use lighter shades for highlights on the snout and paws.
- Seal with a clear acrylic varnish to protect the finish, especially if it’s going to get handled a lot.
Eyes And Facial Features
- Option A: tiny black clay beads pressed in once the face sits.
- Option B: paint tiny dots with a fine brush after baking or drying, for polymer clay.
Display Ideas That Make Your Puppy Shine
- On a mini pedestal: a small wood block or a stack of books makes a cute display base.
- In a little themed scene: add a tiny grassy patch, a collar tag, or a tiny bone-shaped toy prop.
- Gift-ready: wrap in tissue paper with a glossy bow for a friend who loves crafts.
Troubleshooting Display Issues
If your puppy leans or tips over, secure a small felt pad under the base or add a tiny stabilizing platform. Simple fixes save you from frustration later.
Alternative Variations: Make It Your Own
Want to switch things up? Try these quick twists to keep the hobby fresh without getting overwhelmed.
- Different breeds: Enlarge ears for a Basset hound vibe or shorten the muzzle for a bulldog look.
- Seasonal themes: add a scarf for winter, sunglasses for summer vibes, or a flower crown for spring.
- Miniature action: pose the puppy with a tiny bone, a ball, or a leash made from a thin strip of clay.
FAQ
Do I need special clay for beginners?
Not at all. Start with standard air-dry clay or polymer clay if you have access to a heat source for baking. Both work fine for a cute puppy, and you can sauté the learning curve with whichever you prefer.
How long does it take to finish a simple puppy?
Typically 45 minutes to an hour, plus time to bake or cure. If you’re slow and steady, you’ll enjoy the process more than rushing to the finish line.
Can I paint on clay after it dries?
Yes. Paint after it dries for air-dry clay. For polymer clay, you can paint after baking and cooling. A thin layer of clear sealant helps the colors stay vibrant.
What if my puppy loses shape during painting?
Let it dry completely, then gently reshape with clean fingers or a small tool. If a joint looks fragile, reattach with a dab of fresh clay and blend the seam.
Is this suitable for kids or just adults?
Totally suitable for kids with supervision. Use larger, softer clay pieces and keep the workspace kid-friendly. It’s a great bonding activity and surprisingly satisfying for all ages.
Conclusion
This Easy Clay Puppy tutorial proves you don’t need a perfect setup to create something charming. With a few simple shapes, a splash of color, and a dash of patience, you’ve got a cuddly little companion you can hold, display, or gift. FYI, the first try might wobble a bit, but that wobble is the charm—character you can only get from hands-on crafting. So grab your clay, and get ready to wow yourself with your own adorable pup.


