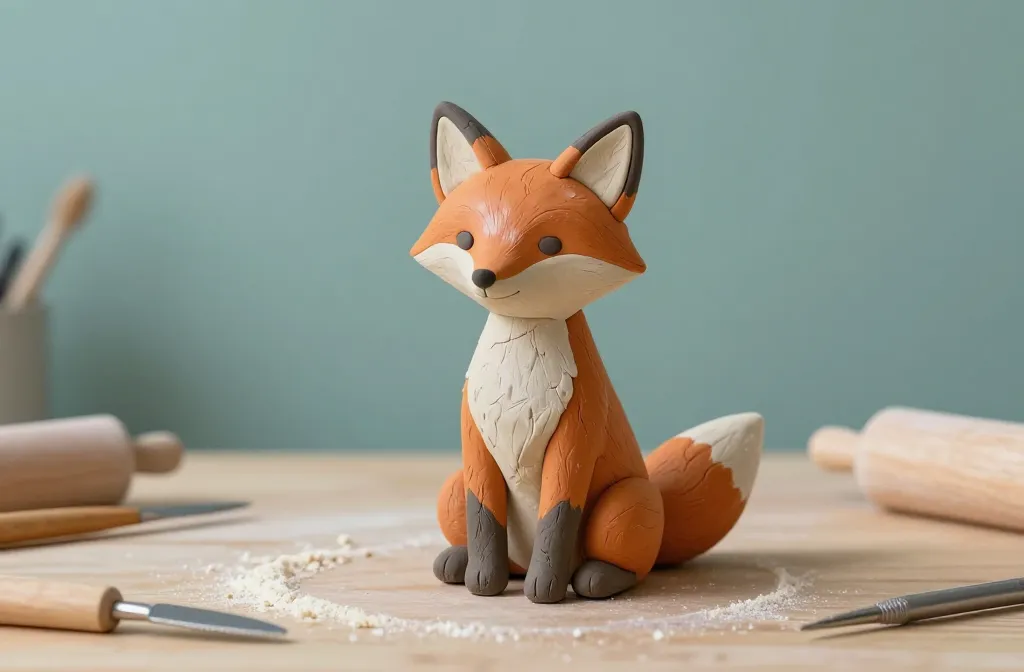
An introduction can be quick and punchy: I’m taking you from clay novice to fox-making pro, without the drama. You’ll learn by doing, with simple steps and plenty of fun. Ready to mold something adorable that won’t fall apart at the first breathe of air? Let’s go.
What You’ll Need Before You Begin
– Basic clay: air-dry clay or polymer clay works great for beginners.
– Tools: a small knife, a needle tool, and a rolling pin or smooth bottle.
– Work surface: a washable mat or a sturdy tray.
– Sealer or glaze (optional): helps your fox last longer if you’ll handle it a lot.
– Patience and a sense of humor: the key ingredients for any craft journey.
Choosing Your Clay and Tools
Clay types can feel like a fantasy shop, but they’re not scary once you pick a path.
– Air-dry clay: forgiving, air-drys overnight, and cleans up with water.
– Polymer clay: bendable when baked, sharp details, but needs an oven.
– Start with a basic white or light brown to see what you’re shaping.
Do you need fancy tools? Not really. A simple set does the trick, and you’ll upgrade as you fall in love with foxes.
Key Tips for Tool Use
– Keep a small sculpting knife for clean lines.
– Use a rounded tool or your finger to smooth seams.
– Sprinkle a little cornstarch or soap on your hands to prevent sticking.
– Don’t overwork the clay; rest often to keep your edges neat.
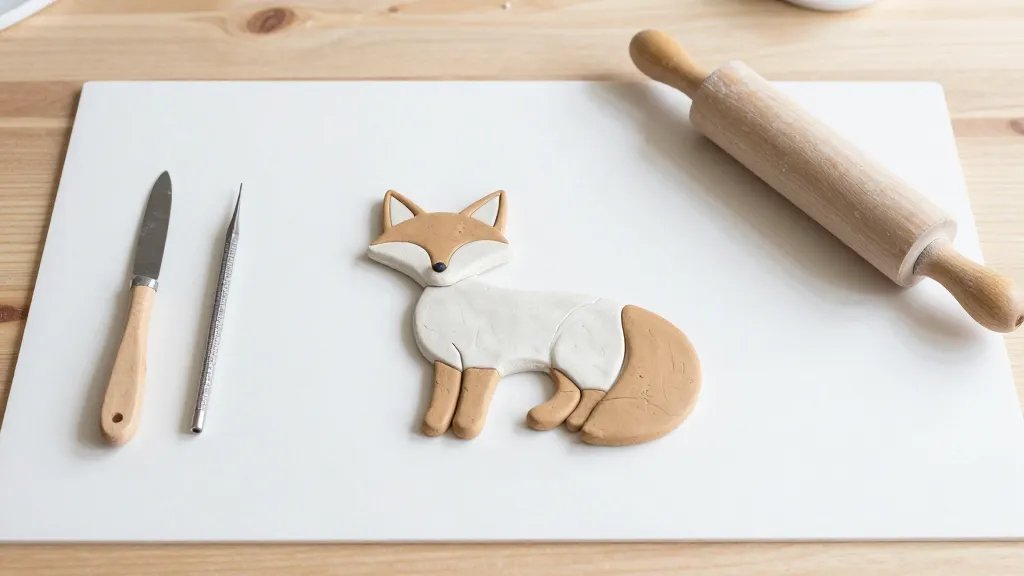
Blocking Out the Fox Shape
This is where the magic usually starts to happen.
– Start with a teardrop body: pinch a small oval for the torso and taper the head.
– Add a stud of clay for the snout and a tiny bump for the nose.
– Attach ears by shaping two triangles and scoring both surfaces before joining.
– Tend to the tail: a curved twist of clay that tapers to a point.
How to Score and Attach Pieces
– Score the surfaces with a toothpick where you plan to join.
– Lightly dampen with a tiny bit of water or clay glue for polymer clay.
– Press pieces together firmly and hold for a few seconds.
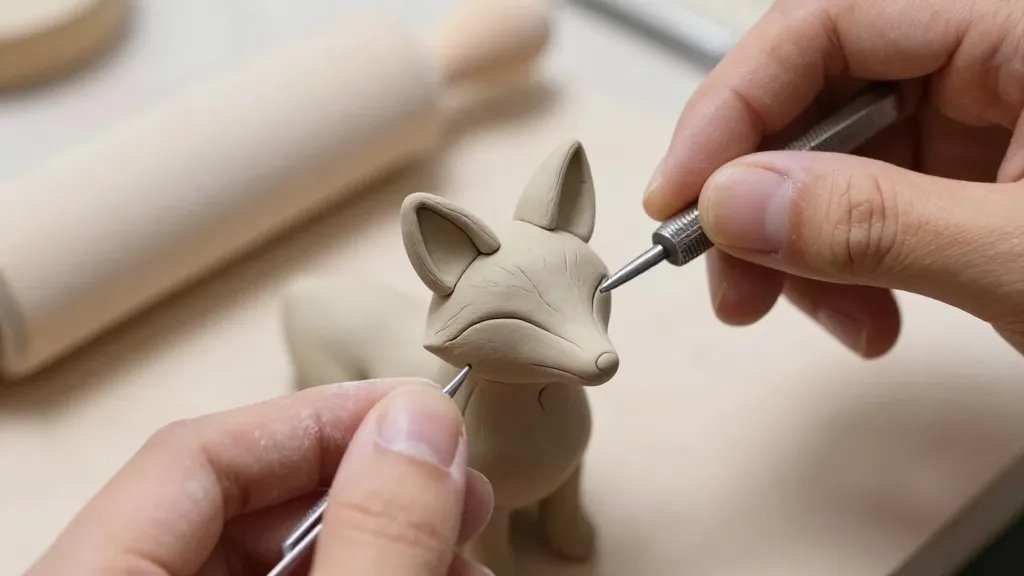
Detailing the Fox’s Face and Ears
– Eyes: tiny black beads or dots of clay, placed slightly toward the sides for character.
– Nose: a small cone or rounded bead, painted or baked into place.
– Ears: fold the tips a little to give a perkier, cuter look.
– Cheeks and fur texture: a soft brush stroke or a fine tool can create a fluffy vibe.
Texture Tricks That Elevate Your Fox
– Use a toothpick to carve subtle fur lines.
– Gently press the sides of the tail to create a fluffy edge.
– A tiny dot of white clay on the inner ear adds dimension.
Coloring and Finishing Touches
– Base color: a classic orange or russet works great for foxes.
– Shading: dab a touch of darker tones at the edges and under the chin.
– Highlight: a hint of lighter color on the cheeks and the tip of the tail.
– Sealing: a clear sealant protects your fox if it’s going to be handled.
FYI About Paints and Finishes
– Acrylic paints work well for air-dry clay.
– If you bake polymer clay, follow the package’s temperature and time.
– Sealers help prevent chipping and give a clean finish.
Common Pitfalls and How to Avoid Them
– Pitfall: Drying cracks. Fix by wrapping gently in plastic and letting it dry slowly.
– Pitfall: Pieces breaking off. Score, dampen, and hold longer during joins.
– Pitfall: Smudged details. Wait until the base is fully dry before adding fine features.
– Quick fix: If a part feels slim, reinforce with a tiny extra strand of clay on the inside.
Display Ideas and Personalization
– Standalone shelf buddy: resin or wood base adds stability and charm.
– Miniature woodland scene: nestle your fox among fungi and leaves.
– Custom season versions: festive ribbon, tiny hat, or scarf for holidays.
– Gift-ready: a little signature tag or painted name on the base.
FAQ
Can I use air-dry clay for all the steps?
Yes, air-dry clay is forgiving for beginners and easy to fix. You’ll just need to handle drying times a bit more carefully to prevent cracking.
How long does it take to complete a beginner fox?
A simple fox can take 60–90 minutes from start to finish, depending on detail. If you’re new, plan for slower progress and more breaks—this is supposed to be fun, not a sprint.
What if my fox looks more goofy than cute?
That’s part of the charm! Embrace the quirks, or redo a section. You’ll only improve with each attempt, and goofy foxes often steal the show.
What’s the best way to smooth seams?
Use a damp finger or a soft brush. Gentle, steady strokes work wonders. Avoid overly wet surfaces that can make clay mushy.
Should I bake polymer clay or air-dry clay?
Pick a path based on your goals: bake-polymer offers durability and crisp edges; air-dry is more forgiving and easier for quick projects. If you’re unsure, start with air-dry to learn the basics.
How do I seal my finished fox?
Apply a thin coat of clear sealant in a well-ventilated area. Let it dry completely before handling. FYI, some sealants can give a slight sheen—choose matte or gloss based on your vibe.
Conclusion
So there you have it—a friendly, no-stress route to a charming clay fox. You didn’t need fancy skills, just patience, a pinch of creativity, and the willingness to laugh at a few wonky shapes along the way. IMO, the best part is showing off your tiny woodland buddy and maybe diving into a whole forest of critters next. Ready to give it a try? Grab your clay, pick a style, and start molding—you’ve got this.


