An idea hits you like a burst of glitter: you want to create kawaii clay characters that charm everyone. You’re not aiming for perfection, just cute that makes people smile. Let’s dive in and turn simple clay into little, lovable wonders.
Stock Up: Clay, Tools, and a Tiny Studio
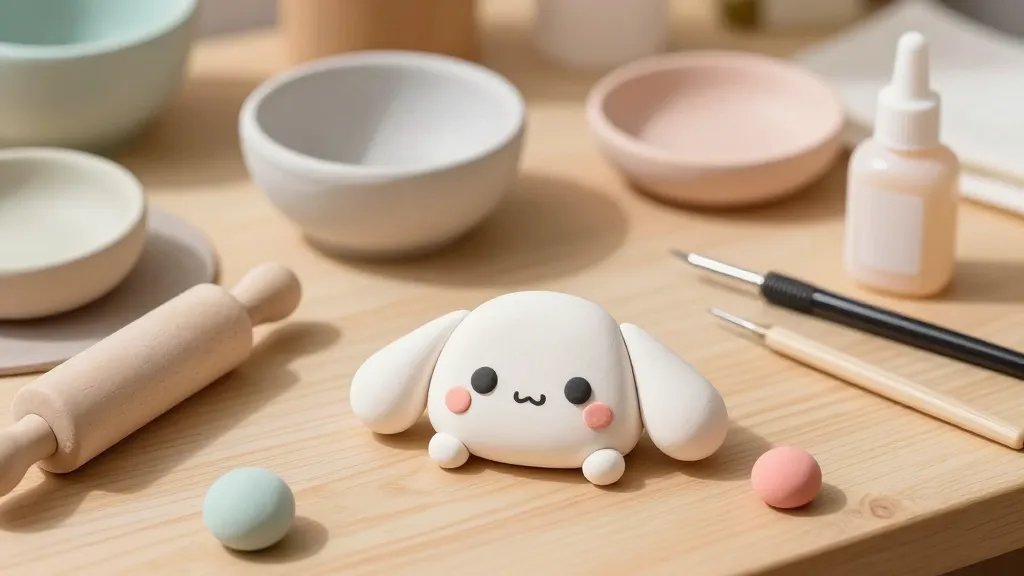
Starting strong means having the right setup. Do you really want to fight with brittle clay and dull blades? Stock up on soft polymer or air-dry clay, extra blades, nibs, and a tiny rolling pin. Keep a dedicated work surface so your creativity doesn’t melt into chaos.
– Choose clay that’s easy to blend and color.
– Have a small set of shaping tools: ball end, needle, and flat blades.
– Gather non-stick mats, a clean workspace, and a sealant for a glossy finish.
If you’re new, start with a few primary colors and a couple of pastels. FYI, you’ll end up with more colors than you planned—embrace it.
Character Design: The Core Silhouette
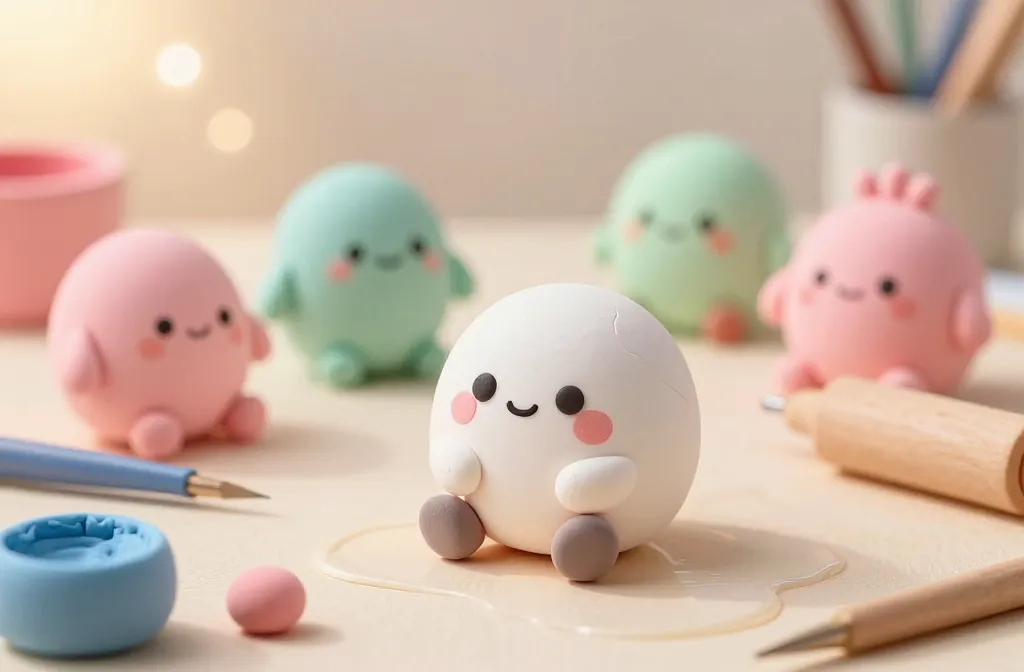
Kawaii is all about simple, rounded shapes and big, expressive eyes. Sketch rough shapes on paper, then translate into clay. Don’t overcomplicate the silhouette; soft curves read as friendly instantly.
– Start with a basic body shape (sphere for head, oval for body).
– Keep features oversized but cute: eyes, cheeks, and tiny mouth.
– Don’t stress symmetry; a little quirk adds charm.
A Quick Anatomy Cheat Sheet
– Head: 2/3 of the character’s height if you want that classic kawaii look.
– Eyes: round and large; tiny highlights make them feel alive.
– Mouth: tiny, curved, or even a tiny dot—less is more.
With a few simple rules, you’ll sculpt characters that instantly feel friendly and approachable.
Eyes That Speak: The Heart of Kawaii
Eyes are everything. They convey emotion faster than a caption can. Build pairs of eyes first, then tweak expressions with tiny brows, blush, and eye shine.
– Start with round discs for eyeballs; add black pupils with a white highlight.
– Create a few different eye shapes to express curiosity, happiness, or bashfulness.
– Add blush dots on the cheeks for extra charm.
Expression Variations You’ll Use A Lot
– Wide, sparkly eyes for excitement.
– Narrow, curved eyes for sly or shy looks.
– Tiny tears or stars in the eyes for extra cuteness when something’s adorable.
Don’t forget the tiny mouth. A small smile often beats a big grin for kawaii vibes.
Cozy Outfits and Accessories: Small Details, Big Impact
Clothing and accessories breathe personality into your clay buddies. Think tiny scarves, bowties, hats, or a mini backpack. Accessorize to tell a story about your character.
– Layer colors for outfits; shading adds depth.
– Use tiny props to hint at a hobby or mood (a coffee cup for a sleepy character, a book for a studious one).
– Keep limbs simple; you can imply movement with a tiny pose rather than complicated joints.
How to Create Durable Accessories
– Use a sturdier base for hats or wings.
– Attach with a little baking or curing adhesive, depending on your clay type.
– Seal lightly to prevent color bleeding, then gloss for shine.
If a accessory breaks, don’t panic. You can reattach with a dab of clay or glue and repaint.
Color Rules: Soft Pastels vs. Bold Accents
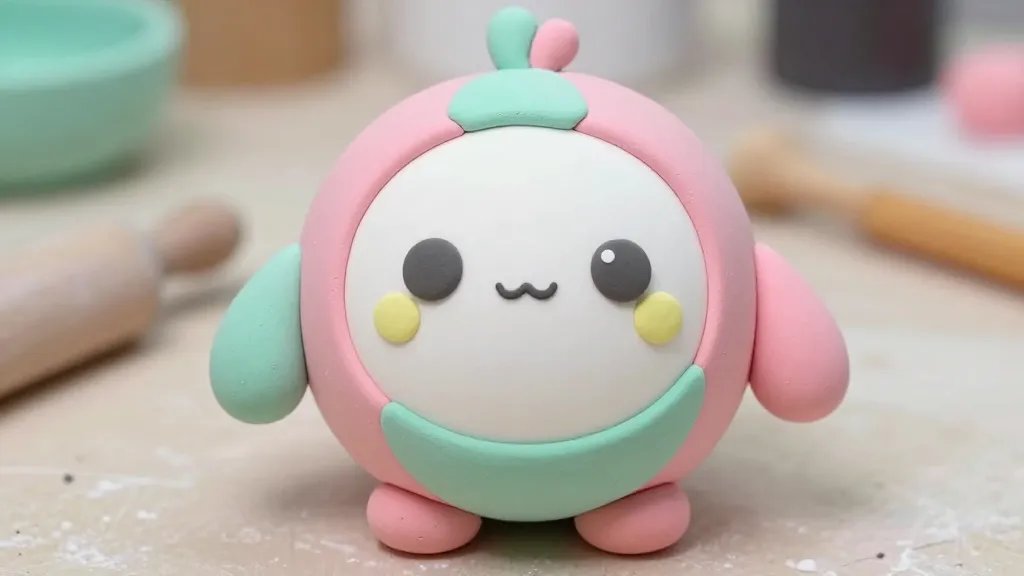
Color sets the mood. Kawaii loves soft pastels, but a bold accent can make a character pop. Build a color palette before you start painting with a thin brush.
– Primary palette: blush pink, baby blue, mint green, lavender.
– Accent colors: sunny yellow, coral, or creamy white.
– Shading: use a slightly darker hue at the edges for depth.
Tip: mix tiny amounts of color with white to keep things light and airy. FYI, you’ll get addicted to blending.
Blushing and Highlights
– A soft pink blush on the cheeks makes characters instantly adorable.
– Add tiny white highlights in the eyes and on the nose or cheekbone for a glossy finish.
Texture and Finish: Making It Look Handcrafted
A little texture goes a long way. Gentle stippling, tiny freckles, or a woven scarf texture adds realism without breaking the kawaii vibe. Finish with a sealant to preserve color and shape.
– Lightly texture clothing with a fine tool.
– Sparkle accents or glossy noses can be adorable.
– Bake or cure according to your clay’s instructions, then seal.
Sealing Do’s and Don’ts
– Do seal after fully matured color and any paint.
– Don’t seal wet paint—let it dry completely first.
– Choose a non-yellowing sealant for pale tones.
Poses and storytelling: Giving Your Characters a Moment
Kawaii isn’t just a static statue; it’s a moment captured in clay. Think about what your character is doing and what it wants to say. A little tilt of the head, a raised paw, or a tiny prop can tell a story.
– Create a few signature poses: waved hello, surprised, contently resting.
– Use a tiny stand or base to give life to your pose.
– Photograph from eye level for maximum cuteness impact.
Photography Tips: Showcasing Your Cute Creations
What’s the point of amazing clay if no one sees it? Bright, balanced lighting and clean backgrounds help your work shine. A simple white or pastel background makes colors pop.
– Use natural light or a soft box for even lighting.
– Shoot at eye level or slightly above to avoid harsh shadows.
– Include a few detail shots: eyes, texture, accessories.
FAQ: Quick Answers to Your Biggest Questions
1. What type of clay should I start with?
Start with air-dry clay or soft polymer clay. Both are beginner-friendly and easy to work with. Polymer clay needs baking, while air-dry clay dries on its own.
2. Do I need special tools to begin?
Not at all. A basic kit with a rolling pin, a few shaping tools, and a clean mat will do. You can upgrade later as you get more ambitious.
3. How can I keep my characters from cracking?
Bury cracks by smoothing with your fingers and a little water or clay slip. Bake or dry slowly and evenly, then seal to strengthen.
4. How do I paint over clay without smudging?
Use acrylic paints after the clay is fully cured. Seal with a non-yellowing sealant before painting tiny details for clean lines.
5. Any tips for creating a cute series?
Develop a small cast of characters with a shared color palette and a couple of distinct poses. Spin mini stories or outfits to keep things fresh.
Conclusion: Your First Tiny Kawaii Crew
You’re ready to start making lovable clay friends that feel like they popped out of a pastel dream. Remember: keep it simple, lean into big eyes and soft shapes, and have fun with color and texture. FYI, the more you practice, the quicker you’ll crank out charming characters. Enjoy the process, and share your adorable squad with friends and on social—you might just spark a wave of kawaii chaos.


