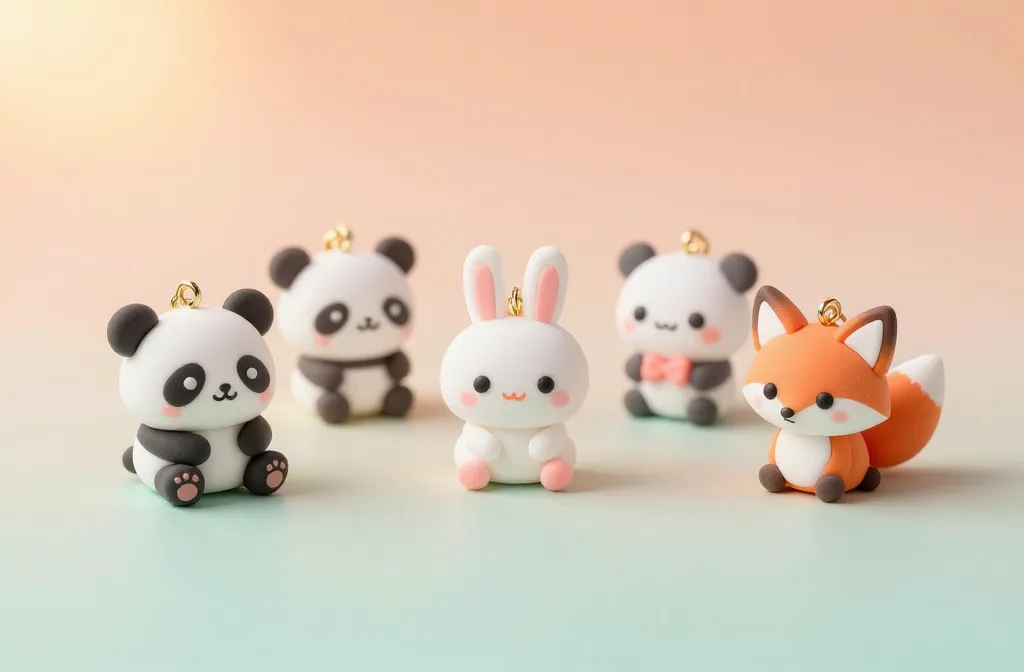
An adorable wave of pastel charm magic is waiting. If you’ve ever wanted to stitch, bake, or resin your own cute critters, you’re in the right place. Let’s dive into making pastel kawaii animal charms that look as sweet as cotton candy and as sturdy as friendship bracelets.
Where the Charm Magic Begins: Inspiration and Palette
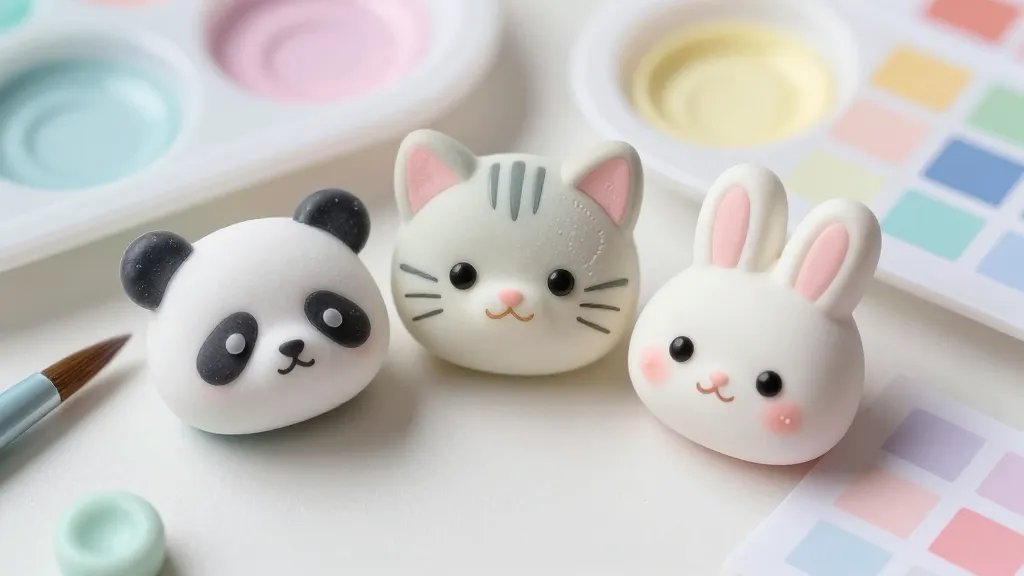
Choosing the right vibe sets the whole project in motion. Do you want sleepy pandas or chatty kittens? Start by picking a palette that screams pastel bliss: baby pinks, mint greens, lavender, sky blue, and a dash of peach. Create a tiny mood board with color swatches, cute faces, and tiny accessories. FYI, consistency is key—little details tie everything together.
Materials 101: What You’ll Actually Use
- Clay or resin kit (depending on your medium of choice)
- Pastel pigments or resin dyes
- Fine brushes or silicone molds
- Gold or silver charms for hinges, if you want keychain vibes
- Sealant or gloss for a durable finish
- Safety gear: gloves, mask, and good ventilation if resin is involved
Pro tip: gather everything before you start. Nothing kills momentum faster than hunting for a missing nozzle halfway through a charm.
Shape, Silhouette, and Sweet Expressions

Your charm’s personality shines through its silhouette and face. Start with a simple animal shape—panda, bunny, or fox—and keep the features oversized and expressive. Big eyes, tiny mouth, blushing cheeks—these cues read “cute” instantly. Don’t overcomplicate the design; cuteness thrives on clarity.
How to Nail Expressions
- Use two large white circles for eyes, add a small sparkle dot.
- Place a tiny curved line for the mouth. A small “o” can make you look surprised, which is adorable.
- Blush spots: a soft dot of pink on each cheek goes a long way.
Layering Pastels: Color Tips that Work
Pastel mastery is all about balance. Layer light tones, then add subtle shadows with slightly deeper hues. Build color in thin, gradual coats to avoid muddiness. If you’re working with resin, mix pigments into the resin in small batches to keep colors crisp.
Shade, Highlight, Glow
- Shadow under the chin and edges to give dimension
- Highlight on the nose and top of ears for a glossy, dreamy look
- Optional glitter dust for a magical finish—but sparingly
Texture Magic: Surfaces That Feel Real
Texture adds personality. Smooth, glossy surfaces read high-end; matte finishes feel friendly and handmade. You can vary textures by mixing clay with tiny beads for a speckled look or by using a sanded surface for a soft, tactile touch. If you’re into resin, a smooth pour with a gentle bubble pop makes all the difference.
When to Add Accessories
- Tiny bows, stars, or heart-shaped charms
- Mini enamel dots on cheeks or ears
- Metal accents, if you want a bit of edge
Stability and Durability: Making Your Charms Last
Charm projects should survive daily life—slips, drops, and the occasional back-pocket ride. Use a reliable sealant or resin layer to protect colors. Cure times matter: give enough time for full hardening to avoid fingerprints or smudges. If you’re making jewelry-grade pieces, consider a stronger jewelry resin and a protective coating.
Tips for Resin Crafters
- Always mix in a well-ventilated area
- Pour in layers to reduce air bubbles
- Use a heat gun or torch lightly to pop tiny bubbles
Finishing Touches: Turning Sketches into Collectibles
This is where the charm becomes a tiny, lovable artifact. Add a thin outline in a darker pastel to define shapes, then seal with a glossy top coat. For a handmade look, coat with a matte finish on some parts and leave others glossy for depth. Attach keyrings, clips, or lobster clasps if you want wearable art.
Display and Care
- Store in a dry, cool place to prevent resin from yellowing
- Avoid direct sunlight for extended periods to keep colors vibrant
- Clean gently with a soft cloth if dust accumulates
Mini Projects: Quick Charms You Can Finish This Weekend
Here are a few bite-sized ideas to get you started without committing to a full collection.
- Pastel Bunny with a tiny carrot charm
- Sleepy Panda with closed eyes and a donut companion
- Kitten with a star wand for magical vibes
Project Scaling and Variations
If you love one design, scale it up or down. Create a family of critters with a shared color scheme to keep your collection cohesive. FYI, repeating motifs make your work instantly recognizable.
FAQ
What adhesive is best for attaching charms to fabric or metal?
Use a strong, clear-drying adhesive designed for resin or clay. E6000 or a two-part epoxy works well for metal. Make sure the surface is clean and dry before applying.
Can I mix different animals in one charm set?
Absolutely. A unified pastel palette across different animals looks deliberate and cute. Keep facial features consistent to maintain cohesion.
How long does resin cure usually take?
Most resins cure within 24 hours to reach full hardness, but always check your product’s specific instructions. A second, thinner layer may be needed for a flawless finish.
What’s the best way to store finished charms?
Store in an air-tight box or a soft pouch to prevent scratching. Keep them away from direct sunlight and extreme heat to preserve color and shine.
How can I add a personal touch without overdoing it?
Add a small, signature accent—like a tiny heart stamp, your initials hidden under a bow, or a unique color combo that only you use. Subtlety is your friend here.
Conclusion
Making pastel kawaii animal charms is a playful blend of technique, color theory, and sheer whimsy. Start with a soft palette, nail the expressions, and layer your colors with care. The best part? You’ll end up with adorable pieces that spark joy for you and everyone who sees them. So grab your clay or resin, pick your critters, and get ready to charm the world—one pastel smirk at a time.


