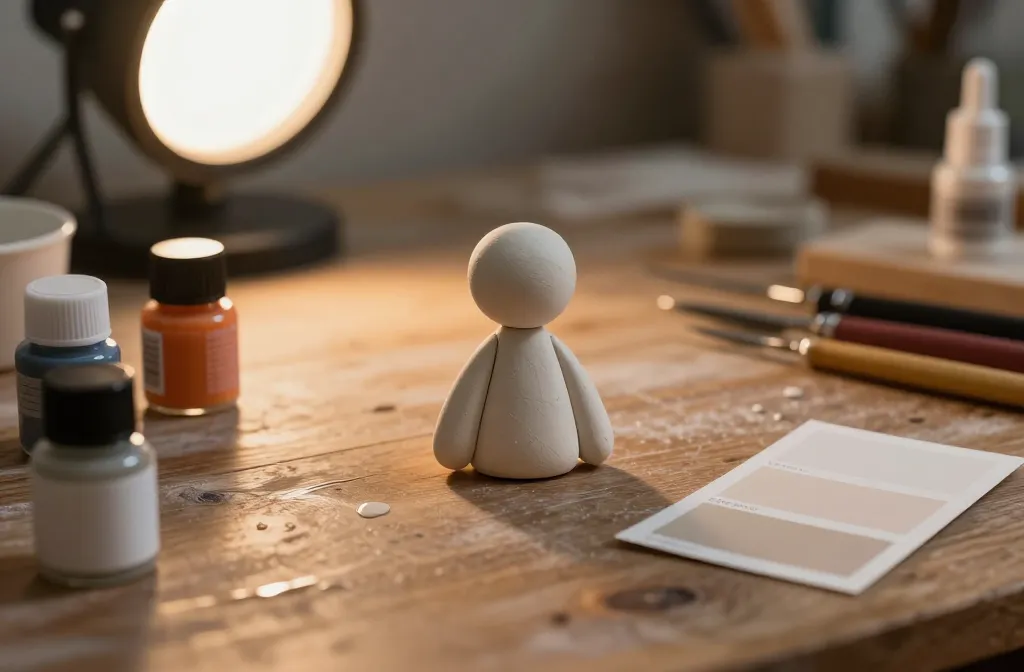
An introduction should grab you fast, so here it is: sealing clay isn’t just about glossy looks; it protects your hard work from fingerprints, water, and the inevitable toddler-approved tumbles. Let’s get you from fresh clay to durable, show-ready pieces without the drama.
Why sealing clay matters more than you think
Sealers aren’t optional jewelry for clay. They lock in color, prevent chipping, and give you a finish that won’t embarrass you at the first drop of water. If you skipped sealing, you might as well gift your sculpture to gravity. FYI, different clays respond differently to sealers, so a quick test is worth it.
Choose the right clay and the right sealant
Know your clay—air-dry, polymer, and natural clays all behave differently when sealed. Know your finish—matte, satin, and gloss each bring a vibe and a level of protection.
- Air-dry clay: often paired with acrylic-based sealers or Mod Podge for a protective coat.
- Polymer clay: usually needs a gloss or satin sealant that cures with heat or air.
- Natural clay: seals well with beeswax or oil-based products for a subtle finish.
Sealant types at a glance
- Acrylic sealer: water-based, easy clean-up, good for vibrant colors.
- Varnish: durable, sometimes requires multiple thin coats.
- Beeswax or mineral oil: great for a soft, natural look, but offers less protection.
- Polyurethane: tough, but watch for yellowing on lighter colors.
Prep your piece like a pro
Preparation determines the sealant success. No one wants a finish that peels off like a bad sticker.
- Let the piece cure fully—rushing this means sealing in moisture and soft spots.
- Wipe away dust and fingerprints with a soft, dry brush or microfiber cloth.
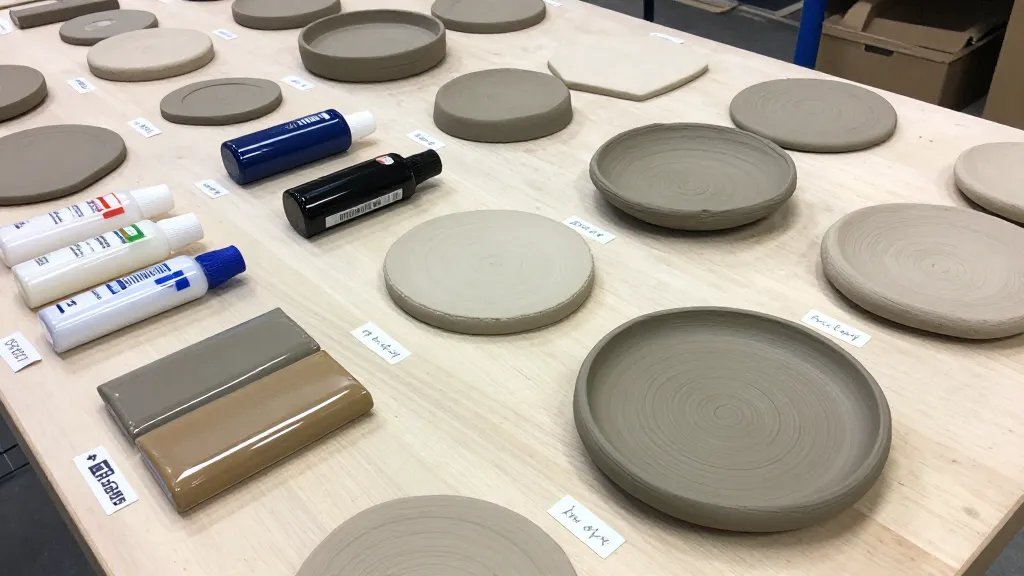
- Test a tiny swatch of your sealant on a hidden spot to check color shift or compatibility.
Common pitfalls to avoid
- Sealing too early: moisture trapped inside ruins the finish.
- Skipping sanding: rough patches show up after sealing.
- Overthick coats: pooly applied coats cause drips and cloudy layers.
Step-by-step sealing routine
Here’s a simple routine you can actually follow without drama.
- Dust off the piece gently so you don’t grind dust into the surface.
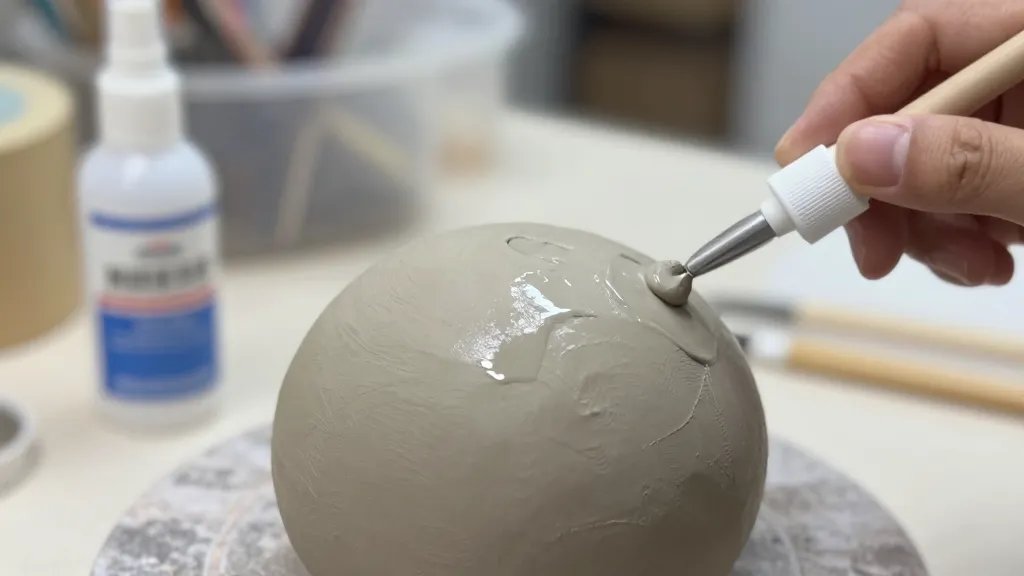
- Apply a thin, even coat. Less is more, especially for glossy finishes.
- Let it dry fully according to the product’s instructions. Patience pays off.
- Apply additional coats if needed for extra protection or desired sheen.
- Finish with a final coat that matches your preferred look (matte, satin, or gloss).
Drying environments matter
Keep humidity moderate and airflow steady. Too humid, and the sealant dries milky. Too dry, and it dusts before you can say “that’s smooth.” A clean, dust-free space helps a lot.
Matte vs. satin vs. gloss: picking your vibe
Your finish isn’t just cosmetic; it changes how your sculpture looks from every angle.
- Matte: natural, modern, hides minor imperfections—great for sculpture.
- Satin: balanced, versatile, a safe middle ground.
- Gloss: pop and punch, but shows dust and fingerprints easily.
When to choose a matte finish
If your piece has intricate textures, matte can reduce glare and highlight textures rather than reflections.
When to go gloss
If you want a ceramic-like shine and color depth, gloss does the trick—just be ready to keep it clean.
Special considerations for different projects
Not all clay projects are the same, so your sealing approach should match.
- Functional items (jars, small bowls): choose a food-safe sealant if the item will touch food, and avoid heavy layers that could crack.
- Decorative figurines: bold color saturation with a gloss finish can look stunning, but keep coats thin to avoid drips.
- Outdoor pieces: you’ll want a sealant with UV resistance and water exposure tolerance.
Indoor display pieces
For display-only pieces, a light satin finish often looks best and keeps colors true without too much shine.
Preserving color
If your colors are vibrant, you’ll want a sealer that minimizes color shift—spray sealers are often best for even color retention.
Dealing with tricky textures
Textured surfaces pose sealing challenges: crevices can trap air and sealant.
- Use a small, soft brush to work sealant into crevices.
- Apply in gentle, sweeping motions to avoid pooling in grooves.
- Consider thinning the sealer slightly for textured surfaces, but follow product guidelines.
Layering for texture-rich pieces
Multiple thin coats beat a single thick one when you want texture to stay defined. IMO, patience pays off here.
Maintenance after sealing
Your sealant isn’t a “set it and forget it” deal. Treat your pieces right.
- Dust with a soft cloth; avoid harsh scrubbing.
- Avoid solvent exposure that could soften or dull the finish.
- If the finish dulls over time, a quick light recoat can revive the look.
FAQ
Can I seal polymer clay without baking it first?
For many polymer clays, sealing before baking can help color stay vibrant, but always check the clay’s packaging. Some sealers can react with more sensitive polymers, so run a small test on a scrap piece first.
Is it better to seal air-dry clay or polymer clay?
Both need sealing, but the products differ. Air-dry often benefits from acrylic-based sealers, while polymer clay usually requires a sealer that can withstand heat or air curing. FYI, test a sample to see how it reacts with your specific clay.
Do I need to seal once or multiple times?
Often, multiple thin coats yield better protection and a more even finish. Start with one thin coat, assess, then decide if another is needed.
What about UV protection for outdoor pieces?
Look for sealants labeled UV-resistant or outdoor-grade. UV exposure can fade colors, so this is a wise investment for anything you plan to display outside.
Will sealing make my colors run or smear?
If you apply too thick a coat, colors can smear or bleed. Thin coats, dry between layers, and test on a scrap piece to be safe.
Conclusion
Sealing clay creations isn’t glamorous, but it’s the secret sauce that makes your work last and look intentional. Pick the right clay and sealer, prep properly, and seal in layers the way a pro would. With a little patience and the right finish, your pieces stay vibrant, sturdy, and ready for showtime. Ready to seal something up and show off your handiwork? Let’s do it—your future self will thank you.


