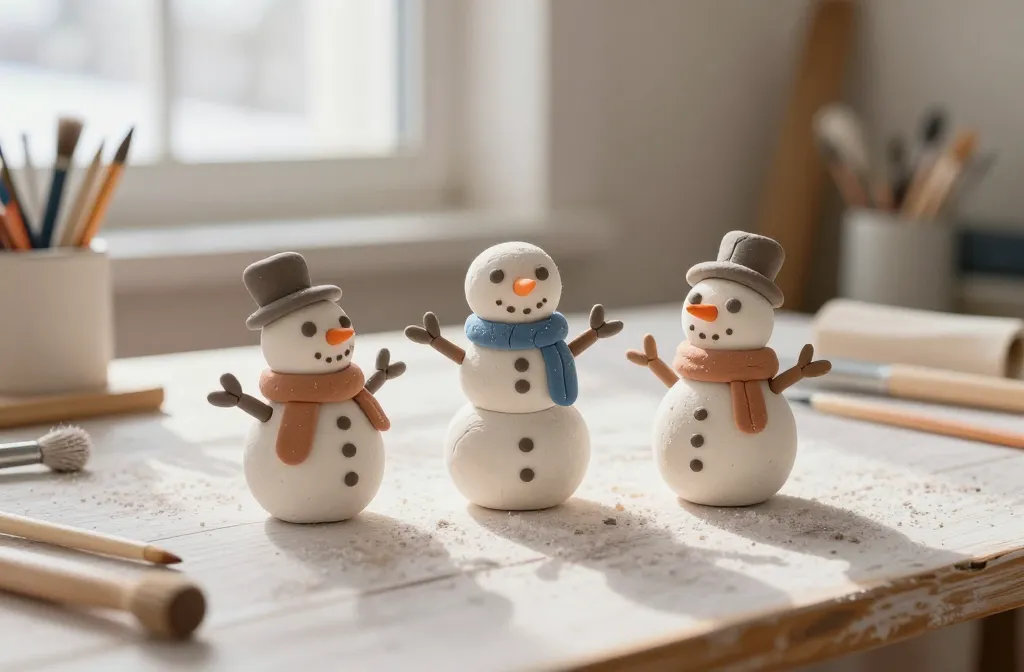
An indoor hobby that actually sticks this season. Snow may vanish, but clay snowman figures? They stick around, and they’re way more fun to stack than real frostbite. Grab your apron, your imagination, and a cup of cocoa—we’re building frosty friends that never melt.
Why Clay Snowmen Beat Real Snow Any Day
Want to know the secret sauce? Clay snowmen stay put, last longer, and you can customize them to match your mood or décor. No cold toes, no glare from the sun, just pure creative chill. FYI, you can bake, air-dry, or oven-cure depending on your clay of choice, so you’re covered no matter the winter forecast.
Materials That Make Your Snowman Come Alive
– Clay types: polymer clay for baking, air-dry clay for quick results, or ceramic clay if you’re feeling fancy.
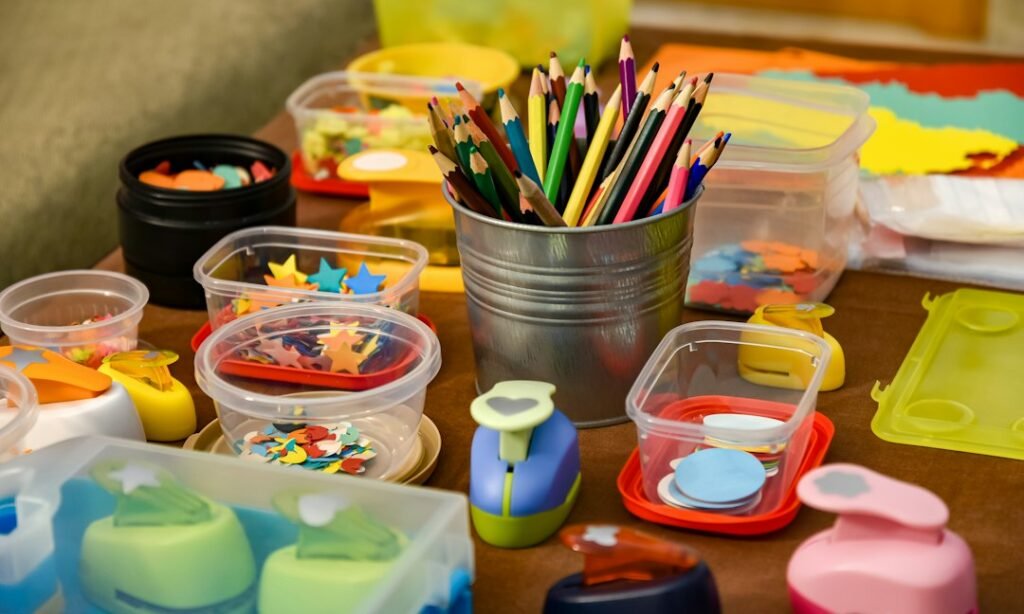
– Tools: rolling pin, blade or scraper, texture tools, small brushes for painting.
– Accessories: felt, buttons, tiny scarves, pipe cleaners for arms, and a friendly carrot nose made from clay or painted wood.
– Workspace: newsprint or silicone mat, a heat-safe tray, and good ventilation if you’re baking.
Choosing the Right Clay for Your Vibe
Polymer clay gives you durability and bold colors, but it needs a bake. Air-dry clay is forgiving and fast, perfect for beginners. If you want a rustic, matte finish, porcelain or terracotta clays look gorgeous but require more setup. Pick what fits your schedule and patience level.
First Steps: Crafting Your Frosty Friend
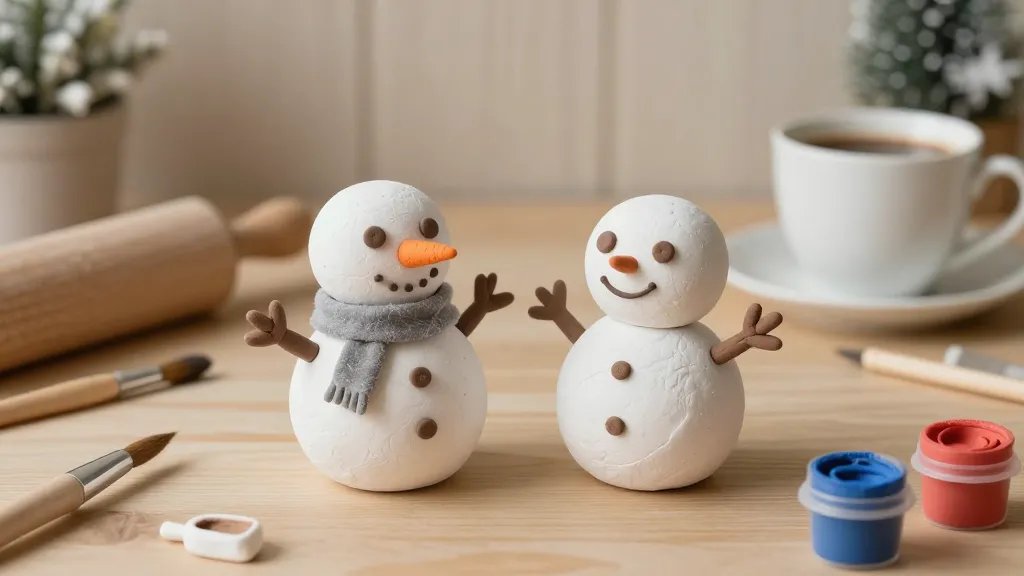
Start simple: a classic three-ball snowman (bottom, middle, head) with a carrot nose and coal eyes. Assemble with a dab of slip or glue depending on your clay type. Don’t rush—soft joints keep your figure sturdy.
Pro Tips for Structure
– Use a toothpick or wire as an internal support to prevent wobble.
– Flatten the base slightly so the figure won’t topple.
– Let each section cure before adding the next to avoid squishing.
From Bland to Brilliant: Personalizing Your Snowman
This is where the real fun happens. Add scarves, hats, earmuffs, or merry little mittens. Try color-blocked scarves or a striped hat for personality. You can paint on facial features or give your snowman a goofy grin that says, “I survived January and I’m fabulous.”
Texture Tricks and Finish Choices
– Sand lightly between layers for a smooth finish.
– Use a stippling brush to create a snowy texture on the surface.
– Seal with a clear varnish or mod podge to protect colored details.
Display It Like You Mean It
Your snowman deserves stage time. Create a tiny winter scene: a felt snowfield, a twig fence, maybe a miniature lantern. Use a shallow dish as a base and sprinkle with cotton “snow” for a cute display. If you want portable art, build a small display stand or a magnetic board so your snowman can travel around the house with you.
Indoor vs Outdoor Considerations
Indoor pieces stay pristine longer and you control the dust and humidity. If you want outdoor fun, use UV-resistant paints and a proper sealant. Just remember: polymer clay isn’t guaranteed to survive freezing cycles outside, so keep the real frost outdoors where it belongs.
Creative Variations to Level Up
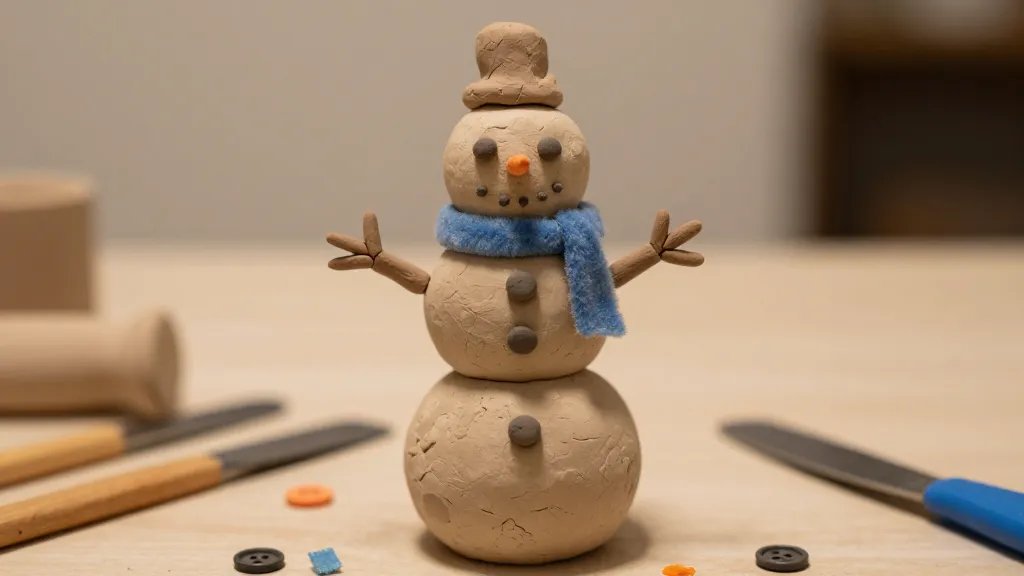
– The family trio: make a whole crew—grandpa snowman, kid snowman, and a playful pup made of clay.
– The seasonal switch: swap outfits for holidays—elf hats in December, snowflake scarves for February.
– Tiny tales: give your snowman a name and paint a tiny background scene on the base.
Mini-Projects to Try This Weekend
– One-hour snowman bookmark: a slim figure with a little string bookmark poking out.
– Snowman magnets: attach a magnet to the back; decorate a fridge with a miniature winter village.
– Clay snow globe: a small globe with glitter and a snowman inside—instant charm.
Common Pitfalls and How to Dodge Them
– Cracking: not enough moisture or over-baking. Keep an eye on bake times and temperature, especially with large pieces.
– Fading color: use a proper glaze or paint that adheres to clay. Apply thin layers and let dry between coats.
– Warping: ensure even thickness and sturdy joints. Support bigger parts as they cure.
Fix-It Fast Fixes
– Hairline cracks? Gently press and blend with a little slip, then re-seal and bake.
– Colors look muddy? Add a fresh coat of paint after a light sanding.
FAQ
Can I reuse clay scraps to make more snowmen?
Yes. Knead scraps together to reclaim the material, then roll and shape. If you mix types of clay, test bake small bits first to see how they react together.
Do I need special tools or can I improvise?
You can definitely improvise. Household items like chopsticks, knitting needles, or the end of a spoon work for shaping and detailing. If you love this, invest in a basic clay toolkit later.
What finishes protect painted clay snowmen?
A clear varnish or spray sealant works well. For polymer clay, a glaze is common. Apply in thin layers to avoid smudging the paint, and let each layer dry completely.
How long does it take for a snowman to dry or bake?
Air-dry clays can take 24–72 hours depending on thickness. Polymer clays bake in about 15–30 minutes per 1/4 inch at the recommended temperature. Thicker pieces need longer, so plan ahead.
Is this suitable for kids?
Absolutely. With supervision, kids can enjoy sculpting, painting, and decorating. Start with simple shapes and short sessions to keep it fun and avoid frustration.
Conclusion
Winter snowman clay figures are the cozy craft that keeps giving long after the snow stops falling. They’re versatile, forgiving, and totally personal. If you’re looking for a low-stress, high-satisfaction project this season, grab some clay, a few supplies, and start building your frosty friends. FYI, the only thing more satisfying than a finished snowman is gifting one to a friend who could use a little extra winter cheer.