An instant mood boost for your plants and your desk. We’re talking cute, practical, and surprisingly simple clay ideas you can actually finish before you finish scrolling. Get ready to turn dull pots into personality-packed mini works of art.
Why Clay For Plant Pots Is A Winner
Clay is forgiving, affordable, and surprisingly versatile. You can sculpt tiny faces, geometric patterns, or mini toppings that make your plants look like they’ve stepped out of a boutique. FYI, even beginners can nail charming results with a little patience and a steady hand.
Quick Supplies To Get Started
- Air-dry or polymer clay (polymer is oven-bake; air-dry is slower but forgiving)
- Acrylic paints and brushes
- Sealant or clear varnish for protection
- Basic sculpting tools or everyday items (toothpicks, bottle caps, and a rolling pin)
- Sealer brush or sponge for a smooth finish
Project Ideas That Hit The Cute Threshold
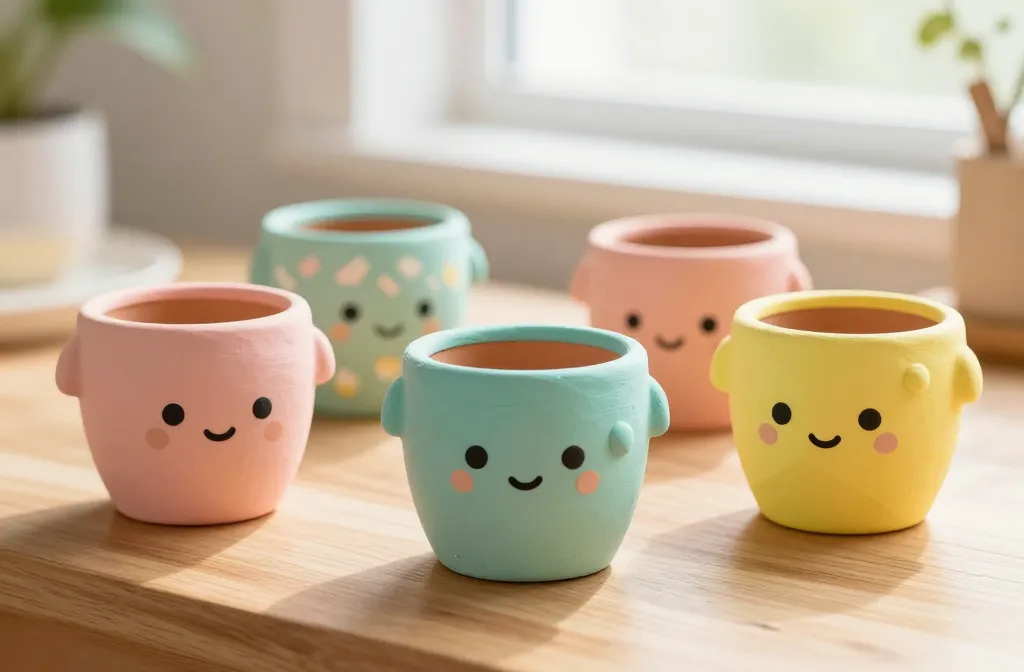
1. Smiling Faces On Tiny Pots
Who doesn’t love a plant with a grinning cap? Roll a small ball for the pot’s top, add two tiny eyes, a curved mouth, and a sprinkle of cheeks with coral or pink paint. A quick dry, and suddenly your spider plant looks friendlier than your neighbor’s cat.
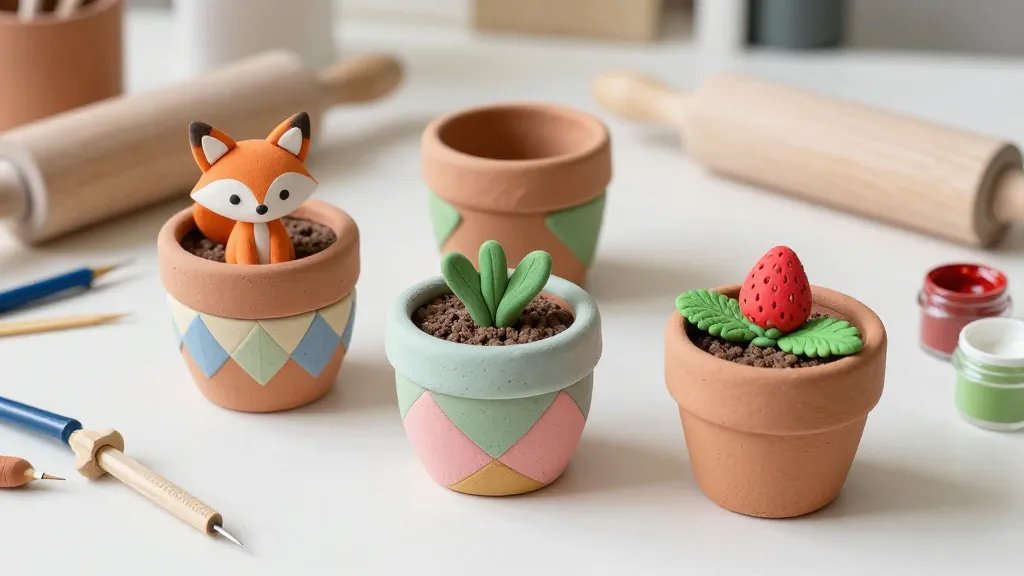
2. Geometric Patterns That Don’t Read As Busy
Triangles, dots, stripes—oh my. Use a fine brush or a pin to create crisp lines before baking or drying. Keep colors cohesive with your plant’s vibe: terracotta clay with white strokes for a modern look, or bold primary colors for a playful vibe.
3. Mini Pods And Buds For A Natural Twist
Imitate seed pods or flower buds by shaping small rounded domes that attach to the pot. Paint subtle details like tiny veins or speckled highlights. It’s like giving your pots a little botanical outfit.
4. Cactus-Inspired Pots Without The Care required
Cacti are famous for their personality with minimal water. Sculpt small cactus shapes onto the pot, add a few flicked white accents to mimic spines, and finish with a matte glaze. Easy, iconic, and evergreen.
Deep Dive: Finishing Touches That Make It Last
Sealing For Longevity
After your clay decorations dry or bake, coat them with a sealant. This protects against chips and moisture, especially if your pots stay outdoors or on a sunny sill. Choose a sealant compatible with your clay type and paint.
Color That Sticks
If you’re painting on air-dry clay, you’ll want to let the paint cure fully before sealing. If you’re using polymer clay, bake according to the package before painting. FYI, thin coats beat thick slaps of color; it’s less messy and gives a cleaner finish.
Personalizing Your Pots: Themes And Stories
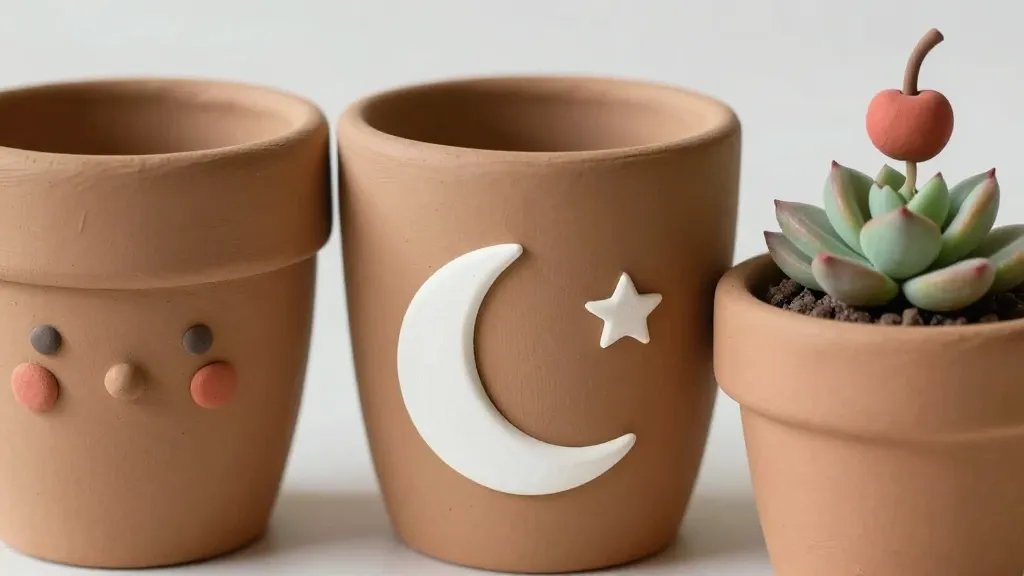
Seasonal Swag
Switch up the decorations with the seasons. Snowflakes in winter, bright florals in spring, or sun-and-palm motifs for summer. Not only does this look adorable, it keeps your plant game feeling fresh.
Pet-Friendly Designs
Carve little paw prints or fishbones—tiny, non-toxic painted details—that nod to your furry friends. It adds charm without being cheesy.
Common Pitfalls And How To Avoid Them
- Drying too fast: Air-dry clay can crack. Slow and steady wins the marathon.
- Over-sculpting: Tiny decorations stay cute, but bulky bits can overwhelm the pot. Start small.
- Paint peeling: Sealers are your friend. A light, even coat post-paint is crucial.
- Ignoring pot material: Some pots absorb moisture; pick a clay finish that won’t react poorly.
FAQ
How long does it take to make a set of decorated pots?
It depends on how many you’re making and the drying time of your clay. Simple designs can be done in a couple of hours, but if you’re air-drying, plan for a full day or two between painting and sealing.
Can I use polymer clay on terracotta pots?
Yes, you can. Bake the clay separately, then glue the decorations onto the pots with a strong craft adhesive. Sealant after assembly helps everything stay put.
What’s the best way to seal clay decorations?
Choose a sealant that’s compatible with your paint and clay type. A clear acrylic sealer or varnish works well for indoor use; outdoor setups may need a UV-resistant option.
Any budget-friendly hacks?
Yes. Recycle household scraps for textures—plastic lids, coin edges, or textured fabrics create fun patterns. Use leftover paint to keep it colorful and affordable.
How do I clean decorated pots without damaging the clay?
Wipe gently with a damp cloth. Avoid soaking the pots, especially if you used air-dry clay. If you used polymer clay, ensure it’s fully baked and sealed before any washing.
Showcase Your Skills
If you try a few patterns or faces, snap a pic and share it with friends or your favorite makers’ group. People love seeing tiny pots that look like they’ve got personality. You might inspire someone else to pick up clay for the first time and discover how satisfying it is.
Conclusion
Clay pot decorations are the cutest way to give your plants a personality upgrade without breaking the bank. Start simple, have fun with textures, and let your imagination guide you. Before you know it, you’ll be swapping designs with friends and feeling like a tiny ceramic wizard in your own home.


