Ready for a cute crafting obsession? This tiny clay lamb tutorial is the perfect weekend project—fun, fast, and surprisingly satisfying. You’ll learn a few simple steps, a dash of personality, and a whole lot of “aww” factor. Let’s dive in and make something adorably fluffy you’ll actually wanna show off.
Why Tiny Clay Lambs Are Worth Your Time
First question you’re probably asking: why tiny? Because small = quick. You get instant gratification, and the lid on your creativity is wide open. Plus, they scale beautifully for shelves, dioramas, or gift toppers. FYI, a little clay goes a long way, so you can churn out a few without breaking the bank.
These lambs aren’t just cute. They’re a gateway craft: you’ll practice shaping, shading, and assembling miniature parts. If you love minis, this is your new bff. And if you’re in a slump, tiny woolly friends can spark joy faster than binge-watching a season of your favorite show.
What You’ll Need (Just the Essentials)
- Air-dry clay or polymer clay in white, black, pink, and a splash of gray
- Clay conditioning tools: a roller, a dotting tool, and a smoothing sponge
- Fine-tipped black marker or paint for eyes and mouth
- Gloss mod podge or tiny amount of varnish for a little shine
- Toothpick or needle for details
- Optional: a tiny stand or base for display
Yep, that’s basically a bowl of goodies. You don’t need a professional studio to pull this off—just a tidy workspace and a dash of patience. IMO, a good playlist helps too. FYI, don’t overwork the clay; keep it soft and pliable for the best curves.
The Basic Shapes: How to Form the Body, Head, and Ears

Let’s break it down into easy steps. You’ll craft three simple shapes and then merge them with a little seam magic.
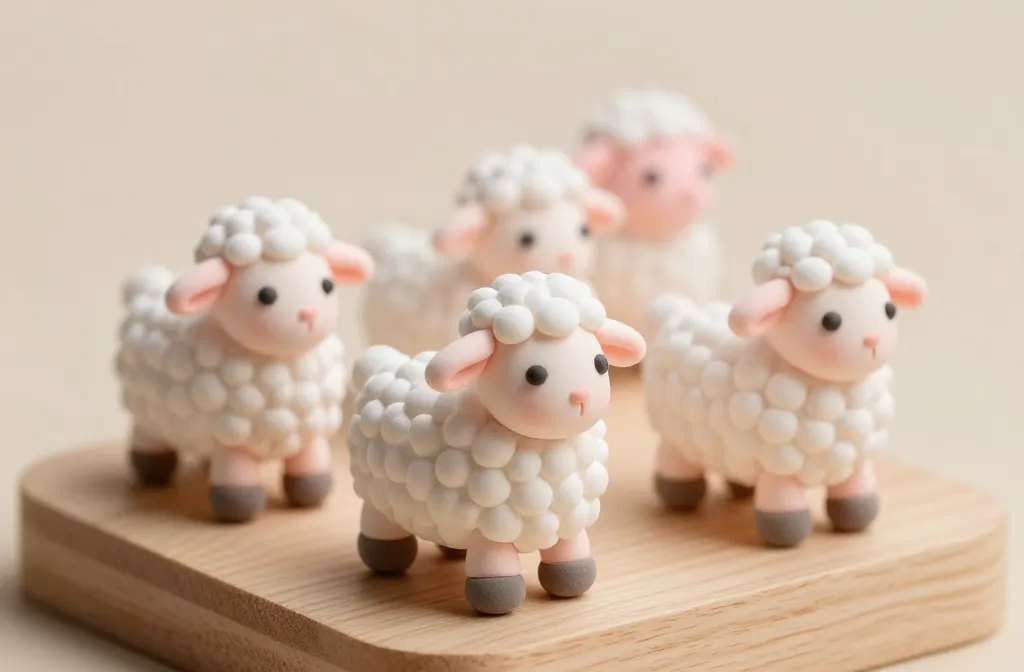
- Body: Roll a small oval for the torso. Don’t worry if it’s not perfect—cute isn’t perfection here.
- Head: Make a slightly smaller ball. Attach to the top of the body with gentle blending of the clay seams.
- Ears: Pinch two tiny teardrops and flatten the bottoms. Glue or blend them to the head’s sides.
Now you’ve got the skyline of your lamb. It looks a little like a fluffy cloud with feet—and that’s the charm right there. Ready to add the face and the tiny legs? Let’s go.
Adding the Face: Eyes, Nose, and a Tiny Smile
Little facial features can make or break the cuteness factor. Here’s how to nail it without turning this into a staring contest with a clay blob.
- Eyes: Place two tiny black dots. If you used polymer clay, you can bake them first, then paint small white highlights for lifelike sparkle.
- Nose and mouth: A tiny dot or short curved line works. Keep it subtle; less is more here.
- Blush: A whisper of pink on the cheeks can give a sweet, ready-for-snuggles vibe.
Pro tip: small adjustments go a long way. If your lamb looks surprised, tweak the mouth into a gentle smile. If it looks sleepy, widen the eyes just a touch. FYI, you’ll learn a lot by adjusting as you go—practice makes perfect, or at least adorably imperfect.
Texture, Details, and the Fuzzy Feel
Texture sells the realism, even in a tiny clay lamb. You don’t need a flock of fancy tools to fake fur—just a few simple tricks.
- Fur texture: Lightly drag a needle or toothpick along the body in short, irregular strokes.
- Hooves: A tiny flat oval painted dark can imply little feet without stealing the show.
- Wool highlight: A touch of white or light gray along the top can simulate light catching fluffy fur.
For a more polished look, you can seal the piece with a gloss or satin finish. It adds a subtle shine and helps protect your tiny statue from dust and pet hair. IMO, a topcoat makes all the difference in photos you’ll post online.
Color Variations: From Classic White to Dreamy Pastels
While white lambs look timeless, playing with color adds personality. A pastel palette makes for a playful collection and might be perfect for party favors or nursery decor.
- Soft gray: A classy alternative that still reads lamb but with sophistication.
- Blush pink: Sweet and perfect for baby showers or gifting to a friend who loves cuteness.
- Sunny yellow or mint: Go bold, but keep one or two neutral pieces to balance the display.
Tip: when using bold colors, keep the face neutral to preserve the character. You don’t want a rainbow explosion to hide those tiny eyes.
Display Ideas: Making Your Lambs Stand Out
Now that you’ve built several, how should you show them off? Here are easy, no-stress display ideas that look intentional rather than cluttered.
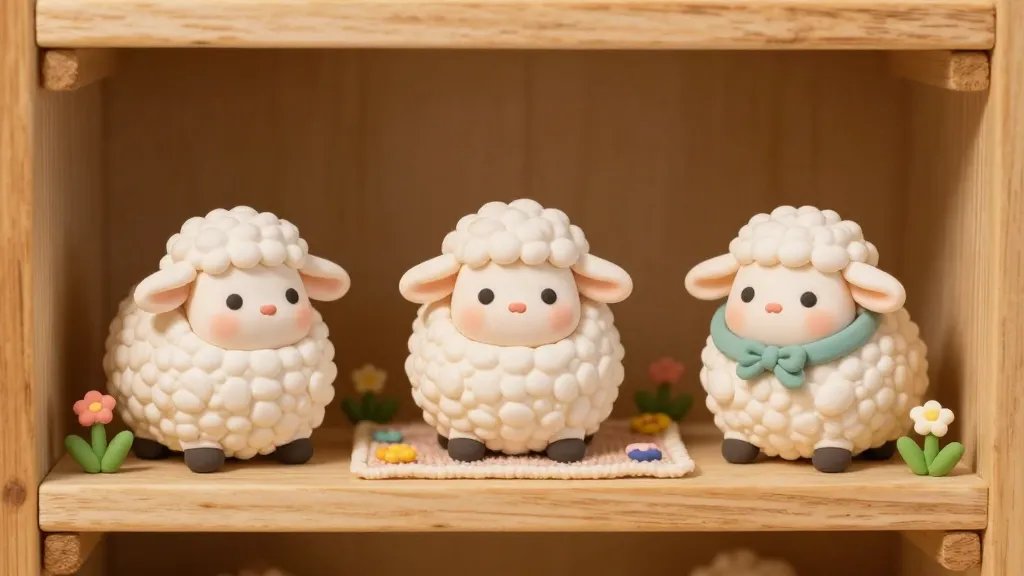
- Mini shelves with a soft fabric backdrop for a dreamy vignette
- A tiny wooden block as a stand to add height variation
- A line of lambs created as a little family on a windowsill
FYI, a photo-friendly setup helps a lot if you plan to share your work. Natural light + a clean background = instant glow-up for your mini herd.
Advanced Tricks: Little Tweaks That Elevate the Craft
If you’re ready to level up, try these small but impactful techniques. They’ll make your herd look more deliberate and less “DIY in a hurry.”
Subtle Shading for Depth
Use a softer shade to add contour along the sides of the body and under the chin. Blend gently and don’t overdo it. The goal is to hint at form, not to create a sculpture face-off.
Alternative Eyes: Sparkle Without Overdoing It
Instead of big black pupils, try tiny white dots as highlights. It creates a friendlier gaze and a touch of whimsy that readers often notice in photos.
Clay Lipstick: A Fancy Finish
A super tiny line of color on the inner ear or a subtle cheek tint can add personality without stealing focus from the face.
FAQ
How long does a tiny clay lamb take to finish?
Plan for about 30 to 60 minutes per lamb, depending on your detail level and clay type. Polymer clay may require bake time, while air-dry clay dries on its own. FYI, a snack break helps if you get stuck on a stubborn seam.
Can I cheat with pre-made eyes or accessories?
Absolutely. Pre-made eyes, beads, or tiny accessories can save time and boost consistency. Just ensure everything is securely attached and cured according to your clay’s instructions.
What’s the best way to seal the finish?
For air-dry clay, use a clear acrylic sealer or gloss varnish. Polymer clay usually benefits from a bake-and-seal approach. Always follow the product directions and test on a small scrap first.
How do I prevent cracking on the seams?
Condition your clay well before shaping, blend seams thoroughly, and avoid overworking when joining parts. A tiny amount of moisture or a blending tool helps smooth transitions. If a seam pops, re-wet slightly and press together with a fingernail edge until flush.
Any tips for finishing touches on social media?
Turn on good lighting, shoot from a slightly elevated angle, and include a few human-scaled items for reference. People love seeing the size relation, like a quarter or a common coin beside the lamb. IMO, a before-and-after shot or a mini-diorama setup looks super shareable.
Conclusion
Ready to start your tiny lamb squad? This little project is perfect for quick wins, satisfying crafting sessions, and adorable results you’ll actually want to display. The best part is you can experiment with shapes, colors, and textures until you find your signature lamb style. So grab your clay, pick a color story, and get sculpting—because tiny lambs are the tiny joys the internet deserves.


