An epic tiny world is baking right in your lap. Welcome to the tiny bakery display miniatures that steal hearts, one sugared plank at a time. If you’ve ever wished you could own a bakery without the calories, you’re in the right aisle.
What Are Tiny Bakery Display Miniatures, Anyway?
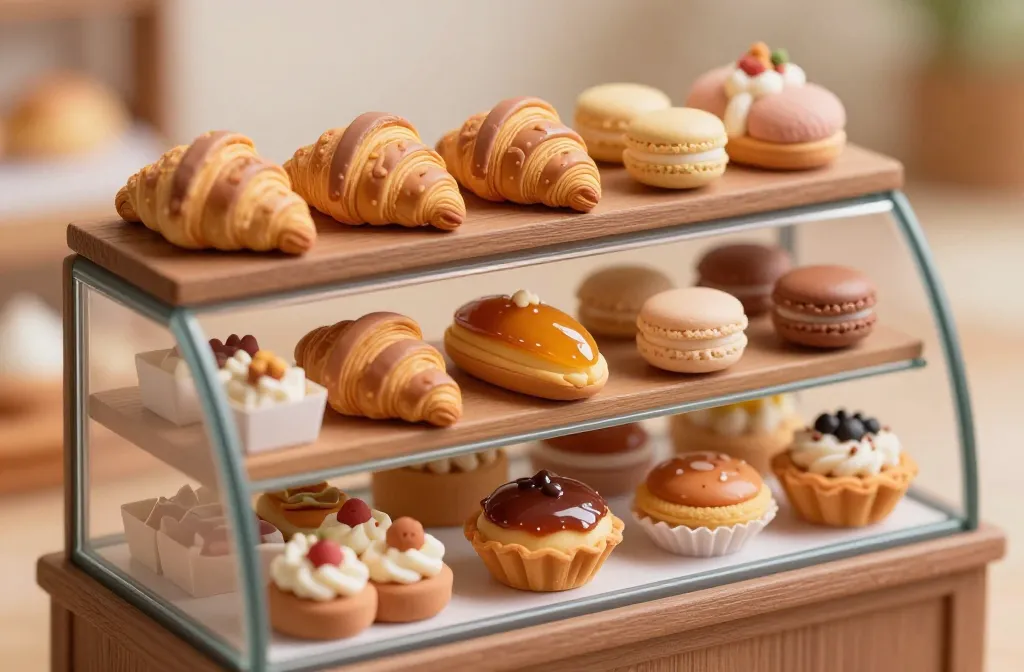
Tiny bakery display miniatures are miniature versions of bakery storefronts, complete with tiny shelves, pastry cartons, and sugar-glazed, perfectly engineered pastries. Designers and hobbyists craft these tiny worlds to scale, so you can peek through a little glass case and imagine the scent of fresh croissants. FYI, these are not just for kids—adults collect, display, and even photograph them like tiny food paparazzi.
Why They Put a Smile on Your Face
– They’re visually irresistible. The textures, colors, and tiny details pop in photos and real life.
– They spark creativity. Building or curating a miniature bakery is like DIY coffee with a dash of magic.
– They’re calming. Crafting or admiring micro-scenes can be oddly soothing after a long day.
Where the Magic Comes From
Most miniatures come from skilled hobbyists who blend woodworking, polymer clay, and textile scraps. Some creators use resin for glossy pastry shines; others print tiny signs on a 3D printer. It’s a mix of art, engineering, and a stubborn love for pastry that never fades.
Materials That Make Miniatures Pop
– Polymer clay for perfectly rounded pastries. Bake, paint, and glaze to taste.
– Fine-grain sand and cork for realistic bakery counters and floors.
– Tiny glass domes and acrylic risers to mimic display cases.
– Paints in baker’s white, almond, pistachio, and raspberry shades that photograph like a dream.
– Fabric scraps for napkins, aprons, and tiny striped awnings.
Budget Hacks for Getting Started
– Start with a simple display cabinet kit and add your own touches.
– Use household items: beads for sprinkles, metallic foil for pastry wrappers.
– Recycle: old jewelry boxes can become chic display cases with a paint job.
– Look for discount crafting supplies online; you’ll thank yourself later when you see the price tag.
Design Tips for Realistic, Jaw-Dropping Scenes
– Keep the color story cohesive. Pick 2-3 main colors and carry them across pastries, signage, and props.
– Vary textures. A glossy éclair needs a matte chalk-dusted éclair shell next to it.
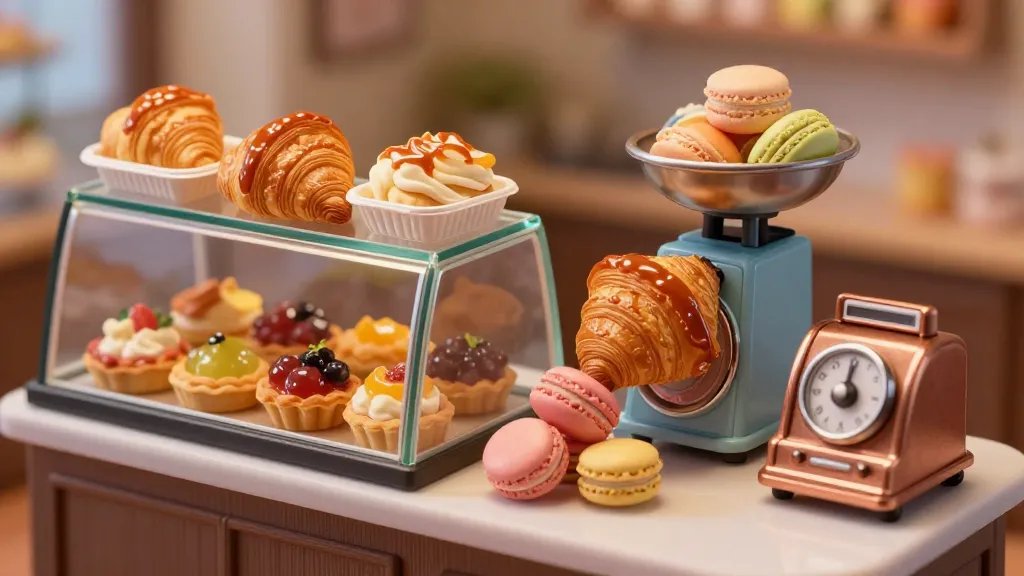
– Pay attention to scale. A tiny milk jug should look believably small beside a pastry rack.
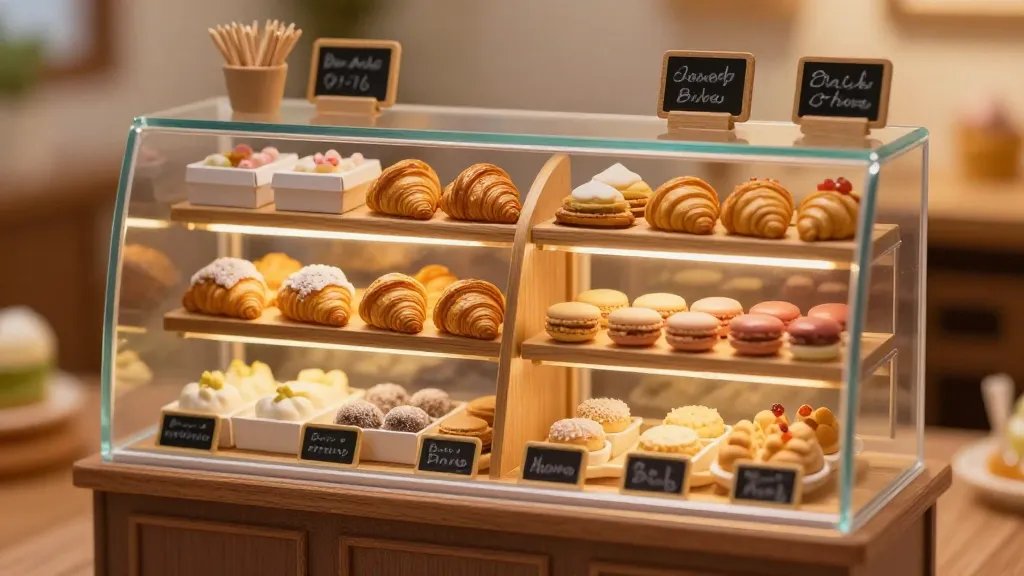
– Add tiny signage. A hand-painted chalkboard with today’s specials makes it feel lived-in.
Lighting Like a Pro
Natural light works wonders. Stage your scene near a window and shoot from eye level to catch the shine on sugar crystals. If you’re indoors, a small LED panel with a daylight setting keeps colors true and avoids creepy purple shadows. FYI, warm light can give a cozy, bakery-warmth vibe that chats with your Instagram algorithm.
Storytelling Through Miniatures
Think beyond “pretty pastry.” Create a tiny bakery with a backstory:
– A seasonal pop-up bakery with striped awnings and a chalkboard that changes daily.
– A family-owned shop run by a baker who loves jazz—you can place a tiny piano sheet on a counter.
– A quirky vegan bakery where every pastry looks like a different plant leaf.
Storytelling makes your display feel alive. It invites viewers to ask questions: Who runs the shop? What’s the daily special? Is the cat the real shop mascot? The more personality you inject, the more shareable it becomes.
How to Photograph Tiny Bakery Magic
– Use a shallow depth of field to soften backgrounds and dial attention to the finest pastry details.
– Shoot in natural light if possible; it helps with the glossy glaze effect.
– Get close but keep a bit of context in frame so the scene reads as a world, not a single item.
– Include human scale occasionally; a real coin or a finger next to a tiny cup makes the scale obvious.
Common Pitfalls to Avoid
– Overcrowding the display. Let pastries breathe; a little negative space helps the scene pop.
– Inconsistent lighting. One warm light and one cool light can ruin the mood.
– Cheap finishes. If your glaze looks dull, redo with a gloss medium or a brighter varnish.
Bringing Your Own Mini Bakery to Life
– Start with a tiny counter or display case. It anchors your scene and gives you a canvas.
– Pick a pastry cast. A croissant, a donut, and a tiny cupcake can form a lovable trio.
– Create micro-interiors. A shelf with labeled jars, a tiny cash register, and a stool gives depth.
– Weather and wear. Add a tiny flour dusting or a smudge on the glass for authenticity.
DIY Quick Start Kit Ideas
– A pre-colored clay set, a few small jars, and a soldering iron (for tiny details) if you’re bold.
– Acrylic paints, fine-tip brushes, and a tiny glass dome.
– A tiny chalkboard and a mini marker for daily specials.
Inspiration: Where to Find It Online and IRL
– Instagram and Pinterest are treasure troves of display ideas, color palettes, and build guides.
– Etsy shops often post process videos showing how mini pastries come to life.
– Local craft fairs sometimes showcase miniature dioramas—there’s nothing like seeing textures in person.
FAQ
What scale are most tiny bakery miniatures?
Most miniatures use a common scale of 1:12, which means one inch in the mini world equals one foot in real life. Some creators go smaller (1:24) for ultra-detailed scenes, while others go a bit larger for easier handling. Pick your poison and stick with it for consistency.
Do I need special tools to start?
Not really. A basic starter kit with polymer clay, acrylic paints, a few fine brushes, a small cutting tool, and a glue stick will get you far. As you dive deeper, you’ll add a tiny saw for wood, a hobby knife, and a gloss medium for that bakery shine. FYI, you’ll likely become addicted fast.
Can I photograph miniatures with my phone?
Absolutely. Modern phones rock decent macro capabilities. Use a steady hand or a tripod, and lean into natural light to prevent noisy close-ups. If you’re chasing drama, shoot with the grid on for clean, eye-pleasing lines.
How do I store and display finished sets?
Display cases or shadow boxes work well. Keep them out of direct sunlight to prevent fading, and dust gently with a soft brush. If you’re moving them around, wrap each piece in tissue to avoid chipping.
Is it okay to mix commercial miniatures with DIY ones?
Totally. Mixing mass-produced pieces with custom-made pastries can create a dynamic, gallery-like vibe. Just make sure the scales match and the palette stays cohesive.
Conclusion
Tiny bakery display miniatures are more than cute objects; they’re tiny worlds that invite you to slow down and enjoy the craft. They blend storytelling, design, and a little whimsy into something you can actually hold in your hands. So grab a small project, pick a pastry color that makes you smile, and start creating. IMO, the result is a tiny victory you can show off without saying a word. If you’re feeling bold, share your setup and tag a few friends—let the tiny bakery trend spread one photo at a time.


