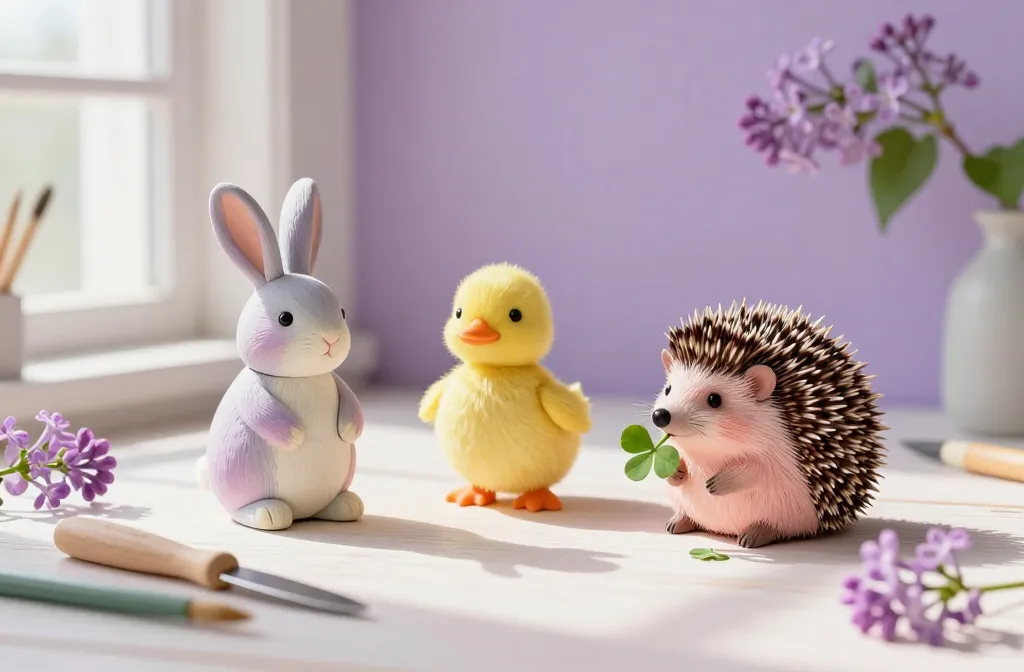
An adorable spring is blooming in your craft space. Let’s dive into a friendly, hands-on guide to making spring animal figurines that feel lively, personal, and a little magical. You’ll smile at how quick they come together and how proudly you’ll display them.
Gather Your Supplies Like a Pro (No Overkill Required)
– Clay or air-dry clay for quick shaping, plus a clay comb or toothpick for fine details.
– Wire or armature (optional) if you want sturdier bases for standing figures.
– Acrylic paints in soft spring colors: mint, pastel yellow, blush pink, sky blue.
– Sealant to keep colors bright and chips away from normal wear and tear.
– Paint brushes in a few sizes, plus a fine-tipped marker for tiny eyes.
– Cutting tools or a plastic blade for clean edges.
– Workbench or protected surface to keep your table safe from stray paint splashes.
Are you shopping right now or digging through a drawer? FYI, you don’t need every fancy tool to get a cute result. Start simple, then upgrade as you fall more in love with this hobby.
Pick a Theme That Sparks Joy
Spring is a vibe. Butterflies, bunnies, hedgehogs nibbling clovers, birds perching on lilac twigs—your figurines can be a little story. Do you want a forest edge scene, a pastel bunny family, or a goofy pair of ducklings learning to waddle? Pick one or two characters to keep your project focused.
Idea Sparks: Quick Concept Board
– Sketch quick silhouettes on scrap paper or create a mood board on your phone.
– Note colors that feel spring-y to you: dusty rose, seafoam, sunshine yellow.
– Decide if you want glossy, matte, or a tactile texture (think chibi fuzz or smooth ceramic vibes).
Shape It Up: Simple Techniques for Beginners
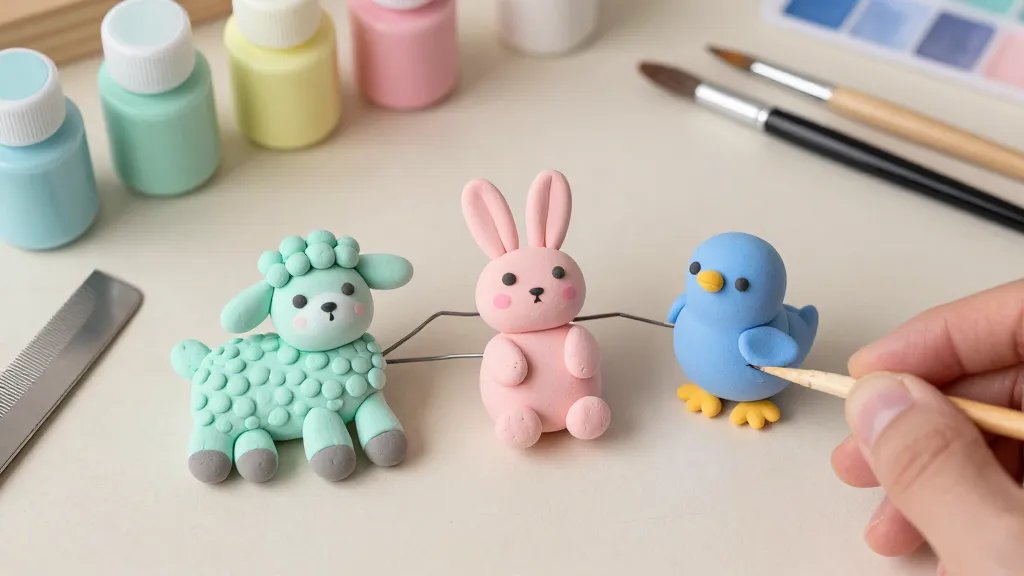
– Start with a basic ball and teardrop shapes to form heads, bodies, and snouts.
– Use a pinch method: roll small clay snakes for ears and tails, then blend the edges with your fingers.
– For extra cuteness, add tiny noses with a dab of contrasting paint after baking or drying (depending on your clay).
– If you want stability, embed a small piece of wire at the bottom before drying.
Stuff to Consider: Basing Your Figures
– Create a little base from a flat slab of clay or a cork topped with paint so your figure can stand.
– For a perched look, sculpt a tiny branch or flower stem to anchor a bird or butterfly.
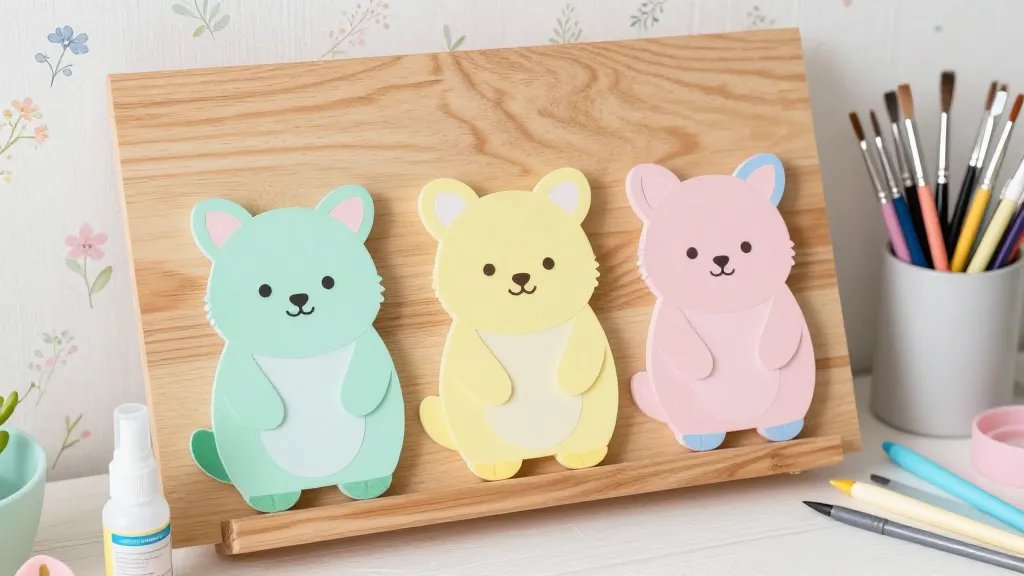
Color Play: Spring Palettes That Pop
– Pastel harmony: mint, baby pink, pale yellow, light blue.
– Neutral accents: soft gray, cream, sand for grounding.
– Texture tricks: dry brushing for gentle highlights and a handmade, rustic feel.
- Base coat each piece in a soft color. Let it dry completely.
- Layer in a lighter shade for highlights or a darker shade for shadows.
- Add tiny speckles or dots to mimic freckles or dustings of pollen—adorable and tiny!
Details That Make It Come Alive
– Eyes: tiny black dots or little white dots with a black pupil. Place them with a steady hand or a precision tool.
– Ears, paws, and tails: small teardrop shapes or little cylinders that you attach with a dab of moisture from your first clay layer.
– Expressions: a small upturned mouth or a wink with two tiny white dots can give personality without words.
Texture Tricks
– Use a toothbrush to lightly stipple fur or feathers for a folksy, handmade feel.
– For a glossy beak or eye, dab a tiny amount of gloss medium after your paint dries.
Drying, Baking, and Finishing Like a Pro
– If you’re using air-dry clay, let pieces dry 24 hours or until completely hard before painting.
– If your clay requires baking, follow the package directions precisely. Don’t bake on a foil-covered tray that could melt.
– Seal with a matte or satin sealant to protect colors. A quick spray keeps things even and reduces finger smudges during display.
– Patience helps: small pieces dry faster if you place them on stands or bottle caps so they stay upright.
Display Ideas: Show Off Your Spring Crew
– Create a mini diorama: a grassy patch (green felt or painted cardboard) with tiny flowers.
– Arrange on a shallow tray with moss, pebbles, and a little sign for a “Spring Friends” vignette.
– Make a tiny handmade spring scene: a bunny couple on a lilac branch, a chick peeking from a nest.
Deeper Dives: Troubleshooting Common Hiccups
– My figure cracks when I dry it. What now? Start with well-kneaded clay and smooth edges. If a crack appears, mend with fresh clay, blend, and re-dry. A light sand and repaint can rescue the look.
– Colors fade after sealing. Apply a stronger sealant or try a different brand; sometimes multiple thin coats beat one thick coat.
– Eyes won’t stick. Use a dab of clay as an anchor before painting, or apply a tiny bead of glaze to secure with paint-friendly adhesion.
Alternative Materials and Fun Variations
– Paper clay for lighter, delicate figures that you can paint over once dry.
– Resin accents for a glossy, durable finish on small critters.
– Upcycling: tiny bottle caps or corks make adorable bases or bodies with a spring vibe.
FAQ
How long does a single figurine take from start to finish?
Paint and dry time varies, but plan for a few hours of active shaping plus 24 hours to dry fully if using air-dry clay. If you’re slow-cimmer like me, you’ll still finish faster than you think.
What’s the easiest animal to start with for beginners?
A bunny or chick is perfect. Big, round heads with simple bodies let you practice shaping, glueing, and painting without getting overwhelmed.
What kind of paint works best on clay?
Acrylics are your friend here. They’re forgiving, dry quickly, and come in tons of colors. Don’t forget a sealant to keep colors poppin’.
How can I make my figures more durable for display?
Use a sturdy base, bake or dry thoroughly, and seal with a protective coat. If you’re worried about kids knocking them over, add a tiny foot or widen the base for stability.
Can I mix air-dry and oven-bake clays in the same project?
Yes, but you’ll need to be mindful of drying and curing times. Check each material’s instructions to avoid warping or cracking.
Conclusion
Spring animal figurines are a delightful way to welcome the season into your home. Simple shapes, soft colors, and a touch of whimsy create pieces you’re proud to display and gift. IMO, the best part is how quickly you’ll see your skills grow with each new critter. So grab your clay, choose a theme, and get your hands a little muddy—the spring magic is waiting.


