An eyecatching hobby shoot doesn’t require a studio and a fancy lens. You just need the right angles, lighting, and a bit of personality. Let’s dive into practical, friendly tips to make tiny treasures look huge online.
Know Your Tiny Subject Inside Out
Smaller items demand close attention to detail. Start by studying the craft: texture, shapes, colors, and bits that tell its story. Ask yourself what makes this piece special and what you want viewers to notice first. FYI, a clear narrative helps people stop scrolling.
Light It Right: Natural, Soft, and Speedy
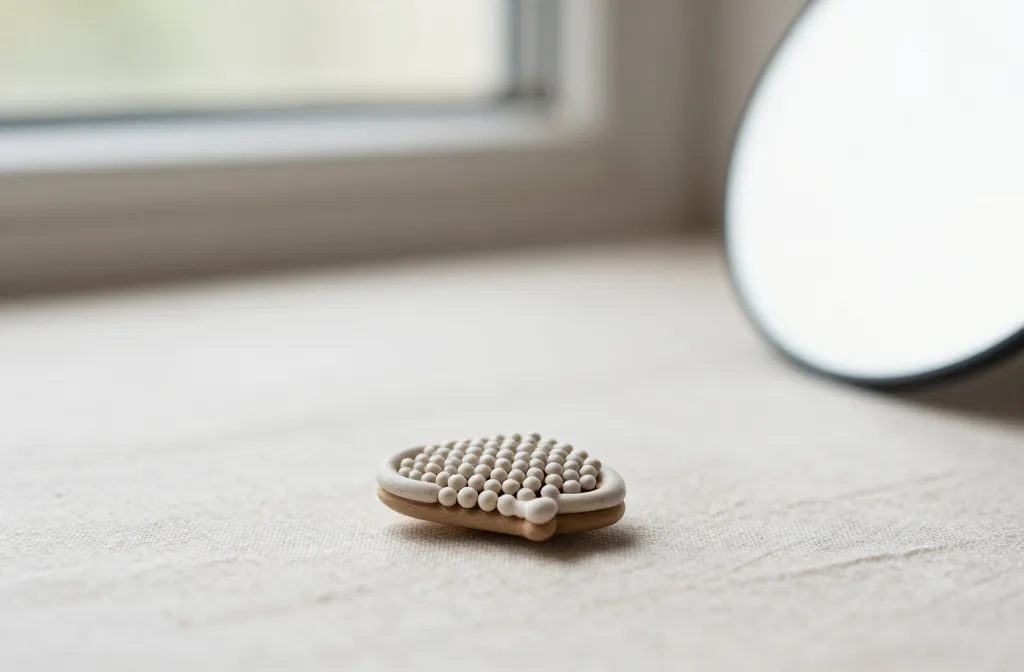
Natural light is your best friend for small crafts. Set up near a window and avoid harsh direct sun, which creates sharp shadows. A simple white sheet or lightbox can soften those rays even more.
Quick Lighting Checklist
- North-facing window for consistency
- Diffuse with a sheer curtain or foam board
- Use a reflector (a white poster board works) to bounce light back
- Avoid mixed color temps that muddy the tones
Backgrounds That Don’t Compete
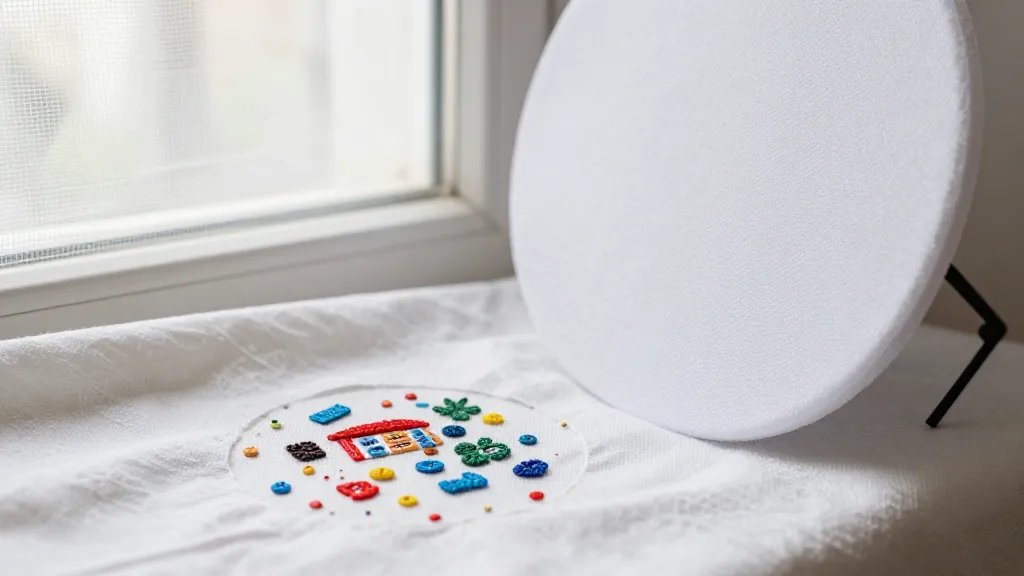
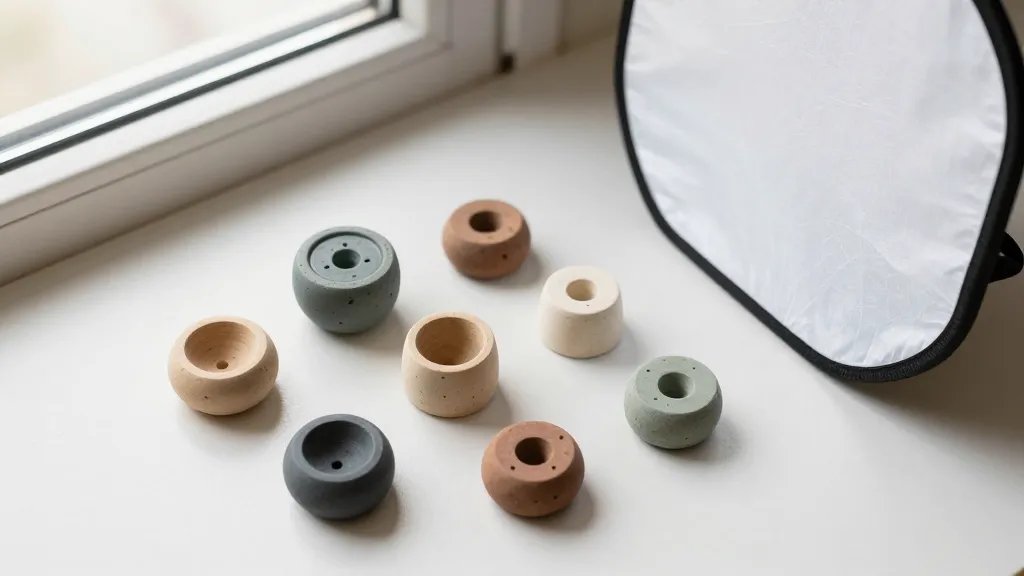
Your craft deserves the spotlight, not a loud backdrop. Neutral, clean backgrounds work best, but you can add personality with subtle textures. Think pastel cardboard, soft linen, or a wooden surface. The background should guide the eye toward the craft, not steal it.
Background Dos and Don’ts
- Do test color contrasts to make details pop
- Don’t clutter the scene with unrelated objects
- Do vary textures across shots for interest
Composition Tricks That Make Tiny Things Grand
You don’t need to be Ansel Adams to shoot small crafts well. Simple composition rules do wonders.
Key Angles to Try
- Top-down for clean, collectible looks
- 45-degree angle to reveal depth
- Macro close-ups for textures and tiny details
Keep It Sharp
Use a comfortable f-stop to balance depth of field, so the piece stays crisp while a soft background fades. If your camera struggles with macro focus, a small focus loupe or tripod helps a lot. IMO, you’ll thank yourself later.
Staging Your Shot: Props, Movement, and Storytelling
Props can elevate a small craft without overpowering it. A few well-chosen items tell a story and set the mood.
Staging Ideas
- Place craft on a fabric with a subtle pattern that echoes colors
- Include a tiny tool or material used in the making for context
- Use a simple setting that hints at scale (a tiny ruler, seed beads, etc.)
Editing Without Losing Authenticity
Editing is where you polish your photos into social-ready gems. Keep them true to life while sharpening and balancing color.
Speedy Edit Steps
- Adjust exposure to bring out details without blowing highlights
- Boost contrast slightly to make textures pop
- Fine-tune white balance so colors read realistically
- Crop to improve framing and remove distractions
Consistency Across Posts: A Tiny Brand You Can Trust
Consistency helps your audience recognize your work in a feed full of random posts. Develop a light, color, and framing style you love and stick with it.
Ways to Build Consistency
- Use the same light setup for a cohesive look
- Adopt a recurring color palette for backgrounds
- Maintain a predictable crop and aspect ratio (square vs. portrait)
Technical Gear: Do You Really Need a Lot?
The joy of photographing small crafts is you don’t have to break the bank. Start simple and upgrade only if you notice your results slipping.
Budget-Friendly Gear List
- Smartphone with good macro capabilities or a basic DSLR
- Soft, diffuse lighting (natural light or a cheap lightbox)
- Affordable tripod for stability
- Reflector or white card for light bounce
When It Might Be Worth It to Upgrade
- Low light consistently forces you to noise up your images
- You want ultra-close macro shots with precise focus
- You’re planning pro-level product shoots for brands
Posting Like a Pro: Captions and Hashtags That Work
Great photos deserve great captions. Keep them concise, tell a tiny story, and invite engagement.
Caption Tips
- Ask a question to spark comments
- Mention what makes the craft unique or funny anecdotes
- Include a brief behind-the-scenes note for personality
Hashtag Best Practices
- Mix broad and niche tags to reach the right audience
- Keep the list relevant to the craft and process
- Rotate hashtags to avoid looking spamy
FAQs
How do I photograph tiny items without blurring?
Start with a steady setup. Use a tripod, a remote shutter, or timer to minimize camera shake. If you must handhold, use a fast shutter speed and steady breathing. Also, micro-maints like focus stacking can help when you crave razor-sharp details.
What if my lighting is inconsistent across shots?
Aim for a single, repeatable light source and avoid changing angles mid-shoot. If you must, shoot a quick white-balance card at the start of each session so colors stay even. FYI, consistency beats perfection when you’re posting often.
How close should I crop a photo of a small craft?
Crop to emphasize the most interesting details without losing the item’s identity. A tight crop can feel intimate, while a wider crop frames context. Experiment and pick the version that feels most true to the piece.
Should IRetouch a lot, or keep it natural?
Keep edits tasteful. The goal is to enhance, not transform. Boost textures, correct color, and tidy any background distractions, but avoid making the piece look alien.
How do I tell a story with a single photo?
Think about a small narrative beat: the object, a clue about its creation, and a hint of its use. Use props and lighting to guide the viewer through that mini-story in just one frame.
Conclusion
Small crafts can shine just as bright as bigger things, you just need the right habits. Nail the lighting, keep backgrounds calm, and tell a tiny story with your shots. With a little planning and a dash of personality, your social feeds will start feeling less like a gallery and more like a chat with a crafty friend. So grab your favorite tiny masterpiece and start shooting — your audience is ready for it.


