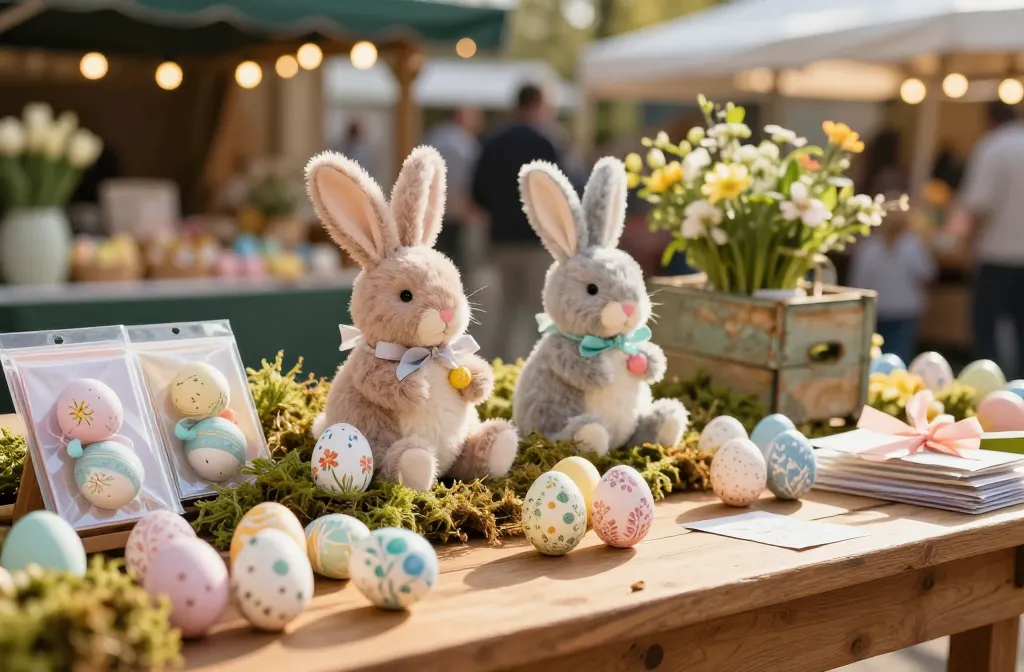
Bright colors, quirky textures, and adorable DIY projects collide this season. If you want your Easter crafts to trend, you need more than cute pics—you need photos that tell a story in a scroll-stopping way. Let’s break down how to capture craft-y Easter magic that fans will like, share, and save.
Prep Before You Shoot: Gear, Space, and Mood
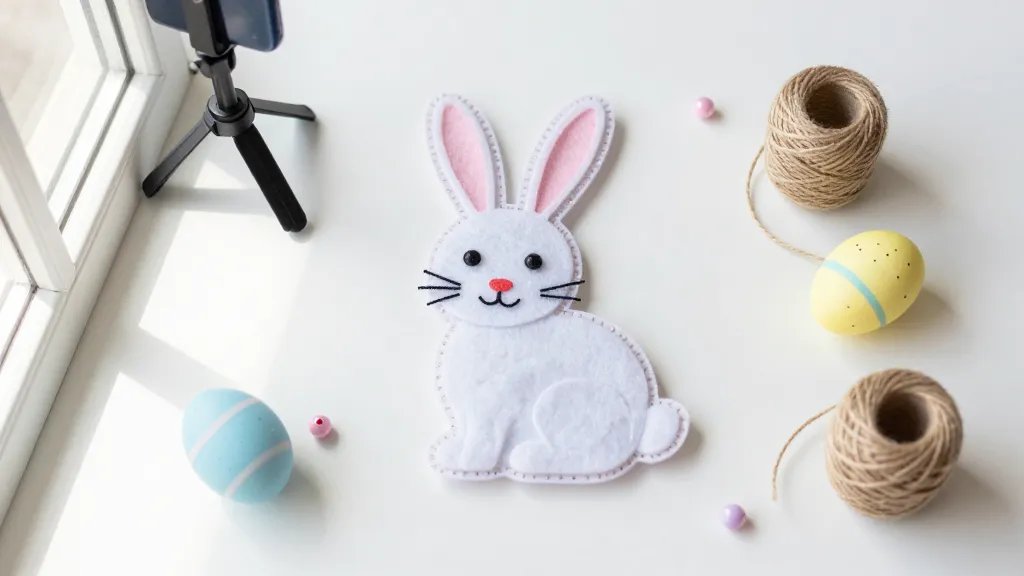
– Start with a clean slate: a white or light-neutral backdrop makes colors sing. If you’re feeling fancy, a pastel backdrop can add a seasonal vibe without clashing with your crafts.
– Lighting matters. Natural light is your best friend; shoot near a window in the morning or late afternoon. If you’re indoors at night, use a small LED panel and a reflector to soften shadows.
– Gear basics: a smartphone works fine, but a crisp lens can upgrade things. A cheap macro or close-up lens helps you nail tiny details on beadwork, felt, or glitter.
- Tripod or steady surface: keep frames sharp.
- Consistent white balance: avoid color casts that turn yellows into sickly hues.
- Props that don’t steal the show: minimalist dishes, neutral fabric, or even a few sprigs of greenery to ground the scene.
Story-First Shooting: Build a Narrative in a Single Frame
– Think like a mini storyboard. What’s the hero craft, and what are the supporting elements that say “Easter”?
– Use a simple setup: the craft at center, complementary props around it, and a visible tool or two used in the process.
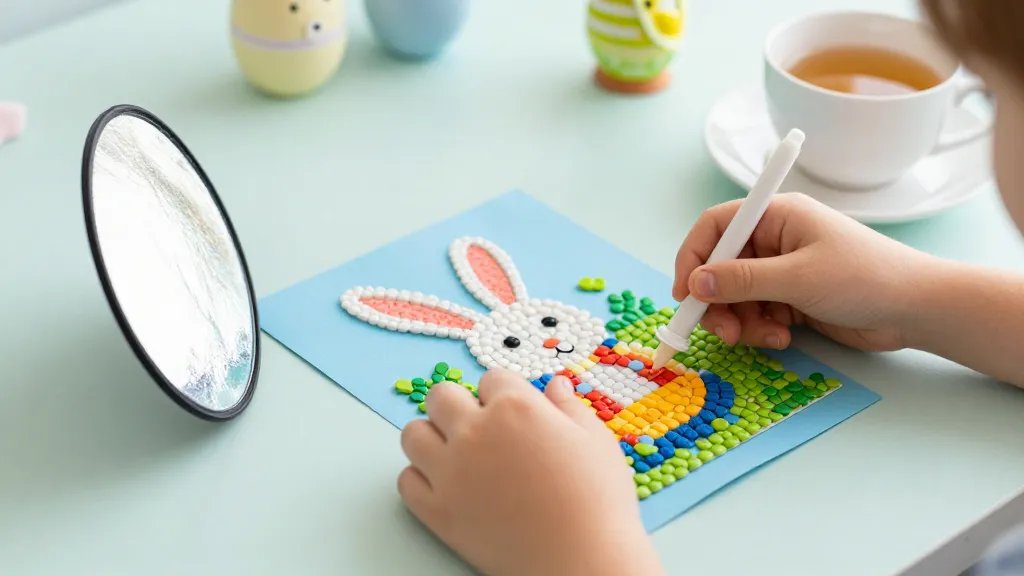
– Capture process shots occasionally. Followers love seeing the progression—from plain materials to finished piece.
How to Craft a Magnetic Composition
– Rule of thirds is your friend, but don’t be afraid to break it for drama. Place the focal craft off-center for a dynamic feel.
– Layer textures: burlap, wood grain, or a sprinkle of confetti adds depth.
– Leave room for captions. Don’t crowd the frame; negative space invites the eye to rest.
Color Harmony: Easter Pastels Without Looking Like a Candy Store
– Mix pastels with bold accents. A pale lavender project pops next to a teal placemat or sunny yellow backdrop.
– Limit your palette to 3–4 main colors. Too many hues fight for attention and create visual noise.
– Consider color psychology: soft tones feel cozy; brighter accents read “playful” and “DIY.”
Palette Checklist
– Primary color: the craft’s main hue.
– Secondary color: a supporting hue for props.
– Accent color: tiny pops that catch the eye (buttons, ribbons, or a single flower).
Detail Shots: The Micro Moments People Miss
– Close-ups level up your feed: the stitching on a felt bunny, glue on a glittery edge, the texture of painted eggs.
– Use a shallow depth of field to isolate textures; keep the main detail in sharp focus, blur the rest softly.
– Shoot in macro if you can, but don’t overdo the blur. Balance is key.
When to Use Close-Ups
– When your craft’s texture is the selling point (felt, crochet, glitter).
– To show scale, place a common object (coin, pencil) beside the craft for reference.
– For instructional posts, include a close-up of one step at a time.
Lighting Hacks: Make Colors Sing Without Busting the Budget
– Natural light timer: shoot around 60–90 minutes before sunset for warm tones and soft shadows.
– If the sun leaves you in the dark, bounce light with a white foam board or a sheet of white poster board.
– White balance tip: set it to daylight or cloudy depending on your light source to avoid blue or orange casts.
DIY Light Setup
– Use two light sources at 45-degree angles to your craft for even coverage.
– A tiny white reflector can fill in harsh shadows from beads or sequins.
– Keep background lighting subtle so the craft stays the star.
Props that Play Nice: Subtle Supporting Cast
– Choose props that echo Easter themes without overpowering the craft: pastel ribbons, wood slices, leafy greens, Easter eggs in the distance.
– Layer, don’t clutter. A neat stack of materials in the background hints at the making-of without stealing the show.
– Personal touch: include a hand or tools you used for scale and warmth.
Minimalist Prop Guide
– One or two props max per shot.
– Textures that complement rather than compete (linen, burlap, wood, soft fabric).
– Seasonal but not gimmicky: think spring breeze, not bouncy castles.
Capture Formats and Caption-Writing: Ready for Social Sharing
– Shoot in square (1:1) for Instagram grids or 4:5 for a little more vertical space. TikTok and Reels love vertical, so have a vertical version ready.
– Take at least 3 angles: flat lay, side view, and a 45-degree dynamic shot.
– Captions should tell a mini-story: what you made, why you chose it, and a quick tip for followers trying the craft themselves.
Caption Crafting Tips
– Lead with a hook: a surprising material, a clever technique, or a quirky detail.
– Include a short how-to line or a teaser for a reel, like “Watch the glue dry in 3 seconds.”
– End with a question to boost engagement: “Which color combo would you pick for your eggs?”
Editing Without Turning Your Feed Into a Filter Graveyard
– Keep edits natural. Slightly boost contrast to make colors pop, but avoid oversaturation.
– Sharpen just enough to bring out textures; don’t introduce artificial halos.
– Consistency is king. Use a similar warmth and exposure across posts to create a cohesive feed.
Quick Edit Checklist
– White balance around a pleasant neutral to maintain Easter hues.
– Brightness up a touch to keep details visible in shadows.
– Saturation tweaked slightly to preserve pastel integrity.
FAQ
What gear do I really need to start photographing Easter crafts?
Start with a smartphone or a basic camera, a stable surface, and a clean backdrop. A small tripod helps, and a simple macro lens or close-up filter makes texture shots easier. FYI, natural light beats fancy gear for most beginners, so don’t stress the equipment—get the shot.
How can I make my Easter crafts look more professional without spending a fortune?
Invest in a light tent or a couple of cheap reflectors to control shadows, plus a simple backdrop in a light color. Flow with minimal props and focus on sharp details. Consistent lighting and a cohesive color palette will do the heavy lifting for a polished look.
What are the most photogenic Easter crafts to shoot?
Anything with texture—felt bunnies, crocheted eggs, painted wooden decor, and glittery embellishments. Close-ups of stitching, beads, or brush strokes are especially compelling. IMO, the more tactile the craft, the more engaging the shot.
How do I write captions that boost engagement?
Pair your visuals with a short story or a practical tip. Ask a question to invite comments and add a call-to-action like “Save this for your Easter craft list” or “Tag a friend who loves DIY.”
What posting schedule works best for Easter craft content?
Consistency beats frequency. Post a mix of process shots, finished crafts, and quick tutorials to keep your audience engaged. If you can, post once a day during peak hours (early morning or early evening) and sprinkle in reels or stories for variety.
Conclusion
Photography can make your Easter crafts feel magical and shareable, not just cute in a still frame. Focus on storytelling, texture, and clean visuals, then let your personality shine through in captions and a dash of humor. FYI, the best shot is the one that invites someone to try the craft themselves. So grab a backdrop, shoot a few angles, and let your Easter creativity bloom online.