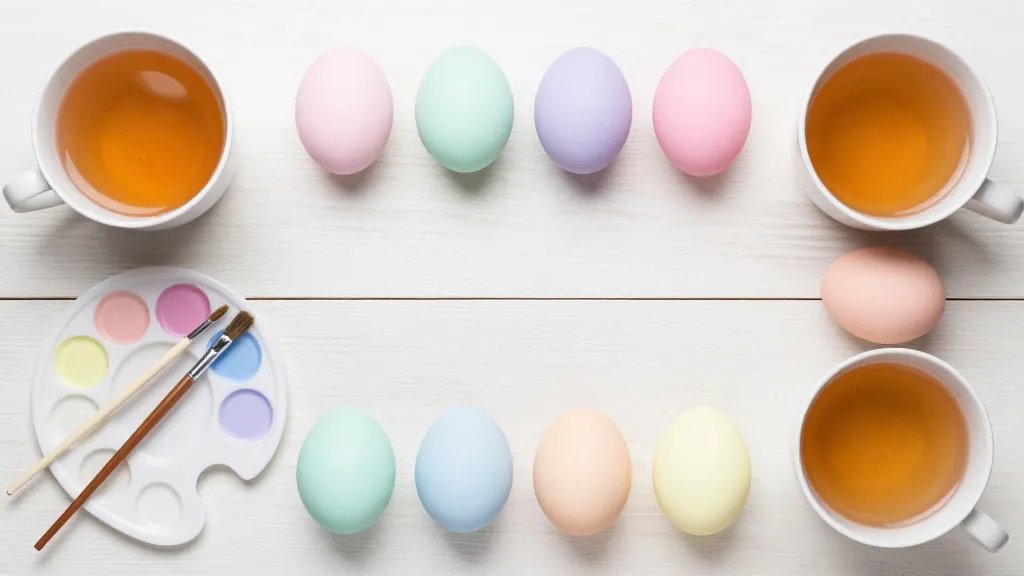
Looking to give your Easter eggs a glow-up this year? You’re in the right place. We’ll dish out pastel tricks that feel chic but are totally doable at home. Grab your cups of tea and your creativity—we’re about to level up your egg game.
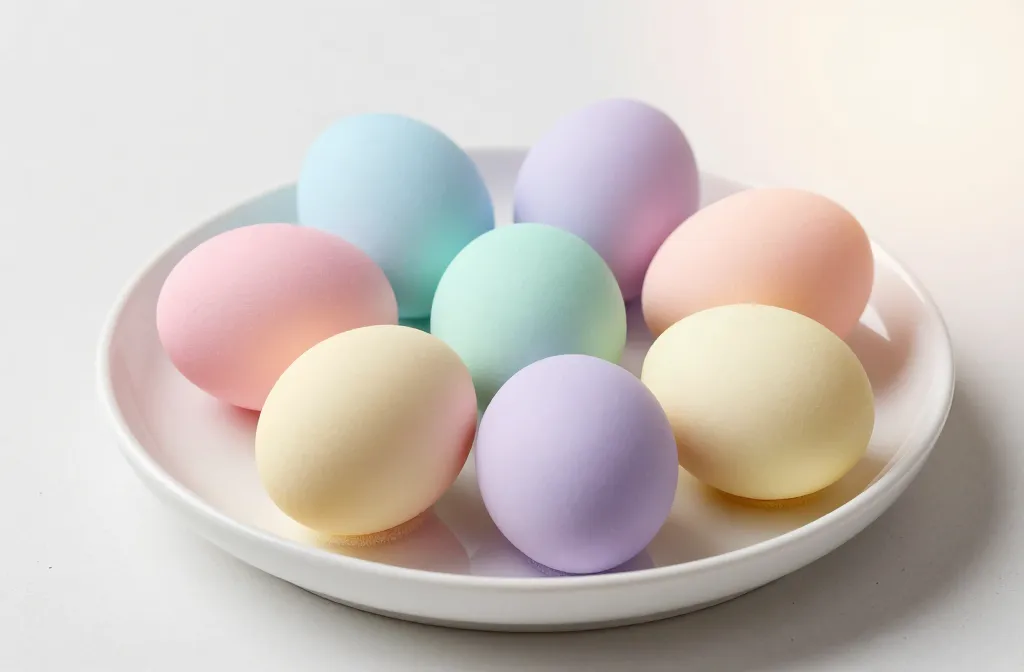
Why Pastels Make Easter Egg Art Shine
Pastels aren’t just pretty to look at; they’re forgiving. Light tones blend softly, transition smoothly, and let you layer color without shouting. FYI, the result feels polished without needing a professional studio. So yes, you can achieve a gallery-worthy batch with vibes you can actually replicate in your kitchen.
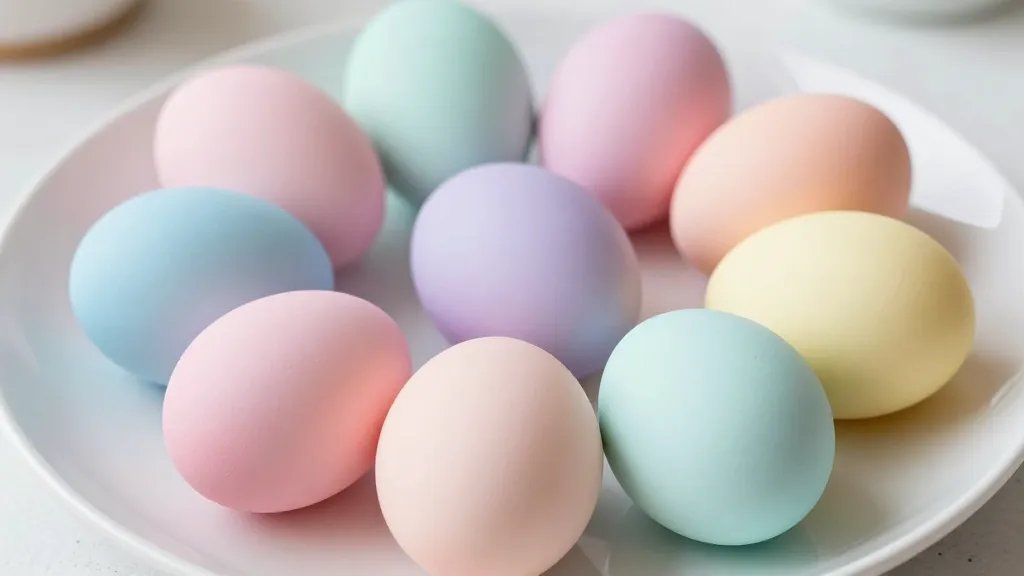
Choosing Your Palette: Which Pastels Work Best
First things first: pick a cohesive set. Think 4-6 shades that live harmoniously—pale pink, baby blue, mint, lavender, pale peach, and buttercream yellow are classics. Stick to matte or satin finishes for that soft, modern look; gloss can read a bit loud on eggs.
Tips for a Cohesive Look
- Limit contrast: pair light tones with lighter tones to keep things cohesive.
- Test on a shell fragment or white egg before committing.
- Label colors with a quick swatch on a napkin so you don’t mix them up.
Techniques to Try: From Washes to Stencils
Here are a few approaches that work beautifully on real eggs and can be adapted for faux eggs if you’re not into handling fragile shells.
Soft Wash Base with Gentle Layers
Dip a sponge or soft brush into a pale color and dab onto the egg for a misty base. Let it dry, then layer a slightly lighter or darker shade for depth. The goal is soft graduating tones, not bold blocks. FYI, you can use cotton swabs to feather edges for a dreamy look.
Dry Brush Details for Subtle Texture
Dip a dry brush into pigment, wipe most of it off, and sweep light strokes across the egg. This creates delicate texture that reads like watercolor on a curved surface. It’s addictive—you’ll want to do this to every egg.
Stencils and Masking: Clean Edges Win
Use adhesive stencils or masking fluid to protect shapes you want to stay pristine. Apply a soft color, lift the stencil, and reveal crisp shapes beneath. This trick is perfect for geometric patterns, moons, or cute little bunnies.
Layering and Blending: Getting That Airbrushed Look Without a Gun
Layering is the secret sauce of pastel easter eggs. Build color gradually, allowing each layer to dry fully before adding the next. If you want seamless blends, work while colors are still slightly damp so edges soften naturally. Slot in extra layers if you want more depth—but don’t overdo it, or you’ll end up with muddy pastels.
Blending Tools That Actually Help
- Soft makeup sponges for gentle transitions
- Cotton swabs for smoothing edges
- Q-tips for tiny highlight touches
Decorating Surfaces: Glitter, Dots, and Delicate Lines
Pastels shine when you add small decorative elements. Tiny dots, thin lines, or a whisper of glitter can elevate the look without overpowering the softness. Keep glitter minimal and use a sealant to prevent fallout.
Minimal Glitter for Maximum Impact
Dust a tiny amount of cosmetic glitter onto the dried pastel background using a fingertip or soft brush. Seal with a clear top coat to keep it in place. It’s enough sparkle to catch the eye without stealing the show.
Preserving Your Masterpieces: Sealing and Storing
Eggs are fragile, and pastel paints can rub off if you’re not careful. Choose a light sealant or clear acrylic spray and let it cure fully in a well-ventilated area. Store eggs in a carton lined with tissue or cotton to keep colors from rubbing off during transport to the Easter table.
Creative Themes to Try This Year
Here are a few playful ideas you can actually finish in a weekend without turning into a craft devotee:
- Pastel stripes that wrap around the egg like candy canes.
- Floral silhouettes using masking fluid for crisp outlines.
- Soft marbling by swirling two pale colors with a toothpick or fork.
- Minimalist geometrics with thin tape for clean edges.
Practical Tips for Beginners
New to this? Don’t sweat the small stuff. Here are quick, doable tips to set you up for success:
- Work on a clean, dry surface to avoid unwanted smudges.
- Use a white or neutral egg base if you want colors to read true.
- Let colors dry completely between layers to avoid muddy results.
- Keep a damp cloth handy to clean mistakes fast.
When Things Don’t Go as Planned
If a color appears too intense, dab with a clean sponge to lift some pigment. If you scratched the shell while painting, apply a tiny amount of paint over the area and blend it out. IMO, most “oops” moments turn into happy accidents with a little creative recovery.
FAQ
Can I use regular acrylic paints on eggs?
Acrylics work fine on hard-boiled eggs, but they dry quickly and can be a bit stiff. Use thin washes and a light sealant to keep the finish delicate. FYI, you can also use fabric paints for a softer texture.
Do I need special tools for pastel eggs?
Not really. Soft brushes, makeup sponges, cotton swabs, masking tape, and a sealant bottle do the trick. If you want to go pro, you can grab a small airbrush, but it’s absolutely not required.
How long do pastel eggs last?
Store them in a cool, dry place away from direct sunlight. A week or two is typical if you’re using real eggs; faux eggs can last much longer if sealed properly.
Is there a way to avoid cracking real eggs while painting?
Yes. Use hard-boiled eggs at room temperature, handle gently, and work with light touch. If you’re worried, practice on plastic eggs first to nail your technique before moving to the real deal.
What’s the best finishing spray?
A crystal clear, satin-matte spray works nicely for pastel looks. It preserves color without making the finish glossy. FYI, test the spray on a scrap egg or paper first to ensure it doesn’t react with your paints.
Conclusion
Pastel Easter egg painting isn’t about perfection; it’s about playful color, patient layering, and a little creative charm. With soft washes, subtle textures, and tasteful accents, your eggs will look polished without feeling stuffy. So grab your favorites, flex those artistic muscles, and turn ordinary eggs into pastel masterpieces that scream “holiday vibes” more than any store-bought option could. Ready to start painting?


