An intro for the curious: you don’t need a fancy studio to make adorable kawaii stickers. Grab a few supplies, a splash of personality, and you’re golden. This guide spills the tea on turning doodles into cute, shop-ready stickers you’ll actually want to slap on your notebook.
Gathering your kawaii toolkit
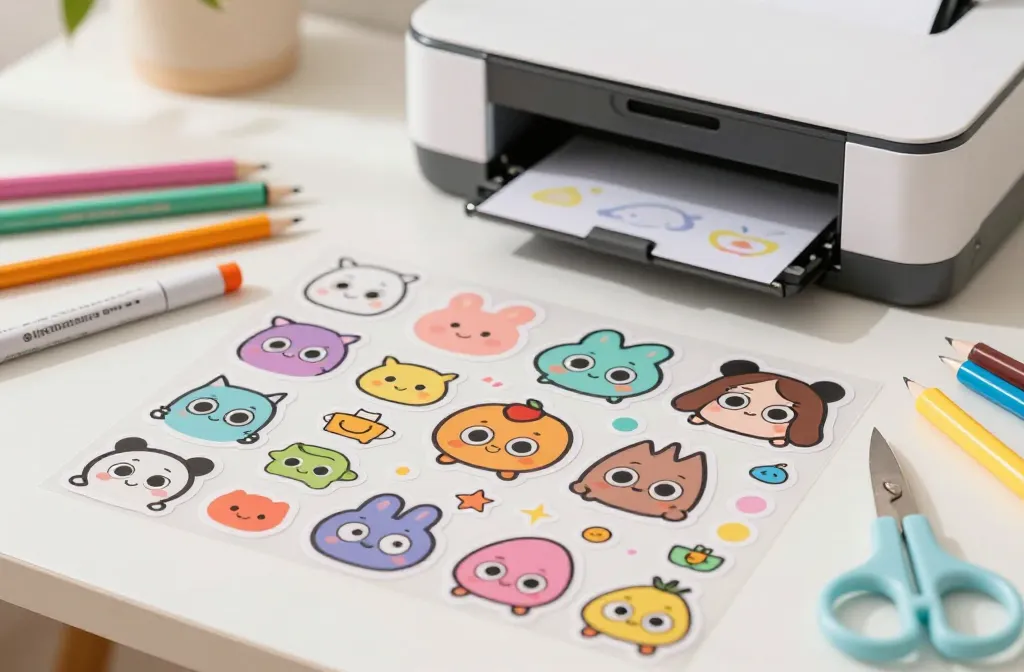
What do you actually need to start making stickers? Not a hero’s budget, just a few trusty items. Here’s the essentials list to get you humming.
- Sketching materials: pencil, eraser, and a light hand for clean lines.
- Transparent printable sticker paper or vinyl sheets that work with your printer.
- Quality markers or colored pencils for those soft shading vibes.
- Scissors or a precision craft knife for clean edges.
- Printable sticker backing sheets if you’re not using adhesive vinyl.
- A good printer (color accuracy helps your cuties pop).
FYI: test print a bunch of practice sheets before you commit to a full batch. Mistakes happen, and that’s part of the fun. You can always trim, tweak, and try again.
Designing irresistibly cute characters
Your critters don’t have to be complex to be charming. The trick is big eyes, tiny smiles, and expressive poses. Let’s break down a simple workflow.
- Brainstorm a vibe: sweet, goofy, or mischievous? Pick a handful of core motifs.
- Sketch rough ideas. Don’t chase perfection—embrace wobble and personality.
- Create clean line art: bold outlines help stickers read at small sizes.
- Add color with a limited palette to keep things cohesive.
Character turnarounds and tiny details
If you’re ambitious, draw a mini turnaround (front, side, back) for consistency. Tiny details can sell the vibe—think a heart-shaped blush, a sparkly eye, or a cute accessory like a bow.
Digitizing and prepping for print
Once your doodles feel settled, it’s time to bring them into the digital world. This step is where things often click or crash.
- Scan or photograph your sketches in good lighting.
- Use a photo editor to clean edges and adjust contrast.
- Trace your lines in a vector-friendly program or smooth out pixels in a raster editor.
- Place a transparent background or cut lines for kiss-cut stickers.
Understanding cut lines
Cut lines tell the printer where to slice. You can opt for a simple contour cut close to your art or a larger bleed area if you’re worried about misalignment. Always run a test print to see how the bleeds line up with your actual cuts.
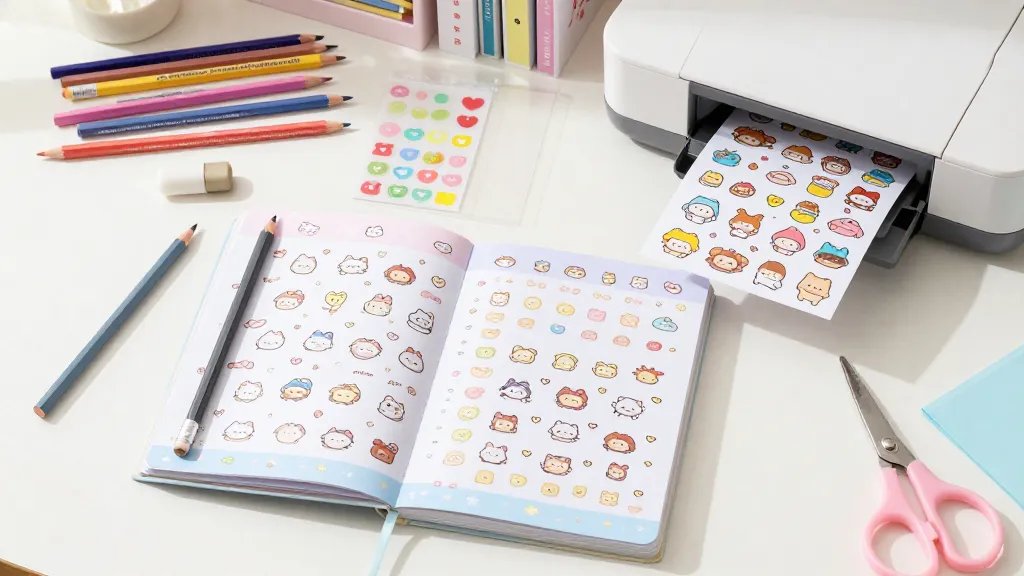
Printing like a sticker pro
Color accuracy matters, but so does paper type. Pick options that maximize durability and vibrancy.
- Choose matte or glossy sticker paper depending on your vibe. Glossy tends to POP, matte looks cozy.
- Inkjet printers handle most sticker papers—perfect for home use.
- Use a protective laminate or clear film for added durability, especially if you’ll handle the sticker a lot.
- Set print quality to high and calibration to your printer’s sweet spot.
Dealing with smudges and bleed
If your ink tends to smudge, give it a minute to dry, then seal with a clear spray or laminate. FYI, test sprays on a scrap sheet first to avoid yellowing or warping.
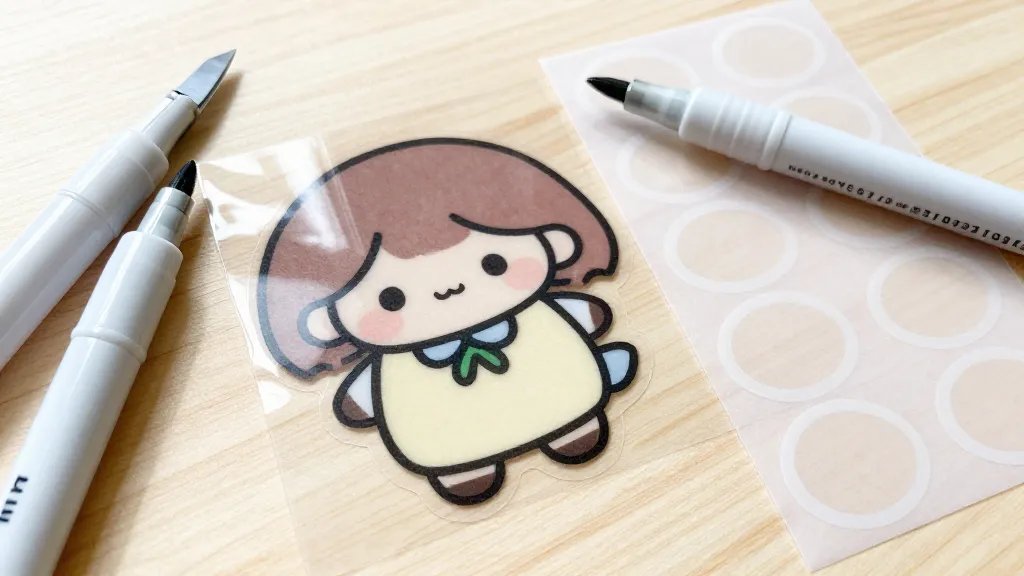
Cutting, sealing, and finishing touches
Cutting is where your stickers become real. The goal is neat edges and minimal hand fatigue.
- Use a sharp pair of scissors or a craft knife with a metal ruler for straight lines.
- For round shapes, a light touch and steady hand trump fancy gear.
- Laminate if you want extra durability—especially for water resistance.
- Trim excess edges if your contour cut isn’t exact; neat edges look premium.
DIY backing options
Backings matter for grip and display. Consider these easy options:
- Paper backing with a perforated kiss-cut line.
- Clear backing for a seamless floating look.
- Pre-punched sticker sheets if you print and package in bulk.
Packaging and sharing your kawaii creations
You’ve got stickers. Now, the fun part—making people want them.
- Bundle sets: mix different characters into a cohesive mini-collection.
- Photography matters: natural light, simple backgrounds, and a touch of whimsy.
- Markdown-friendly descriptions help online friends discover you. Don’t hide the cuteness!
- Offer insured shipping or a safe pickup option if you’re selling locally.
Pricing, selling, and staying inspired
Want this to become a tiny business or a side hustle? Planning helps.
- Calculate costs including materials, printing, and packaging.
- Set prices that reflect labor and artistry, but stay approachable.
- Rotate new designs to keep fans engaged—seasonal themes work well.
- Ask for feedback, then apply it with a playful twist.
Legal and copyright quick notes
Keep it simple: don’t copy popular designs. Create your own characters or add unique twists to existing themes. If you ever plan to sell widely, check any local rules about art and business licenses.
FAQ
Can I use regular printer paper for stickers?
Not for long-term use. Regular paper soaks up moisture and tears easily. Stick with sticker or vinyl papers designed for printers to get clean, durable results. If you’re just testing ideas, plain paper can be a quick mock-up.
What if my stickers peel off the backings?
Make sure you’re using the right backing and that the adhesive is compatible with your surface. For extra grip, rub the backing a bit with your fingernail before peeling the sticker to create a cleaner edge.
Do I need a laser printer to make decals at home?
Nope. Inkjet printers handle most home sticker projects. Laser printers can work too, but you’ll need laser-grade sticker paper. In most cases, inkjet is easier and cheaper for beginners.
How can I make my stickers waterproof?
Seal them with a clear laminate or spray designed for crafts. Let it dry completely before handling. This is your best shot at smearing-free, shower-safe sticker vibes. IMO, it’s worth it.
How long do home-made stickers last?
If you seal them and store them away from direct sunlight, they’ll hold up months to years depending on usage and materials. If you’re rough on your stickers, expect faster wear. FYI: keep a few practice sheets to test longevity before you sell.
Conclusion
You don’t need a studio to create charming kawaii stickers. With a dash of planning, some playful doodles, and a bit of DIY spirit, you can produce cute designs that people actually want to put on their stuff. Start small, ship fast, and let your imagination run wild. Ready to unleash your inner sticker boss? Grab your tools, sketch something adorable, and sticker-ize your life.


