An air-dry clay bunny is one of those projects that sounds tricky but is shockingly forgiving. If you’ve got a few leftover clays, some toothpicks, and a curious mind, you’re halfway there. FYI, you’ll end up with a tiny, adorable buddy you can paint, adorn, and show off to your friends without needing a kiln.
What Makes Air-Dry Clay Perfect for Kawaii Bunnies
– It hardens on its own time, so you’re not tied to a kiln schedule.
– It accepts paint, markers, and gloss finishes nicely.
– It’s forgiving for beginners, yet capable of cute, polished results.
- Choose a soft, polymer-like air-dry clay for easy shaping.
- Keep a small bowl of water handy for smoothing seams.
- Be patient with drying times; tiny pieces dry faster than big ones.
Gather Your Supplies (No-Panic Shopping List)
- Air-dry clay (neutral tones work best for base colors)
- Craft glue or wood glue (for securing extra pieces)
- Fine-tip acrylic paints and a couple of good brushes
- Gloss or matte sealant to finish
- Even a tiny brush or toothpick for details
- Optional: tiny beads for eyes, black acrylic for details
Shaping the Core Bunny: The Basic Body Plan
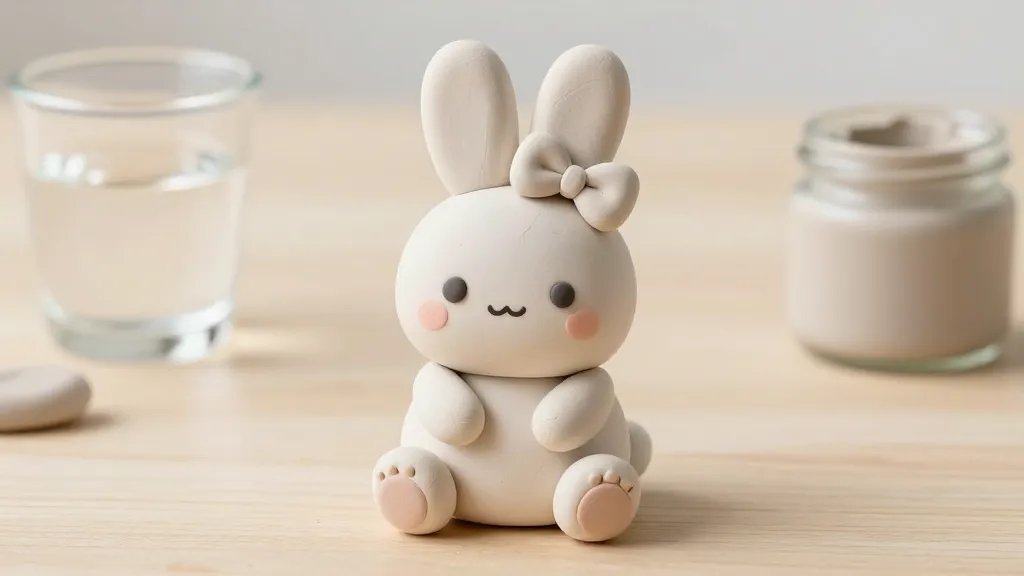
Think simple: a plump body, a round head, and two long ears. Start with a teardrop-shaped body and sculpt a separate round head. Attach them with a small pinch of clay so the seam is subtle. Then, roll two thin ears and affix them on top. If your bunny looks like a suspicious potato, chill—so did mine at first.
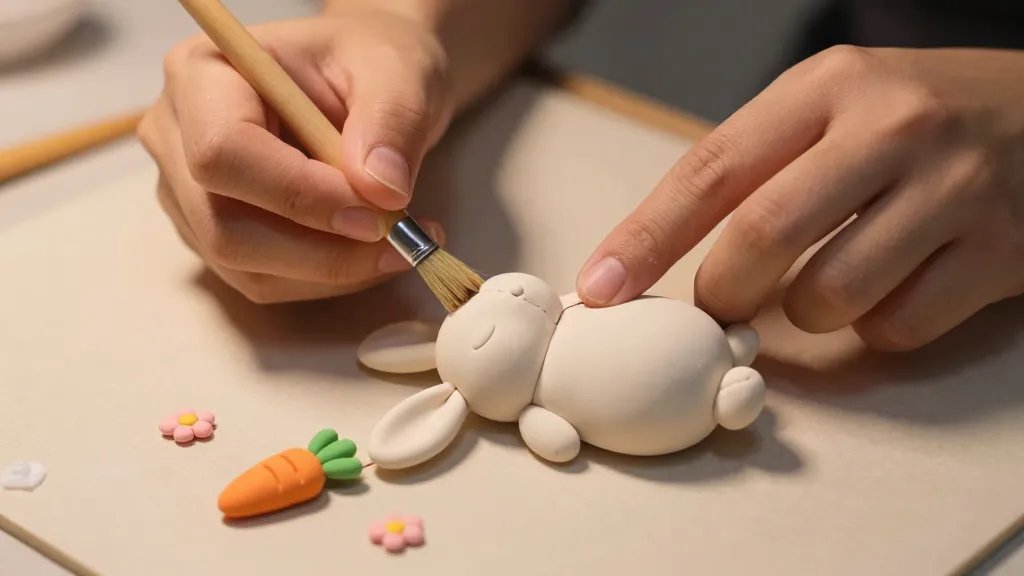
Tips for a Smooth Finish
Keep your hands slightly damp as you smooth seams. A soft brush with a dab of water works wonders. Don’t panic if tiny fingerprints appear—you can sand with a gentle sponge once it dries or cover with a light coat of paint later.
Delicate Details That Make It Adorable
Eyes, nose, cheeks, and tiny paws give your bunny character. You can go classic kawaii with big black eyes and a tiny blush, or go more subtle with painted features. The key is proportion—don’t overdo the eyes; tiny ones often best convey that sweet, chibi vibe.
Eye Options: Beads, Paint, or Carved Details
– Beads: press in evenly for a bright, glossy look.
– Paint: tiny black or dark brown dots work well.
– Carve: use a needle or toothpick to etch soft, rounded eyes.
Nose and Cheeks
A small triangle or dot for the nose, with a soft pink or peach blush on the cheeks, brings the cuteness factor up a notch. FYI, you can use a tiny lip brush to dab color precisely where you want it.
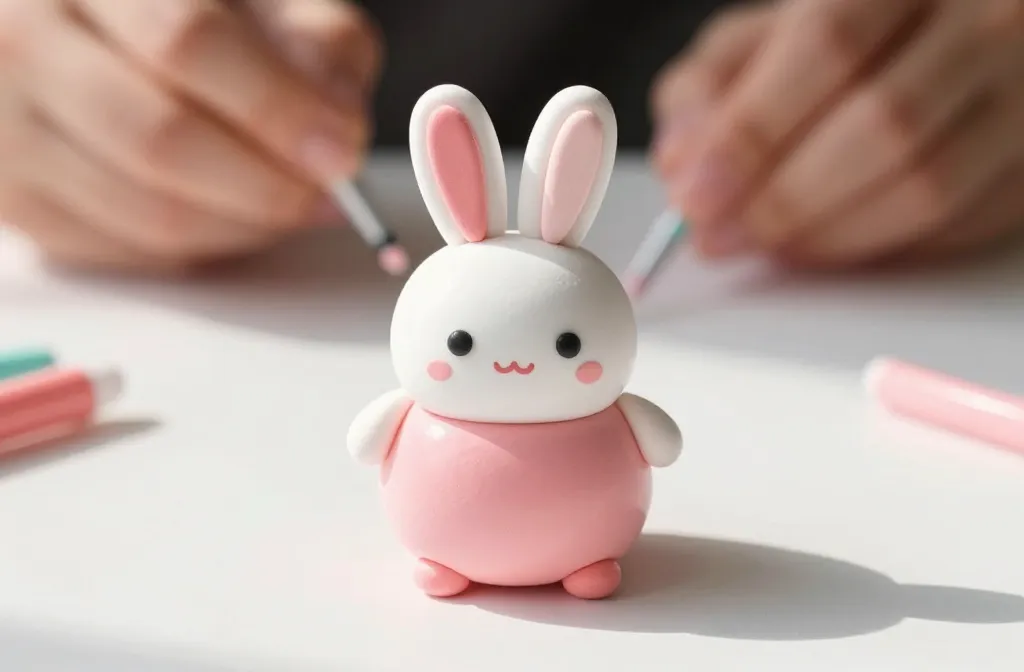
Coloring Without Turnabout Disaster
Air-dry clay accepts paint well, but you’ll want to seal it after painting to prevent smudges. Choose light, pastel tones for that quintessential kawaii look. If you’re worried about color bleeding, seal before adding fine details and go back in with the tiny brush after the sealant dries.
Layering Paint Like a Pro
Start with a base color, let it dry, then add shading along edges to make your bunny pop. Dry brushing a lighter color on the belly or ears gives extra dimension. It’s simple, but the result looks thoughtfully crafted, not slapped together.
Finishing Touches: Expressions, Poses, and Accessories
Would your bunny look better sipping from a tiny carrot cup or perched on a little mushroom pillow? Accessories elevate the look and give you a chance to showcase your personality. A tiny bow, a scarf, or a flower crown can transform a simple bunny into a mood piece.
Creating Poses That Persist
Attach paws forward for a curious pose or tuck them in for a shy vibe. If you want the bunny to sit, you’ll need a small base or extra care to balance the feet. A dab of glue on the base helps it stay upright on shelves or desks.
Preserving Your Masterpiece: Drying, Sealing, and Caring
Let your bunny dry completely before any sealing. Depending on the climate, this can take 24 to 72 hours. If you’re in a humid area, give it extra time or use a fan to speed things up. Then seal with a matte or gloss coat to protect from smudges and dust.
Common Pitfalls and How to Avoid Them
- Cracking: smooth seams and even thickness help prevent cracking as it dries.
- Warping: keep the base flat while drying and avoid heavy pieces perched on delicate limbs.
- Paint flaking: seal before painting if you’re concerned about adhesion; otherwise seal after painting to lock color in.
Creative Variations You Can Try
Once you’ve mastered the basic bunny, there are endless cute directions. Wanna switch up colors for seasonal vibes? Try a pastel Easter bunny, a spooky Halloween bunny with tiny fangs (totally adorable), or a festival bunny with glitter accents. The key is to keep the shapes simple and let color and expression do the heavy lifting.
The Carrot Cosplay
Give your bunny a tiny carrot prop. You can sculpt a little carrot with bright orange clay and a green top. It’s an instant photo moment and super shareable online, IMO.
Miniature Accessories That Spark Joy
Beads, fabric scraps for scarves, and even miniature hats can turn a plain bunny into a story. Use fabric glue to attach soft accessories that won’t crack with handling.
FAQ
Can I use polymer clay instead of air-dry clay?
Polymer clay needs baking, while air-dry clay cures on its own. If you only have polymer clay, you’ll need an oven and follow the package directions. For a quick, no-bake project, air-dry clay is the winner here.
How long does it take to dry fully?
Small parts dry within 24 hours in a warm, dry room. Larger pieces can take up to 72 hours. If you’re in a humid place, use a fan to move air and speed things up.
What sealant should I use?
Acrylic spray sealant or a brush-on craft sealant works well. Choose matte for a softer look or gloss if you want extra shine. FYI, test a tiny area first to ensure it doesn’t cause color bleeding.
My bunny cracked after drying. What do I do?
Don’t panic. Lightly dampen the crack and smooth with your finger or a soft brush. If it’s a major seam, you can apply a thin layer of fresh clay over it and blend. Let it dry again and repaint as needed.
How do I attach small parts securely?
Use a dab of wet clay to fuse parts in place while you shape, or use a tiny amount of craft glue after initial drying. Hold in position for a few seconds to ensure a solid bond.
Conclusion
There you have it—a cute, punchy kawaii bunny made from air-dry clay. It’s approachable, forgiving, and incredibly satisfying to create. If you’re chasing a sweet, display-worthy project that doesn’t require a kiln, this bunny is your best bet. So grab your clay, channel your inner crafter friend, and go make something adorable that vibes with your space and your vibe.


