An irresistible dive into handmade greeting cards with cute themes that feel personal, playful, and totally shareable. If you crave warmth, personality, and a dash of whimsy, you’re in the right place. Let’s craft cards that make people smile before they even read the message.
Why Handmade Cards Beat Your Email Inbox Any Day
You know that moment someone opens a card and actually pauses? Handmade cards slow time in the best way. They show you cared enough to pick materials, doodle a doodle, and write a note that’s all you. FYI, the tactile feel and tiny imperfections add character—there’s charm in every smudge.
- Personal touch that online messages can’t replicate
- Customizable to fit the sender’s voice
- Perfect for birthdays, anniversaries, or “just because” moments
What Makes Cute-Themed Cards So Special
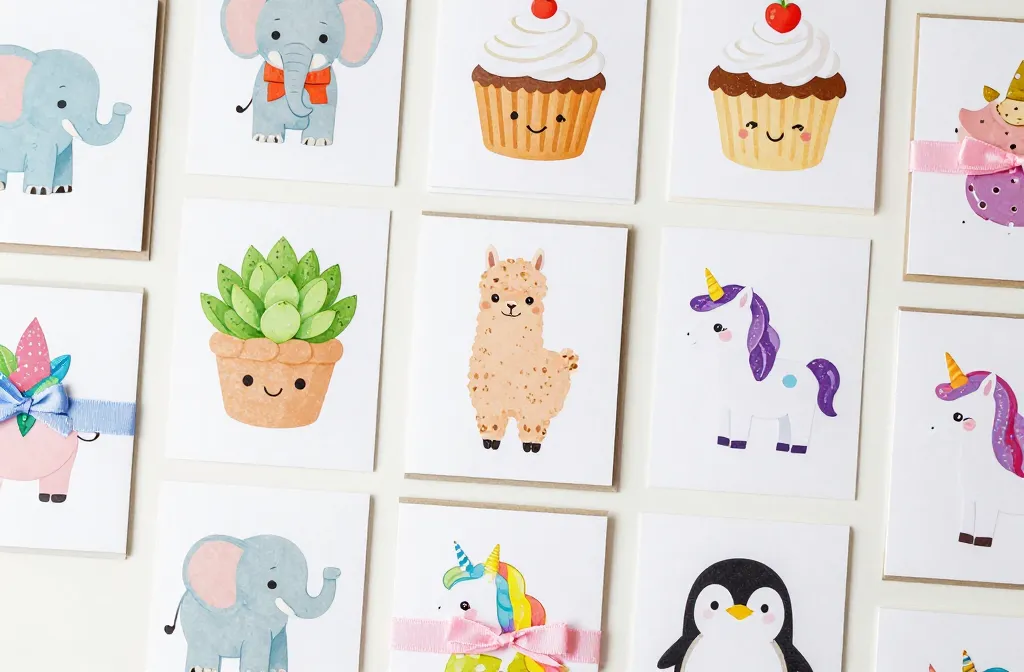
Cute themes are more than adorable icons. They’re mood boosters, conversation starters, and tiny works of art. A cheerful elephant with a heart or a smiling cupcake can say more than a dozen words. The best part? You can tailor every character to fit the recipient’s quirks.
Character Deep Dive: Popular Cute Themes
– Animals with big eyes and tiny noses
– Sweet treats that look almost edible
– Plants and kawaii-inspired succulents
– Whimsical creatures like llamas, unicorns, and penguins
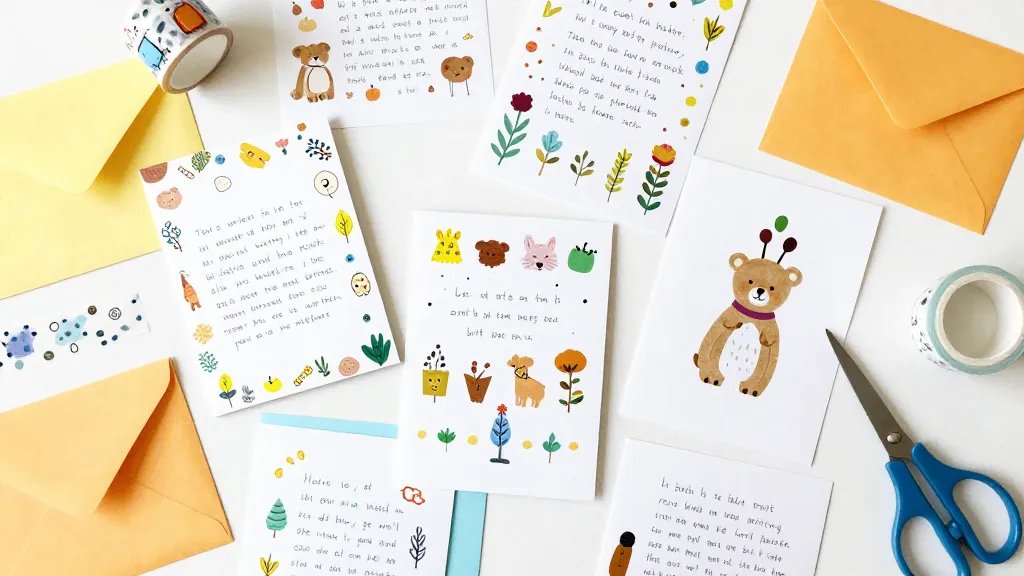
Getting the Materials Right Without Breaking the Bank

You don’t need a fancy studio to start. A few simple supplies can unlock endless cute-card potential. The trick is to keep things versatile and affordable.
- Cardstock in a few colors
- Patterned paper scraps
- Adhesives, from tape to pop dots for dimension
- Markers, colored pencils, or watercolor pencils
- A tiny craft scissors set and a ruler
Budget-Savvy Toolkit
– Basic acrylic stamps you already own or DIY stamps from foam sheets
– Washi tape for a quick decorative border
– A white gel pen for handwritten notes that pop
– Small embellishments like buttons or enamel dots, kept minimal to avoid clutter
Step-by-Step: Create Your First Cute-Themed Card
Let’s walk through a simple, friendly project you can finish in under an hour.
- Choose a base color that fits your theme (pastel pinks for sweetness, mint green for fresh vibes).
- Cut the card to your preferred size. Fold in half and press flat.
- Layer a piece of patterned paper as a backdrop.
- Draw or stamp a cute character—think a chubby cat or a smiling cupcake.
- Color with markers or pencils. Add subtle shading to give depth.
- Finish with a short, heartfelt message. Sign with your name and a tiny doodle smile.
Diving Deeper: Designing for Impact
– Use negative space to keep things readable; cute doesn’t mean crowded.
– Pick a focal point: one character, one sentiment, one bold color.
– Add dimension with foam dots to lift a cutout from the base.
Typography Tricks That Make Messages Pop
Typography can make or break readability. The right hand-lettering vibe makes your card feel thoughtful without feeling stiff.
- Stick to 1-2 font styles total. Too many options look chaotic.
- Contrast size: a large “Happy Birthday” with a smaller, personal line underneath.
- Use a bold outline or shadow for emphasis, but keep it legible.
Hand-Lettering vs. Print
If you love the hand-lettered look but aren’t a natural, go for brushes or brush markers with a light touch. FYI, imperfect lines add charm—embrace them.
Personalization: Making Cards That Reflect the Recipient
Cute cards thrive when they feel tailored. A card with a few inside jokes or references to shared memories becomes a keepsake.
- Incorporate favorite colors or motifs they adore
- Include a tiny photo or memento if you’re feeling extra brave
- Write a message that nods to your shared moments
Turning Moments Into Messages
– If you both love pets, sketch a small animal with a speech bubble that says, “Purr-fect timing!”
– For foodies, draw a cute cupcake with a caption like “You’re the sprinkles on my day.”
Eco-Friendly and Thoughtful: Sustainable Cute Cards
Being cute doesn’t have to mean wasteful. Use recyclable or upcycled materials, and keep layers minimal.
- Choose cardstock made from recycled materials
- Repurpose scrap patterned papers instead of buying new
- Opt for water-based inks to reduce chemical waste
DIY Embellishments That Aren’t Wasteful
– Use dried flowers or pressed leaves for a delicate touch
– Create confetti from punched-out shapes and reuse if you can
– Punch out shapes from spare paper scraps and scatter sparingly
Sharing the Joy: How to Gift and Display Cute Cards
A card isn’t just a message—it’s a moment. Think about the reveal, the reveal, the moment they open it.
- Gift presentation matters: a simple envelope brings anticipation
- Pair with a small, related surprise (a sticker, a bookmark, a tiny charm)
- Display idea: prop it on a desk or fridge with a magnetic strip
Q&A In-Place: Common Card-Knots
– How long does it take to make a handmade cute card? Usually 30–60 minutes for a simple design; more if you’re adding special details.
– Do I need special tools? Not at all—start with basic supplies and evolve as you find your style.
– Can I mass-produce cute cards? Sure—design a template, then add small personal touches for each recipient.
– What’s the best way to store finished cards? Flat in a labeled box to keep colors fresh.
FAQ
What supplies are essential for beginners?
A sturdy cardstock base, patterned paper scraps, adhesive (glue and foam dots), coloring tools (markers or colored pencils), and a black pen for outlines or messages. You can expand later, but these basics get you started fast.
How can I add dimension without bulk?
Use foam tape or dots to lift elements off the card. A simple layered look adds depth without making the card unwieldy or fragile.
What themes are easiest to pull off quickly?
Cute animals, smiling food icons, and small plant motifs are quick wins. They’re instantly recognizable and forgiving if lines aren’t perfect.
How do I personalize cards for different people?
Jot down one or two quirks about the recipient and weave them into the design or message. Even a small nod makes a card feel customized and thoughtful.
Is it okay to copy a design I love?
Take inspiration, yes. But add your own twist—swap colors, tweak expressions, or mix themes. This keeps your cards feeling fresh and uniquely yours.
Conclusion
Handmade greeting cards with cute themes are more than decorations—they’re conversations you initiate with a smile. They blend personality, effort, and a pinch of whimsy into something that sticks around long after the envelope is opened. So grab some supplies, pick a darling motif, and start crafting. Your future card recipients will thank you with big grins and maybe a selfie with the card in hand.


