An Easter project with real charm, and it’s kid-friendly to boot. If you want crafts that spark creativity without chaos, you’re in the right place. Let’s dive into cute, simple card ideas that kids will love making and giving.
Why Handmade Easter Cards Matter
Kids love personal touches, and cards are a perfect canvas for tiny masterpieces. Handmade cards teach patience, fine motor skills, and a splash of pride when grandma beams at their artwork. FYI, the best part is that you can tailor each card to the recipient—grandparent who loves bunnies? Done. Best friend who loves dinosaurs? You’ve got it.
Getting the Basics Right
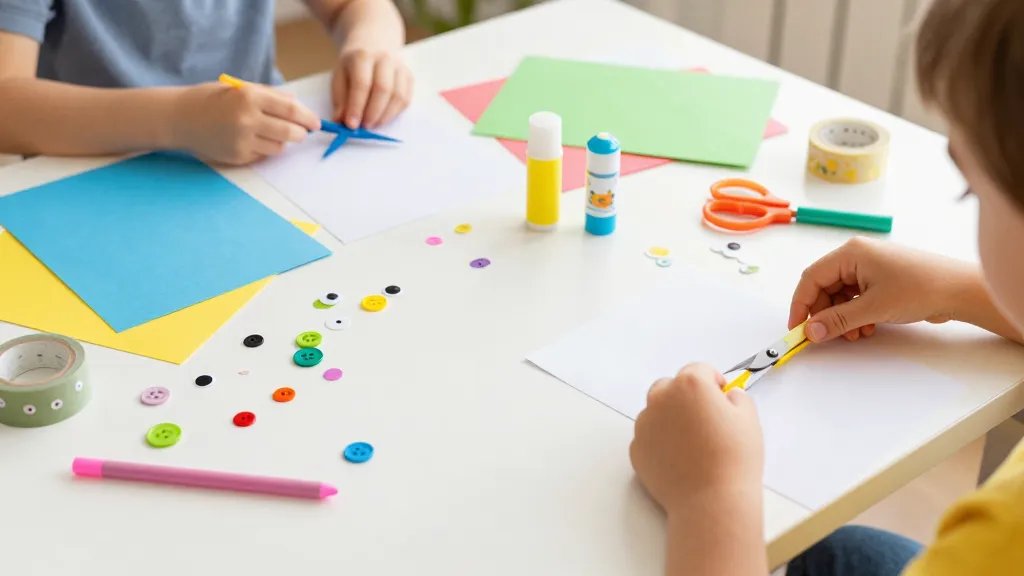
Before you pull out glitter and glue, a quick setup helps everything run smoothly.
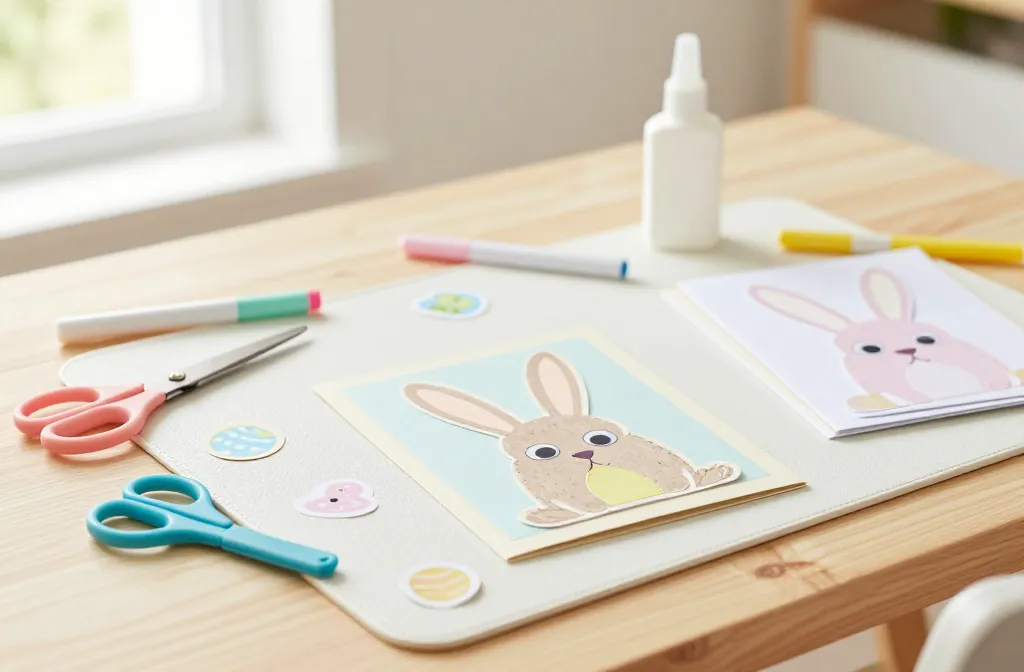
- Materials: plain cardstock, colored paper, scissors (kid-safe), glue, markers, stickers, washi tape, and optional embellishments like googly eyes or buttons.
- Workspace: a flat surface, scrap paper underneath, and a wipeable mat for easy cleanups.
- Safety: supervise glue usage and remind kids not to ingest small decorations.
- Time: plan for 20–40 minutes per session—attention spans vary, especially with younger crafters.
Classic Bunny Cards
Bunnies are Easter classics for a reason. They’re cute, friendly, and forgiving for little artists.
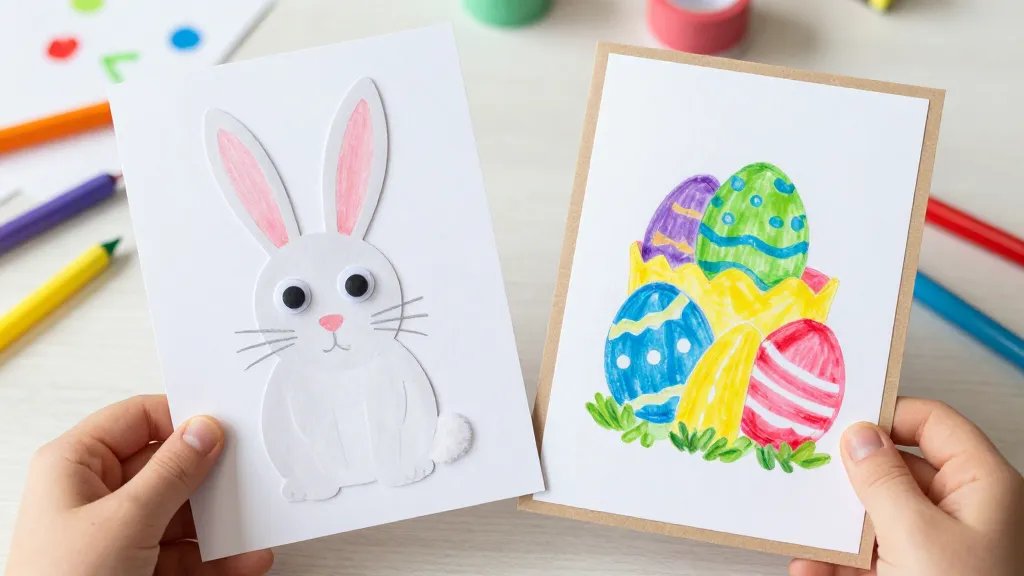
Simple Bunny Face Card
– Cut a card base from light pastel cardstock. – Glue a small circle for the bunny’s face, two larger ears made from paper, and googly eyes. – Add a tiny pink nose and whiskers with a marker. Easy, darling, and quick enough for younger kids.
Display-Ready Bunny Gift Card
– Fold a card and attach a mini cut-out bunny to the front. – Write a short message like “Hoppy Easter!” inside. – Let kids customize with stickers or a ribbon bow for extra flair.
Chick-Filled Delights
Chicks bring bright energy to Easter cards and teach color layering.
Chick Pop-Up Card
– Create a simple pop-up by cutting a strip inside the card and attaching a chick cut-out that pops up when opened. – Decorate with sun rays using yellow and orange markers. – Personalize with a encouraging note: “You’re sunny-side up!”
Washi-Tape Chick Parade
– Use yellow paper for the chick, then decorate with tiny washi tape stripes to simulate feathers. – Add a beak with an orange triangle and feet with little lines drawn at the bottom. – This one is quick and super satisfying.
Flower-Power Designs
Spring meets Easter with flowery cards that look fancy but stay kid-friendly.
Flower Collage Card
– Tear or cut petal shapes from colored paper. – Layer them in a bouquet motif on the front. – Glue a simple stem and leaves. – Write a cheerful “Happy Easter” across the top.
Rainy Day Garden Card
– Create a small garden scene using markers and colored pencils. – Add tiny dabbed dots of paint for a dotted “grass” effect. – Finish with a tiny paper butterfly or bee sticker.
Animal-Themed Variety Pack
Mix things up with other friendly critters that fit Easter vibes.
Friendly Lamb Card
– Cut a fluffy white cloud shape and add a cute face. – Glue on a cotton ball for the body to give texture. – A few tiny scraps for a fence or meadow scene add charm.
Egg-Celation Animals
– Draw simple animal faces on egg-shaped ovals. – Decorate each “egg” with patterns like stripes, polka dots, or zigzags. – Glue them onto a card to form a mini egg parade.
Messages That Shine
The words can be almost as fun as the art. Help kids craft short, sweet lines that fit inside.
- “Hoppy Easter!”
- “Wishing you a day full of sunshine and chocolate eggs.”
- “Egg-cellent friend, you’re eggs-tra special.”
- “May your Easter be as bright as a spring morning.”
Tip: Handwriting Help
– Use a light pencil sketch of the message first, then trace with a marker. – Practice on a scrap piece before signing the card. – Keep it short and legible to maximize impact.
Eco-Friendly Crafting Ideas
We can keep Easter fun and sustainable.
Recycled Card Bases
– Use folded scrap cardstock or old greeting cards as bases. – You’ll save money and reduce waste. – Finish with a few accents from reused wrapping paper or fabric scraps.
Natural Embellishments
– Collect pressed flowers, leaves, or tiny pinecones for texture. – Glue them flat to avoid mess and keep the card easy to mail. – This adds an earthy vibe that looks unexpectedly polished.
DIY Gift-Tag Cards and Quick Projects
Short, sweet cards that also double as cute gift tags.
Mini Card Tags
– Cut small cards (about 3×4 inches) to tuck into Easter baskets. – Decorate with a single sticker, a stamp, or a doodle. – They’re perfect for last-minute gifting with a personal touch.
Interactive Sliders and Flaps
– Create a simple slider mechanism inside the card for a jumping bunny effect. – It’s a tiny engineering project kids adore. – FYI, keep the mechanism simple to avoid frustration.
FAQ
What age is best for making handmade Easter cards?
Even toddlers can do simple collages with big shapes and non-toxic glue. Preschoolers enjoy placing stickers, while older kids can handle precise cutting and more detailed drawings. Adapt the complexity to the child’s age and patience level.
What if a child makes a mess?
Frustration happens, but mess is part of the fun. Lay down a large sheet of paper, and use washable markers and glue. Keep wet glue to a minimum, and have a damp cloth handy for quick cleanups. IMO, cleanup time is also a tiny lesson in responsibility.
How can I help them personalize cards without taking over?
Offer prompts instead of directions. Ask questions like, “Who are you making this for?” or “What color makes them smile?” Let kids choose colors, shapes, and messages. You guide when needed, but the art stays theirs.
Can these cards be mailed?
Yes, but keep them light. Use lightweight paper, avoid heavy embellishments, and make sure the card fits standard mailing sizes. If in doubt, mail a few with the smallest postage you’ll need and test the weight.
What supplies are essential for beginners?
A basic kit works wonders: sturdy cardstock, colored paper, kid-safe scissors, glue sticks, markers, and some stickers. Add a few decorative options like washi tape or googly eyes if the kiddo loves sparkle. FYI, you don’t need every fancy tool to create magic.
Conclusion
Handmade Easter cards are a joy to make and even more fun to give. They’re spontaneous, personal, and surprisingly not messy if you plan a little. So gather the materials, pick a charm-worthy idea, and let kids lead the way. They’ll learn, laugh, and maybe even demand a second round next weekend. Want more ideas or a printable template? I’ve got you covered.


