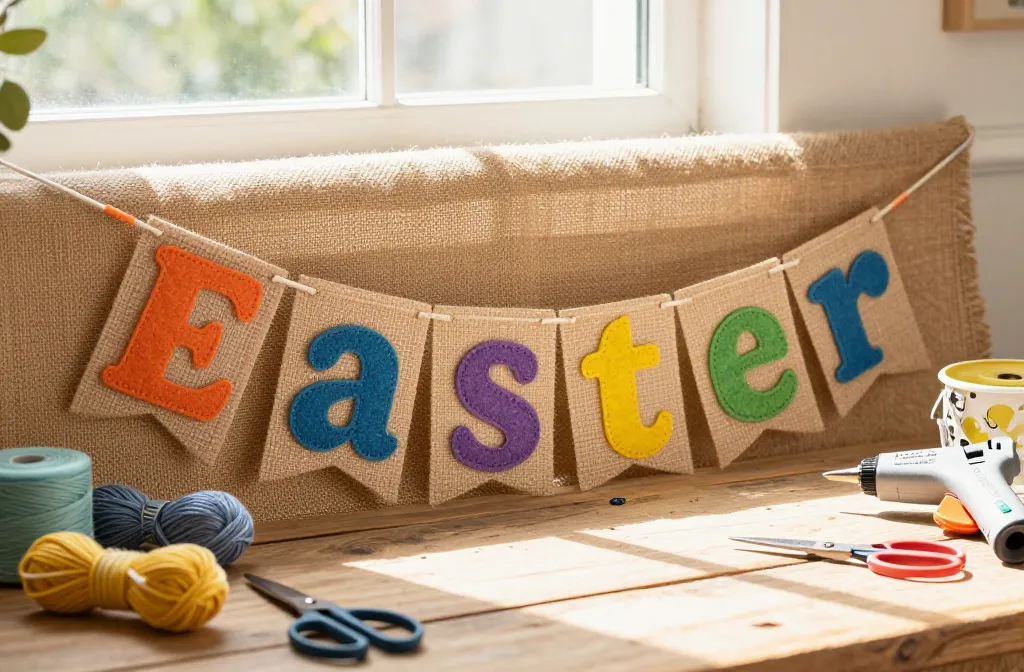
If you want Easter to feel extra special, the banners are where the magic happens. Let’s skip the store-bought stuff and make something that screams “you.” FYI, this is the season to get crafty without breaking the bank.
Get Your Supplies Ready: Quick, Simple, and Fun
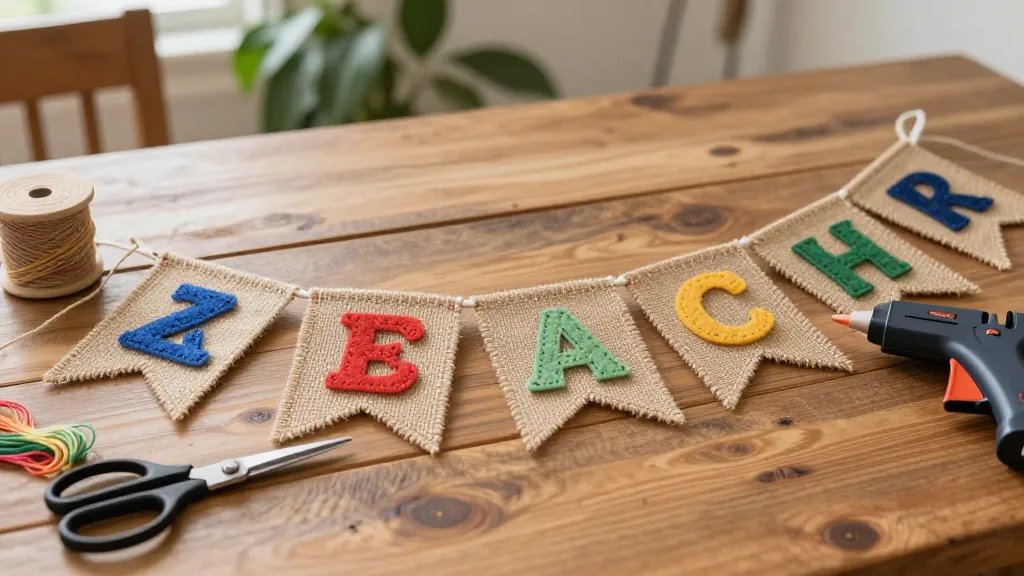
You don’t need a full art studio to start a handmade banner. Gather these basics: burlap or sturdy fabric, colorful felt or scrap fabric, embroidery floss, a needle or hot glue gun, scissors, and string or ribbon for hanging. Want a greener option? Salvage old fabrics and leftover yarn. Eco-friendly is in, friend.
Optional Tools That Make It Easier
– Cutting forms or stencils to keep letters neat
– A sewing machine for a polished look
– Fabric paint or fabric markers for bold designs
– A hot glue gun for quick assembly
Bright and Cheerful Lettering: Words That Spark Joy
Bold, legible letters set the vibe before people even read the design. Think oversized block letters, cursive accents, or a mix of both for whimsy. Use contrasting colors so the message pops against the background.
DIY Lettering Techniques
– Freehand with fabric markers for a casual vibe
– Cut felt letters and glue them in place for a chunky look
– Applique letters with contrasting stitches for texture
Theme Paths: Pick a Mood and Run With It
Let the banner tell a tiny Easter story. Do you want bright, vintage, or modern minimalism? Here are a few ideas to spark your creativity.
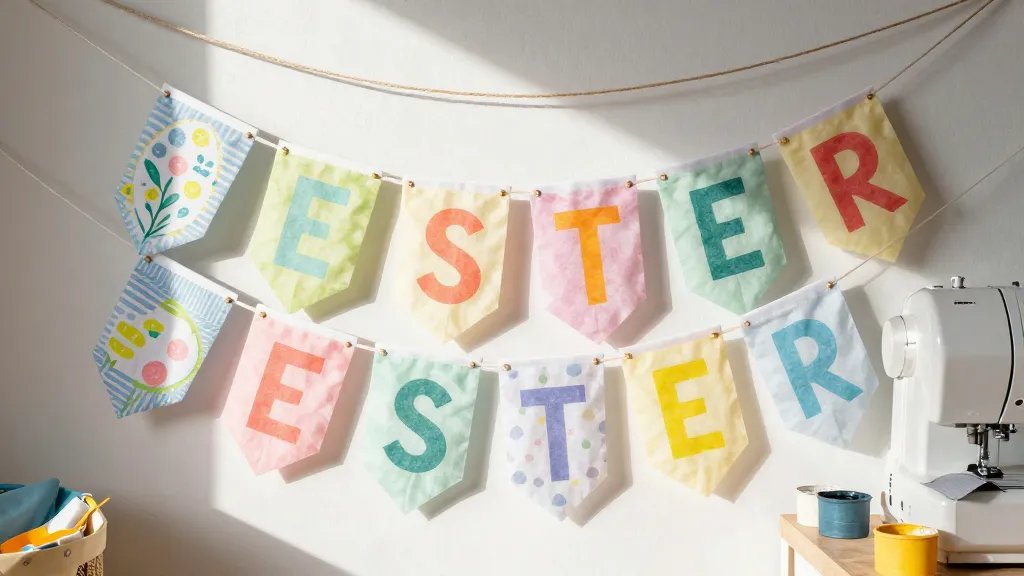
- Pastel Parade: Soft pinks, mint greens, baby blues, and lilacs
- Pastel Geometric: Playful shapes plus pastel blocks of color
- Floral Spring: Daisies, tulips, and tiny leaves stitched around your letters
- Farmhouse Easter: Burlap, white paint, and rustic greenery
- Whimsical Animals: Bunnies and chicks peeking from the edges
Incorporating Texture: It’s All About Tangible Joy
Texture makes a banner feel alive. Mix fabrics, layer materials, and add small 3D elements to catch the eye.
Texture Ideas That Wow
– Layered felt letters on top of burlap
– Pom-poms or yarn tassels at the corners
– Embroidered stitches around the edges
– Small fabric pockets for surprise bits (like confetti or tiny eggs)
Color Blocking and Contrast: Make It Read at a Glance
Color is your fastest route to impact. Limit your palette to 3-4 colors for coherence. If you’re squeamish about color theory, just stick to your current Easter scheme: pastels with one bold accent.
Color Combinations to Try
– Mint, blush pink, ivory with a pop of sunny yellow
– Baby blue, lavender, and pale coral
– Neutral burlap with white and Sage green accents
From Concept to Hanging: Assembly Made Simple
Plan your sequence before you cut. Decide how many letters you need, the spacing, and the final length. A quick sketch can save you a lot of regret later.
Fast Assembly Timeline
– Day 1: Cut shapes, letters, and edging pieces
– Day 2: Assemble and sew or glue pieces together
– Day 3: Add hooks, string, and any final touches
Personal Touches: Make It Yours, Not a Copy
This banner is a snapshot of your home vibes. Add small nods to your family or pets, or incorporate favorite motifs that celebrate spring.
Ideas to Personalize
– Include the year or family name in a tiny script
– Add a favorite flower for each letter
– Slip in a tiny photo or card-stock cutout of a beloved moment
FAQ: Quick Answers for Crafty Banner Lovers
What materials are best for a durable Easter banner?
Probably burlap or heavyweight canvas as the base, with felt or sturdy fabric letters. Use fabric glue or a needle-and-thread approach for durability. If you want extra longevity, seal fabric edges with a clear fabric sealant.
How long does a handmade banner typically take?
It depends on complexity, but most simple banners take 2-6 hours from planning to hanging. If you’re layering textures or painting details, give yourself a bit more time.
Can I reuse a banner next year?
Yes! Choose a design that lends itself to year-after-year use—neutral backgrounds with interchangeable letters or simple motifs. Store it flat or rolled to prevent wrinkles.
What are some quick fixes if something doesn’t look right?
Tack down loose edges with a dab of fabric glue, or re-stitch misaligned letters with a contrasting thread for a deliberate, DIY feel. If a color isn’t working, swap in a new piece of fabric or a bold accent to balance it.
Are there kid-friendly banner ideas?
Absolutely. Let kids help with color decisions, cutouts, and placing letters. Use pre-cut felt shapes and fabric-safe glue to keep it easy and safe. It’s a perfect activity for a rainy Easter weekend.
Conclusion: Your Handmade Easter Banner, Your Signature Style
There’s something magical about banners that you crafted with your own hands. They set the tone for Easter decorating, invite guests in, and spark conversation. So grab your scissors, pick a color story, and start stitching—your space will feel brighter, warmer, and unmistakably you. IMO, the best part is showing off something you built from scratch and watching the compliments roll in. FYI, a little whimsy goes a long way, so don’t be afraid to let your creativity hop free.


