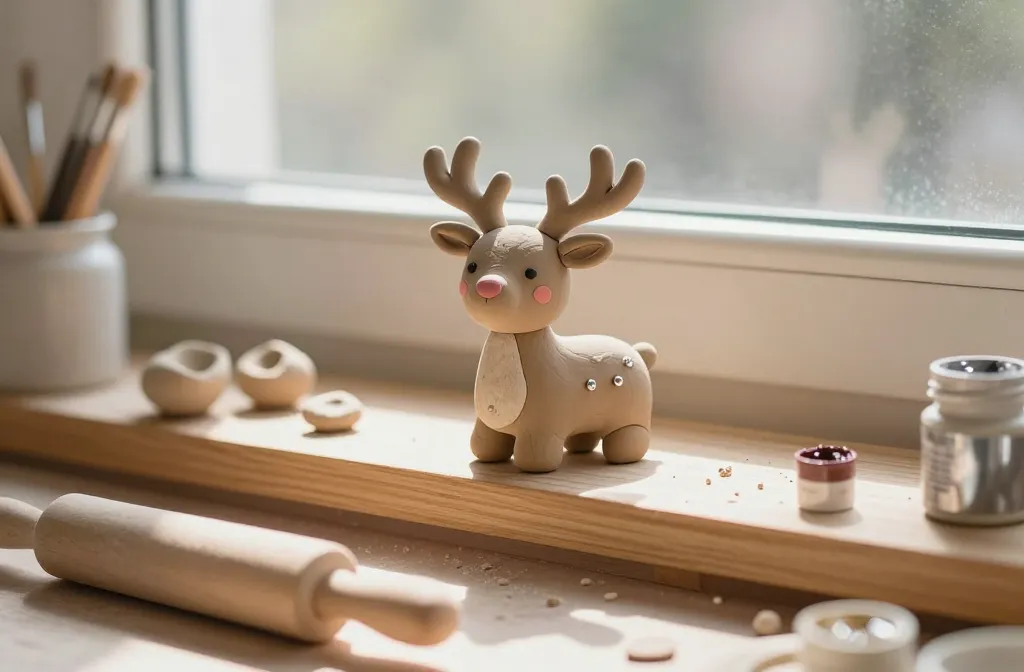
An easy, joyful spin on holiday decor that you can create in an afternoon. If you’ve ever wanted a tiny, goofy reindeer that’s yours and yours alone, you’re in the right place. Let’s dive into a crafty adventure that’ll have your mantel beaming with personality.
Why Reindeer Clay Crafts Are So Much Fun
– They’re inexpensive: clay, a few beads, and a splash of paint go a long way.
– They’re customizable: switch colors, add glitter, or give each deer a funny expression.
– They’re forgiving: even if your first attempt looks more “abstract sculpture” than reindeer, it still works as holiday charm.
Materials You’ll Need (No Boring Part Here)
- Air-dry or polymer clay in brown, red, white, black, and a pop color for accents
- Small glass beads or buttons for eyes
- Wire or toothpicks for antlers
- Metallic or acrylic paints
- Sealant or clear varnish (optional but nice)
- Craft glue and a rolling pin or smooth bottle to flatten clay
Step-By-Step: Quick Build Guide
- Shape the body: roll a small oval for the torso and a slightly larger oval for the chest. Attach with a pinch of clay or glue.
- Create the head: a smaller sphere with a tiny bump for the snout. Attach securely to the body.
- Prounounce the ears: two little triangles flatten and press onto the top of the head.
- Make the antlers: twist two pieces of wire or cardboard-core clay into branched shapes and attach behind the ears.
- Eyes and nose: press in beads for eyes, add a tiny black dot for the nose. Optional: paint white highlights in the eyes.
- Color and texture: paint the body a warm brown. Add white spots or a red scarf for flair.
- Seal if you want lasting shine: a light coat of sealant preserves your masterpiece.
Decor Ideas That Take Your Reindeer From Craft Project to Centerpiece
- Display on a mini sled created from popsicle sticks and baker’s twine
- Position a few around a candle centerpiece with faux snow
- Pair with miniature pine cones and eucalyptus for a woodland vibe
Tips That Save You Time and Fights with Clay
- Keep your clay slightly warm to prevent cracking—hands warm it up first.
- Use a thin layer of glue under the joints for extra sturdiness.
- If you’re using polymer clay, bake in a well-ventilated area and follow the packaging temps.
Subsection: Antler Magic That Looks Real (Or Not, It’s Humor)
Antlers can make or break your reindeer’s charm. If your first try looks more like branches than antlers, don’t stress. Bend the wire gently into a branched shape, let it dry, and attach. You’ll get that whimsical, slightly goofy look that screams “holiday DIY victory.”
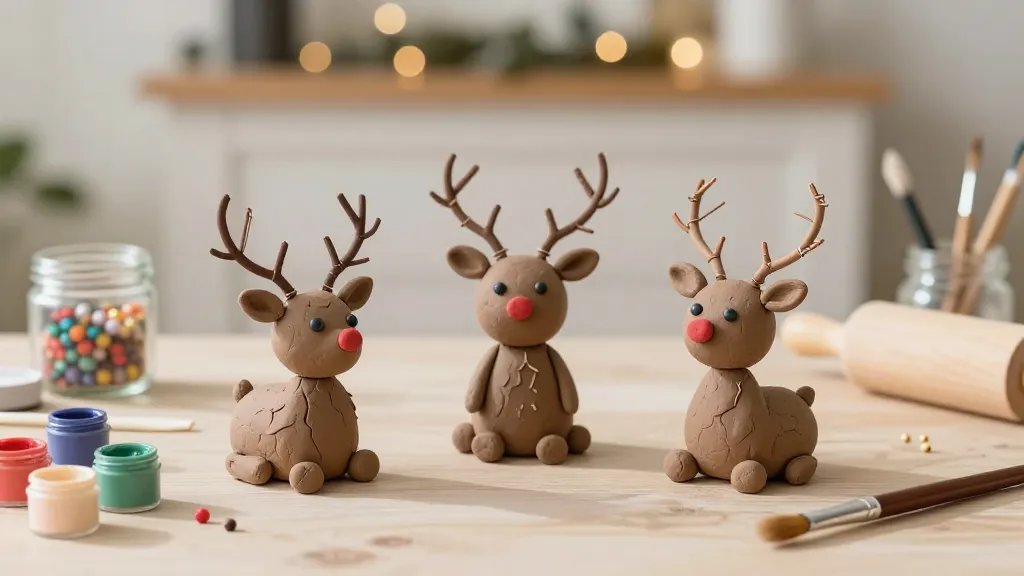
Personalize: Give Each Reindeer Its Own Vibe

- Expression: wide-eyed, sleepy, mischievous—you pick. A tiny mouth line can totally change the mood.
- Accessories: a scarf, a bell around the neck, or a bowtie adds character.
- Color pops: maybe a red nose for Rudolph vibes, or peppermint stripes on the body.
Subsection: A Quick Coloring Guide
– For a traditional look, keep to warm browns and cream highlights.
– For a playful vibe, mix in teal or mint accents.
– White accents can simulate snow and bring more contrast.
Seasonal Keepsakes: Turning Your Creations Into Gifts
– Homemade ornaments: add a loop of twine to hang on the tree.
– Gift toppers: place a tiny reindeer on a wrapped present for a delightful surprise.
– Small party favors: attach a tag with a festive pun for guests.
FAQ
Do I need special clay to start?
Not at all. Start with air-dry clay for a hassle-free project that hardens on its own. If you’re into actual baking, polymer clay offers durability and a smoother finish—just bake according to the package directions.
How long does it take to finish one reindeer?
Expect 30 to 60 minutes for a simple version. If you’re adding a lot of details or making several, plan an afternoon. FYI, patience pays off with better shapes and cleaner paint lines.
Can kids make these too?
Yes, with supervision. Use larger beads for eyes, and avoid small parts for younger kids. The hands-on folds and smoothing process are great fine-motor practice and a fun project for a chilly weekend craft day.
How do I keep them from cracking?
Keep the clay at a manageable moisture level; if it feels dry, knead in a pinch of water or olive oil (for polymer clay, follow the product instructions). Bake or air-dry evenly to prevent warping. Pro tip: small, even shapes dry more consistently than bulky bits.
What finishes look best?
A light sealant adds shine and durability without making the colors look dull. If you want a matte finish, use a matte sealant or spray. FYI, a tiny dab of gloss on the eyes makes them pop.
Are there eco-friendly options?
Yes. Choose air-dry clays without harsh chemicals, and avoid glitter if you want to keep it eco-friendly. You can instead use mica powders or natural pigments for sparkly accents.
Conclusion: Your Festive Reindeer Craft Adventure
Crafting a festive reindeer from clay is a small project with big smiles. It’s approachable, flexible, and surprisingly satisfying to see your little troupe come to life. Whether you keep them on display, gift them, or turn them into ornaments, you’ll have a burst of handmade charm that yells “holiday season, let’s go!” So grab your clay, roll out those cozy vibes, and start sculpting some merry mischief.


