Ready to make a soft, snuggly Easter bunny you can actually sew in an afternoon? This felt bunny project is cute, forgiving, and surprisingly satisfying. Grab your needles, some felt scraps, and a little patience — you’ll end up with a plush friend that earns a permanent spot on the mantle.
Why Felt Beats Fabric for Easter Bunnies
Felts are your best friends here: they don’t fray, you don’t need a zillion layers, and their colors stay bright without fuss. If you’re new to sewing, felt is basically a magician’s hat of easy finishing. Plus, the project scales up or down depending on how big you want your bunny to be.
Materials You’ll Need (Minimal, Actually)
- Assorted felt sheets in pastel colors (white, pink, light gray, or brown for a natural look)
- Coordinating thread and a sharp embroidery needle
- Polyfill or scrap fabric for stuffing
- Safety eyes or tiny black embroidery thread for features
- Pattern paper or printable bunny template
- scissors, measuring tape, and a fabric marker
FYI: you can repurpose buttons, ribbon, or tiny flowers to add personality. The goal is to have fun and customize as you go.
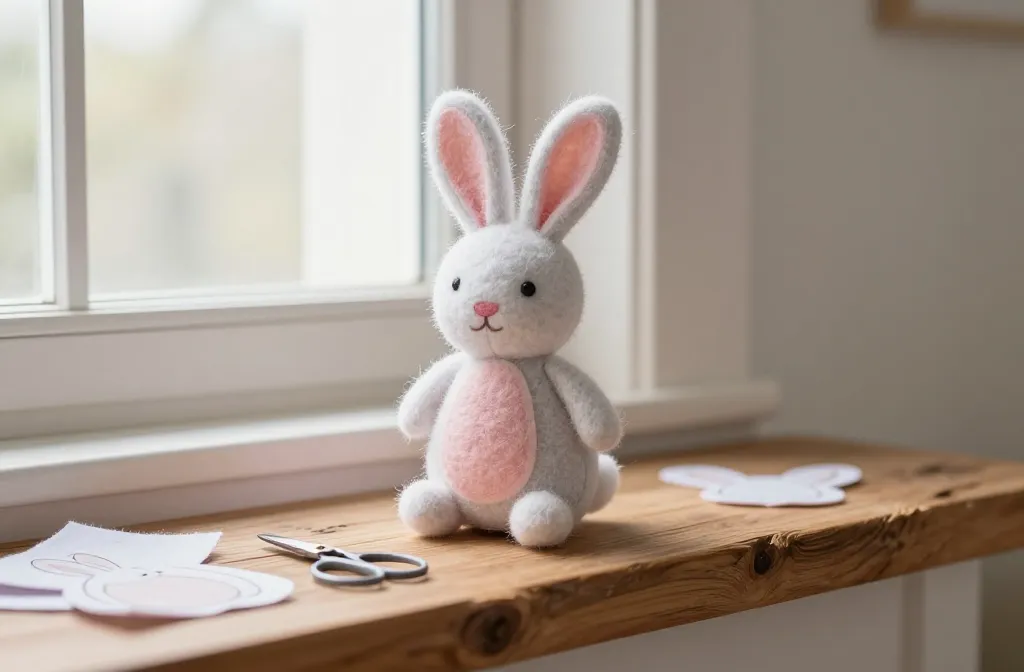
Designing Your Pattern: Simple Yet Expressive
Creating a pattern is half the fun. Start with a basic bunny silhouette: head, body, two ears, and a cute little tail. If you’re new, keep lines rounded and soft. No need for perfection here; charm comes from tiny quirks.
Pattern Tips
- Draw a slightly oversized ear than you think you need — ears fold nicely when stuffed.
- Cut two ear shapes and two body shapes for a quick front and back assembly.
- Use a chalk pencil or washable marker so you can adjust lines easily.
Cutting and Assembly: Easy, Clean, Quick
Cut your felt pieces with care; sharp scissors make a world of difference. Use a teeny bit of fabric glue to pin pieces in place before stitching if you’re worried about shifting.
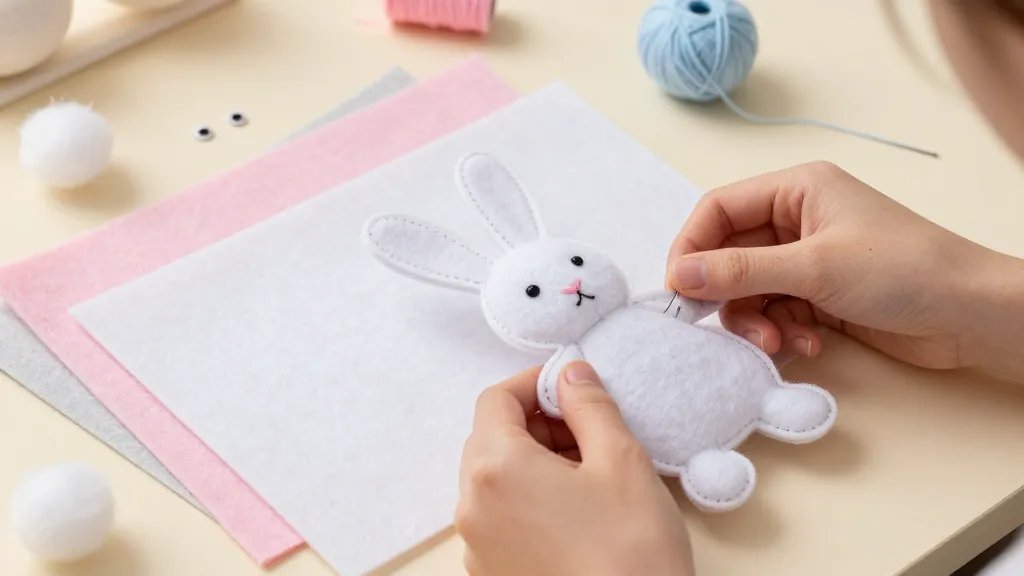
Step-by-Step Sewing Guide
- Pin the outer bunny shapes to keep edges aligned.
- Stitch a simple running stitch or a tiny blanket stitch around the edge, leaving a small gap for stuffing.
- Turn right side out gently; push corners to form ears.
- Stuff lightly for a plush feel, then close the gap with neat stitches.
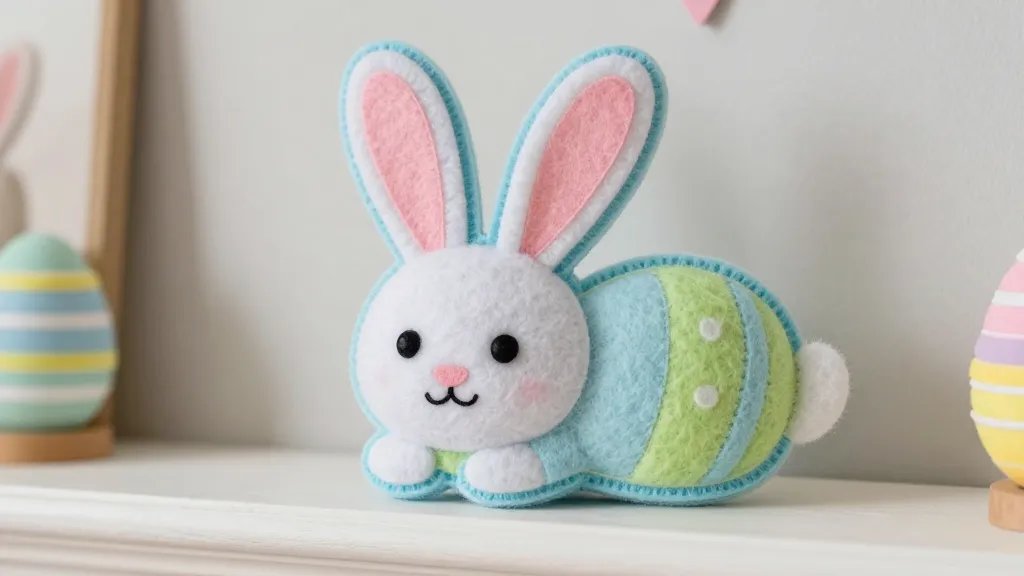
Details That Make It Pop
The little touches are what elevate this project from cute to display-worthy.
- Eyes and nose: a couple of neat, tiny stitches or safe eyes add charm without fuss.
- Tail: a small fluffy puff of white felt or a pom-pom makes the bunny irresistible.
- Bow or scarf: a tiny ribbon can be tied around the neck for personality.
Color Possibilities
- Pastel bunny for Easter vibes: soft pinks, blues, and yellows
- Natural look: ivory, taupe, and brown for a rustic charm
- Bold pop: mint green ears with a coral ribbon — yes, live a little
Finishing Touches: Safety and Durability
Since this is a project you might hand to kids or display on a shelf, durability matters. Secure tiny parts well and avoid loose threads.
Stitching Hygiene and Longevity
- Double-stitch critical areas like the ears and neck for extra strength.
- Use a short, tight stitch to keep stuffing from leaking.
- Seal off edges with a quick backstitch if you’re nervous about fraying edges.
Display Ideas: Turning Crafting Into Decorating
A felt Easter bunny doesn’t have to stay on a table. Here are some cute display ideas that require zero commitment.
- Easter wreath accent: tuck a couple of bunnies among faux eggs.
- Wagon centerpiece: place small bunnies around spring florals for a cute vignette.
- Kid-friendly garland: string a few bunnies along a ribbon for a festive touch.
Scaling Up or Down: Making More Bunnies
Want a whole family of bunnies? Easy. Cut a slightly larger pattern for the dad and a tiny one for the baby. Mix and match colors for a playful look.
Gift-Ready Bunnies
- Wrap in tissue, tuck a tiny chocolate egg inside the body cavity, and tie with a bow.
- Add a small note bookmark tucked under the tail for a personal touch.
FAQ
Q: Is felt sewing beginner-friendly?
Absolutely. Felt doesn’t fray, and you can use a simple blanket stitch or running stitch. Start with a small bunny to build confidence.
Q: How long does it take to make one bunny?
Most folks finish in under 2 hours, especially if you’ve got your pattern ready. If you’re new, it might stretch to a cozy afternoon.
Q: Can I machine-stitch this project?
Hand-stitching keeps the project flexible and forgiving, but a sewing machine can handle big edges. Just use a small stitch length and a delicate needle.
Q: What if I don’t have safety eyes?
Use embroidery floss to create eyes and a nose. It’s charming and completely reusable for future projects.
Q: Any quick storage tips for stuffing?
Keep polyfill in a small bag and stuff gradually. It prevents overstuffing and helps you control the bunny’s shape.
Conclusion
This felt Easter bunny sewing project is the kind of craft that pays off with instant gratification and a smile. It’s forgiving, adorable, and easily customized to fit your style. FYI, once you finish one, you’ll likely want to make a whole bunny family to decorate every corner of your home. So grab your felt, a needle, and a cup of coffee, and get stitching. You’ll thank yourself later.


