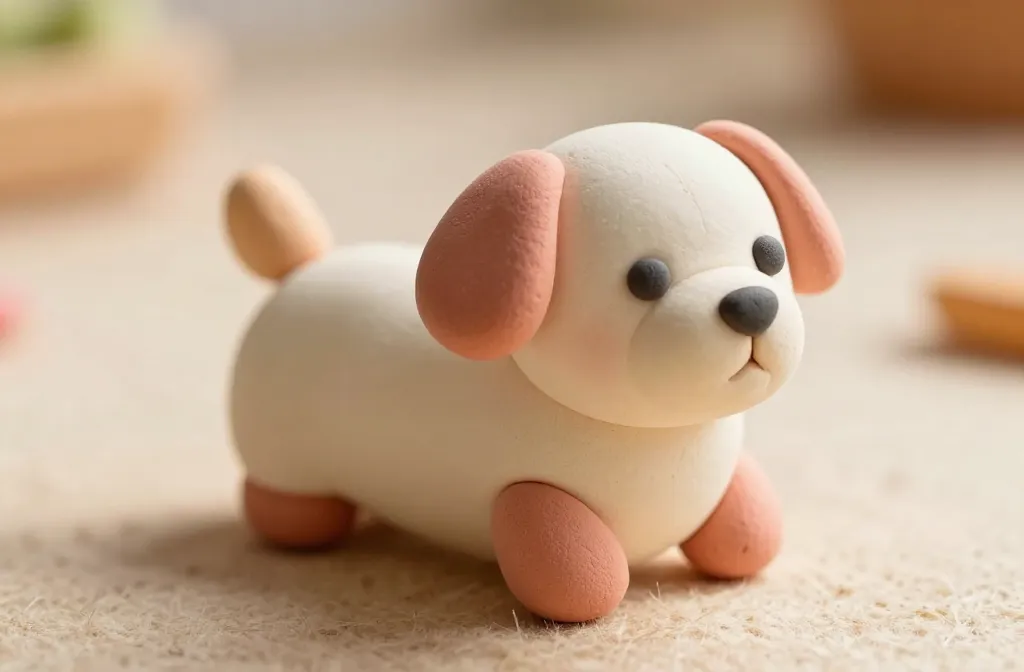
An adorable clay puppy tutorial you can actually finish before your coffee gets cold. No fancy tools required, just patient fingers and a dash of whimsy. Let’s make a furry friend you’ll be proud to show off.
First Things First: Gather Your Supplies
– Clay: Start with air-dry clay or polymer clay, whichever you prefer. Both are forgiving for beginners.
– Tools: A basic set of modeling tools or even simple household items like a toothpick, a dull knife, and a rolling pin substitute.
– Finishing touches: A small bowl of water, a paintbrush, and acrylic paints if you want extra color pop.
– Optional: A sealant spray to keep your puppy’s shine intact.
You don’t need a studio to begin. FYI, most of this fits neatly in a single drawer. Ready to roll?
Step-by-Step: Shaping the Core Puppy Body
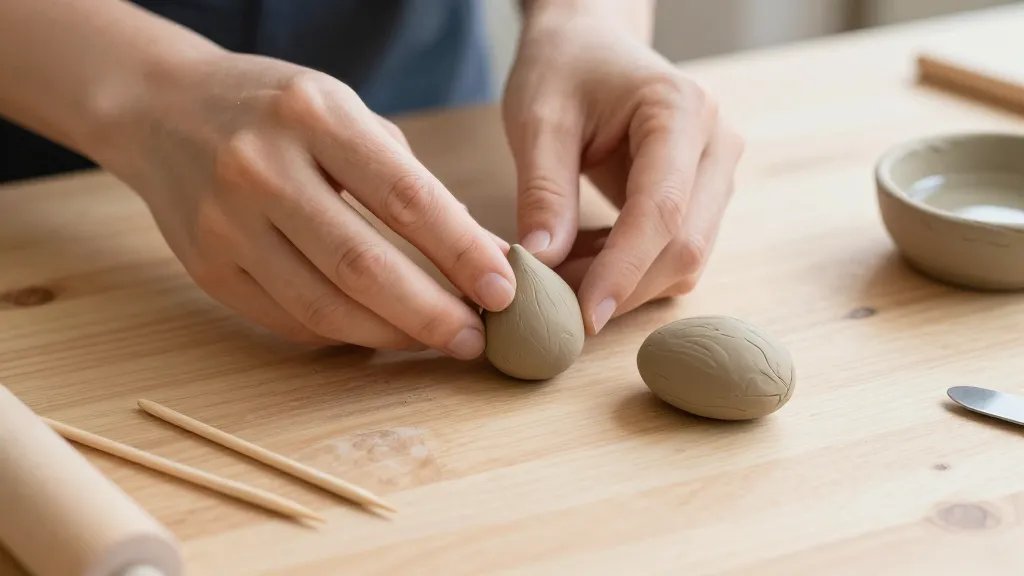
– Start with a teardrop or oval shape for the body. Don’t stress about symmetry—cute little quirks make your puppy unique.
– Attach a smaller oval for the head. Use a tiny amount of clay to blend seams; friction helps bind better than brute force.
– Add a neck by rolling a slender cylinder and tapering it where the head meets the body.
– Create four stubby legs: small cylinders, slightly flattened at the bottom for stability. Attach with gentle pressure and a dab of moisture.
Quick tip: keep your hands damp enough to smooth edges, not soak the clay. You’re aiming for smooth, not mushy.
Faces That Melt Hearts: Ears, Eyes, and Nose
– Ears: Roll two small triangles or rounded triangles and attach high on the head. Pointy ears look extra cheeky on a puppy.
– Eyes: Use tiny black beads or pinch two little dots of clay. Place them evenly and give a tiny white dot later for a spark.
– Nose: A small black ball works wonders. Push gently to create a tiny snout crease for expression.
Pro move: press a tiny toothpick into the head to guide the eye placement. It’s all about symmetry—kind of.
Tail Wagging Details: Texture, Color, and Personality
– Tail: A short curved cylinder or a spiral coil for a waggy vibe. Attach with a soft press.
– Fur texture: Lightly drag a needle or toothpick along the body in short strokes to simulate fur. Don’t go overboard; you’ll over-texturize fast.
– Color blocks: If you want a two-tone pup, create a small patch of color and attach it where you want it. Blend edges with a damp finger.
Optional: add little white paws or a blush of pink inside the ears for extra cuteness.
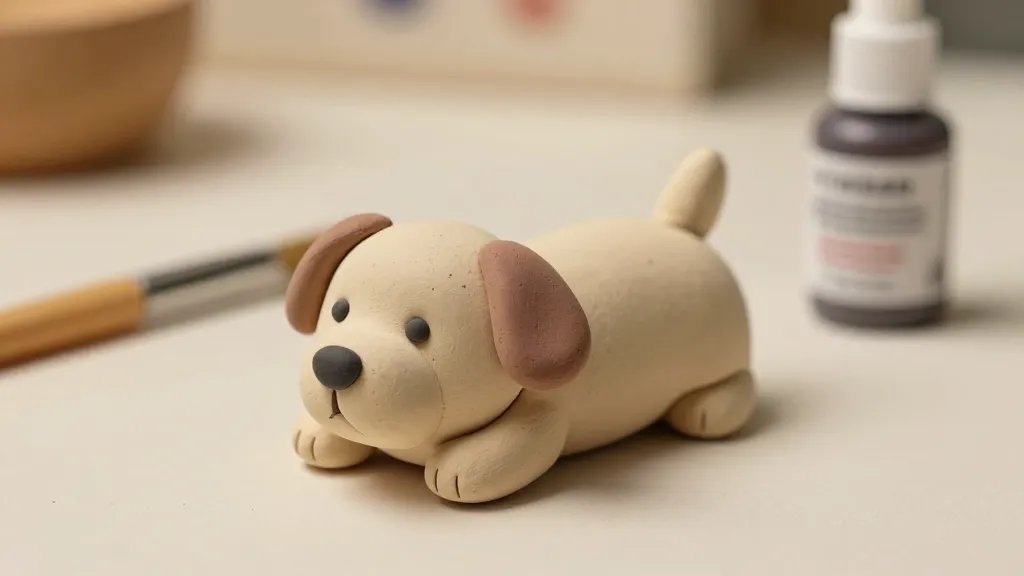
Drying, Painting, and Keeping Your Pup Proud
– Drying: If you used air-dry clay, let it dry completely in a warm, dry spot. This can take 24 to 48 hours. Polymer clay bakes—follow the package directions for temperature and time.
– Painting: Use acrylic paints. Start with a base coat and build shadows with a slightly darker shade. A tiny amount goes a long way.
– Sealing: After paint dries, a clear sealant protects your masterpiece from smudges and dust.
FYI, don’t rush the drying process. Patience yields crisp lines and less cracking. You’ve got this.
Troubleshooting: Common Hiccups and How to Fix Them
My pieces won’t stick together
– Solution: Score and blend seams with a bit of moisture. Lightly press until they fuse. A tiny bit of slip helps.
The head keeps wobbling
– Solution: Reinforce the neck with an extra dab of clay and let it dry firmly before moving.
Color bleeding or smudges
– Solution: Work with thin paint layers and allow each layer to dry. Use a sealant to lock in color.
Cracks after drying
– Solution: Roll smoother edges and avoid over-stretching the clay. If cracks appear, fill with a tiny amount of fresh clay and blend.
Showcase Your Puppy: Display Ideas
– Shadow box: Mount your puppy and a tiny collar on a decorative backing.
– Mini shelf buddies: Create a small trio of puppies in different colors for a cute mini-gallery.
– Gift option: A hand-made clay puppy makes a thoughtful, personalized present for a friend or family member.
Deep Dives: Subtle Tricks to Elevate Your Craft
Mixing Colors Like a Pro
– Start with primary colors and blend on a small palette. Add tiny amounts of white or black to achieve shading.
– Create “fur tones” by layering subtle color gradients rather than one flat shade.
Adding Expression Through Ears and Eyes
– Tilted ears or one eye slightly smaller than the other adds personality.
– A tiny raised eyebrow can give your puppy a mischievous look. Don’t overdo it—keep it playful.
FAQ
Is air-dry clay better for beginners than polymer clay?
Air-dry clay is forgiving and doesn’t require heating, which makes it great for beginners. Polymer clay is sturdier when baked and often holds tiny details better. Try whichever feels more comfortable and switch if you want to level up.
How long does a clay puppy take to finish?
Most beginners finish a simple puppy in 1 to 2 hours, depending on complexity and drying time. If you’re taking your time, that’s totally fine—practice helps more than speed.
Can I make my puppy sit or stand on its own?
Yes, with a properly shaped base and enough drying time, your puppy can stand. A little heft in the base or a small support under the chest helps prevent tipping.
What should I do if my puppy cracks during drying?
Don’t panic. Lightly sand away surface cracks and patch with a tiny amount of fresh clay. Let it dry again and repaint if needed. Sealing afterward helps minimize future cracking.
How can I make my puppies look unique?
Play with ear shapes, eye sizes, and color blocks. Add tiny accessories like a collar or a bow made from a bright contrasting color. Tiny variations add big personality.
Conclusion
You just created a charming, beginner-friendly clay puppy that feels personal and unique. The best part is you can easily tweak colors, expressions, and poses to match your mood or space. So grab a fresh roll of clay, a cup of tea, and churn out a few more furry friends. FYI, practice makes for much more confident sculpting—and hey, you might even pick up some new party-friendly gift ideas along the way. If you want, share photos of your pups and we’ll hype them up together.


