An egg-cellent idea just got cooler. Easter egg clay magnets bring color, craftiness, and a little mischief to your fridge. Ready to make snack-sized masterpieces that stick around long after the chocolate is gone? Let’s dive in and have some fun.
Why Easter Egg Clay Magnets Are Worth Your Time
You don’t need fancy gear to get started, just some air-dry clay, magnets, and a dash of imagination. These little magnets are affordable, endlessly customizable, and impeccably playlist-friendly for a lazy Sunday crafting session. FYI, they also make fantastic gifts for friends, coworkers, or that aunt who has every coffee mug known to humankind.
Choosing the Right Clay and Materials
– Air-dry clay vs. polymer clay: Both work, but air-dry is friendlier for quick projects.
– Magnets: Look for small, strong magnets so your art actually sticks to the fridge.
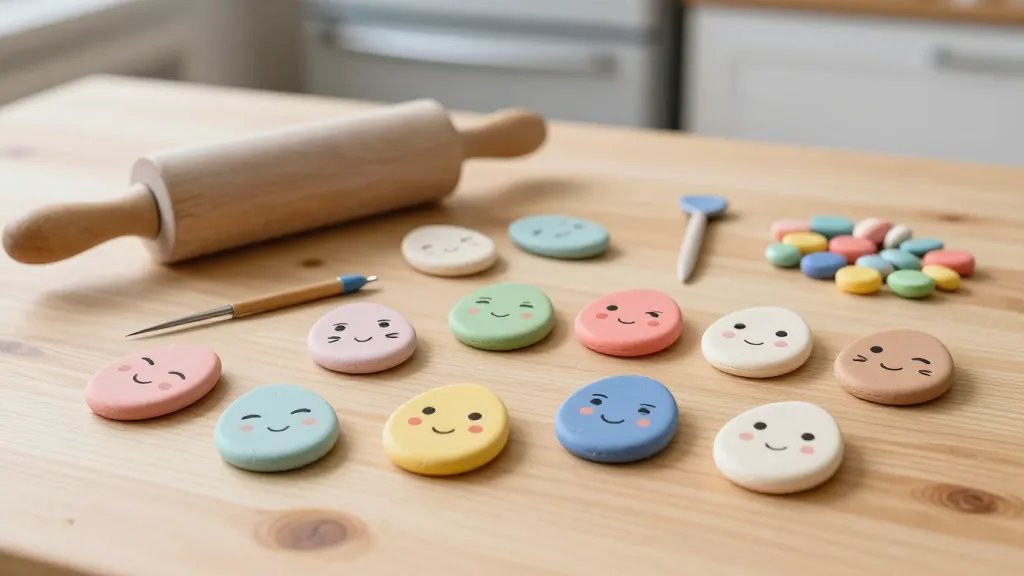
– Tools: A blunt needle or toothpick for detailing, a rolling pin or bottle for flattening, and a clean surface.
– Sealant: A clear acrylic sealer helps preserve color and prevent crumbling when you open the fridge with gusto.
Storage and Prep Tips
Understand this before you dive in: dry clay loves a dry space. Keep your workspace dust-free and store your magnets in a zip-top bag between sessions. This prevents pieces from sticking together or picking up dust bunnies that somehow become art accessories.
Simple Starter Designs to Get You Hooked
Starting small builds confidence. Here are a few foolproof ideas you can finish in a single evening:
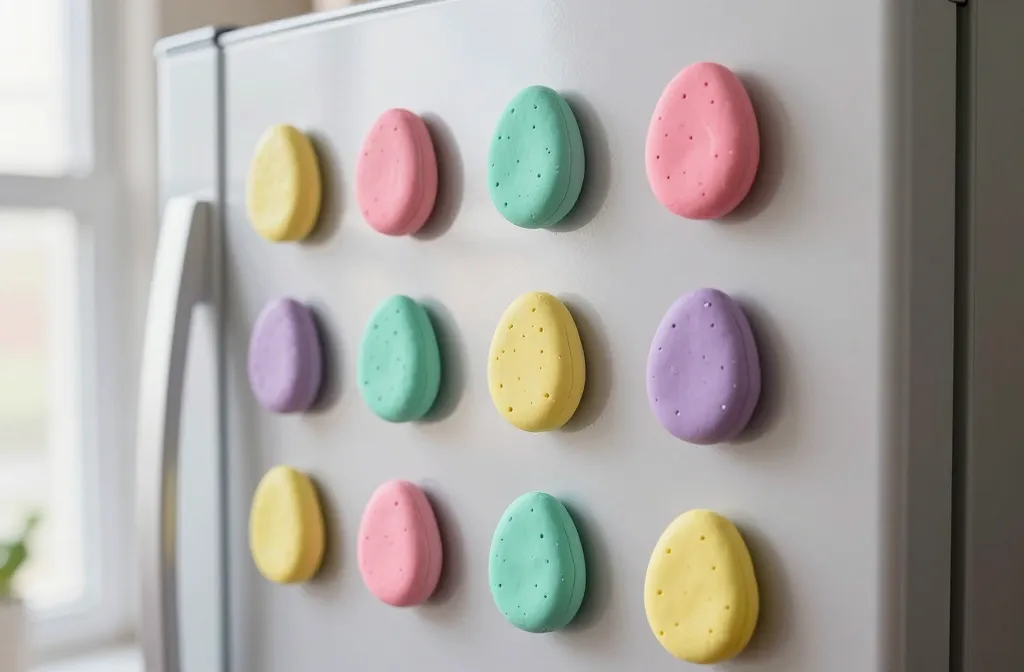
– Classic pastel eggs with tiny painted highlights
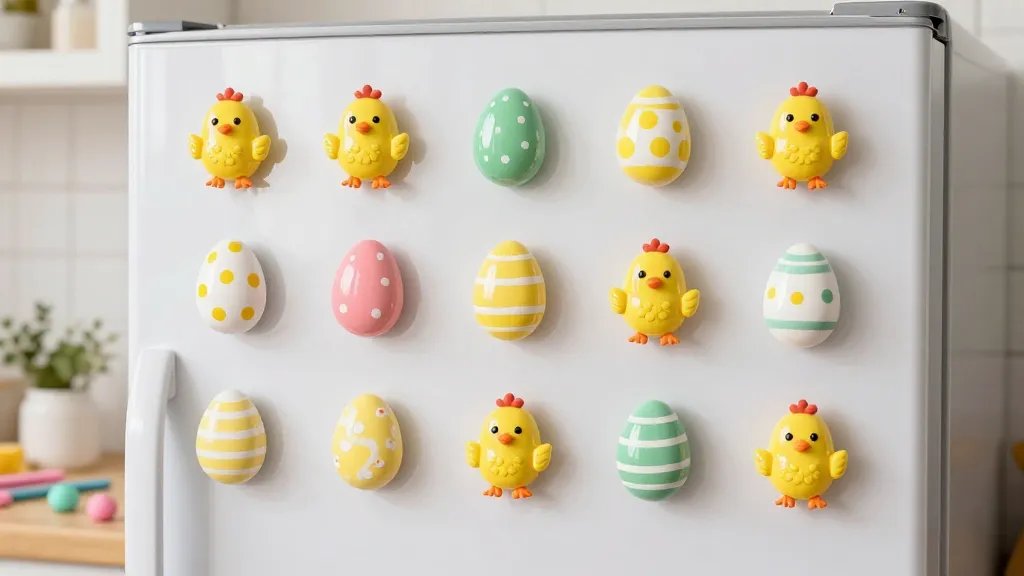
– Cartoonish chick silhouettes with a wink
– Floral patterns with dot detailing
– Minimalist geometric eggs for a modern fridge
Step-By-Step: A Bearable Beginning
1) Knead a small portion of clay until pliable.
2) Roll into an oval or egg shape.
3) Use a toothpick to carve lines or add tiny painted features after air-drying.
4) Attach a magnet on the back with a dab of strong glue.
5) Let dry completely, then seal.
Adding Personal Flair: Themes That Pop
Magic happens when you tailor designs to your life. Here are some playful themes:
– Seasonal: spring blossoms, Easter bunnies, tiny carrots.
– Foodie: mini sushi eggs, fruit medleys, candy motifs.
– Pop culture: tiny, tasteful nods to your favorite shows or icons (keep it light and respectful).
– Inside jokes: personalized magnets for coworkers or family members.
Color Theory for Easter Egg Magnets
– Pastels are refreshing but don’t shy away from bold accents like teal or coral for contrast.
– Outline eggs with a fine black line to give them crisp cartoon vibes.
– Use a matte finish for a vintage look or a glossy seal for a modern shine.
Finishing Touches: Seals, Stands, and Durability
– Sealing: A clear acrylic spray or varnish protects color and prevents chipping.
– Backing: Make sure the magnet is well-embedded or glued so it won’t jiggle loose with fridge door squeaks.
– Longevity: If you expose magnets to heat or humidity, consider rotating designs to prevent warping.
Alternative Mounts
If magnets aren’t your thing, swap in small adhesive magnets or even a tiny strip of Velcro on the back. You can also screw a small hook for hanging on a metal board if you don’t want magnets taking all the glory.
Creative Storage Solutions for Your Growing Collection
A few cute ideas to keep your masterpieces organized:
– A shallow decorative tin labeled “Egg Magnet Archive”
– A magnetic strip installed in a frame for display between projects
– A simple glass jar repurposed as a “magnet garden” with tiny tags naming each piece
Display Tips That Wow
– Group magnets by color family for a cohesive vibe.
– Create a mini calendar wall by rotating magnets monthly.
– Use a chalkboard label on your fridge to note who made which magnet.
FAQ
Do I need special kilns or baking tools?
Nope. For Easter egg clay magnets, air-dry clay is often enough, and you finish with a sealant. If you opt for polymer clay, you’ll bake it briefly, but you’ll still be left with adorable, durable magnets.
How long do these magnets last?
If you seal them well and keep magnets away from direct heat, they hold up nicely for months. Some people keep crafting jars on the go and rotate magnets weekly to keep things fresh.
Can kids make these with supervision?
Absolutely. They’re a great intro to crafts. Just supervise to avoid choking hazards with small pieces, and ensure a kid-friendly sealant is used if the project is for a younger crafter.
What’s the best way to store dry clay pieces before assembly?
Wrap pieces in plastic or keep them in a sealed container to prevent them from drying out or sticking to surfaces. FYI, moisture is a crafty enemy here.
How do I fix a magnet that’s fallen off?
Use a strong epoxy or two-part glue. Let it cure fully before reattaching. If the piece is fragile, consider replacing the magnet with a more robust backing.
Conclusion
Easter egg clay magnets are the perfect blend of whimsy and practicality. They’re easy to make, forgiving for beginners, and endlessly customizable. IMO, the real magic isn’t just in the colors or shapes—it’s in gifting cute, handmade vibes that brighten someone’s day every time they reach for the milk. So grab some clay, raid your craft stash, and start a mini magnet montage that makes your fridge smile.


