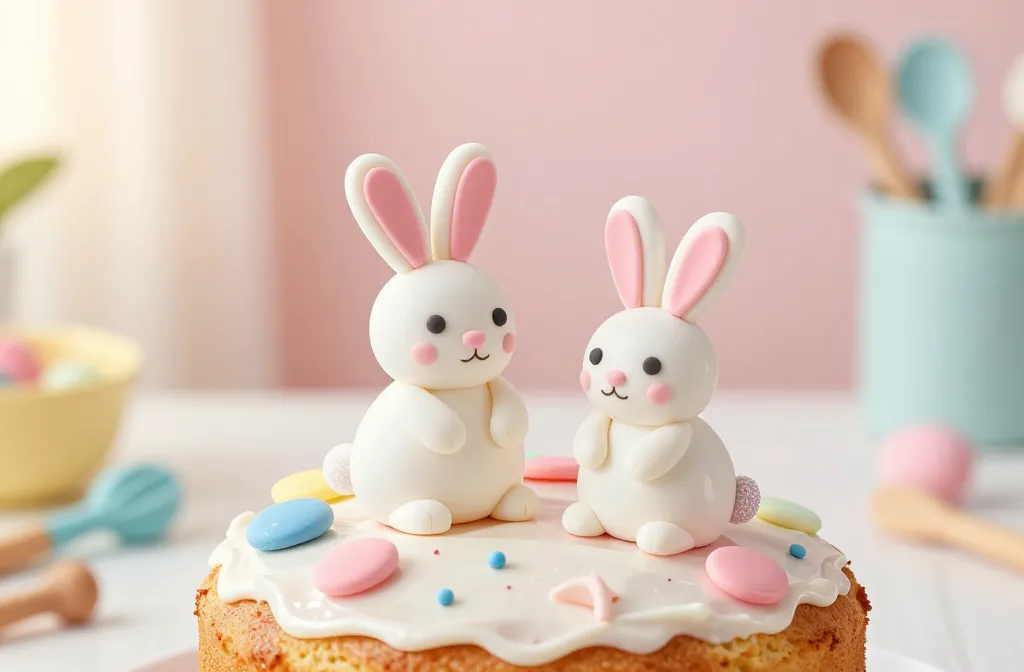
An Easter bunny cake toppers made from clay are the cutest way to elevate dessert and delight guests. This isn’t a project for the plastic decor crowd—this is hands-on, a little quirky, and totally doable. Ready to dive into some clay magic and baking chaos? Let’s get bunny-tastic.
Why Clay Toppers Are A Game Changer
Clay toppers bring personality to any cake without sacrificing taste. They’re lightweight, customizable, and resilient enough to survive a busy kitchen. Plus, you can reuse them year after year or switch up colors for every spring.
Choosing Your Clay and Tools
<Kid-friendly aside: many crafters love air-dry clay for quick results, while oven-bake polymer clay gives you a stronger finish. Pick what fits your vibe and the time you have.
- Clay options: polymer clay, air-dry clay, or clay dough for a quick, edible-safe approach (but remember, edible decorations are best made from fondant or gum paste if you plan to eat them).
- Basic tools: small rolling pin, sharp knife, needle tool, sanding sticks, and a toothpick for details.
- Finishing: acrylic paints, food-safe glaze, and a sealing spray to keep colors bright.
Design Ideas That Wow
Have fun with personalities. Are you team classic bunny, or do you want a wacky, sparkly, pom-pom tail? Here are ideas to spark your creativity:
- Classic Cottontail: soft white body, pink ears, a tiny, fluffy tail made from cotton or faux fur.
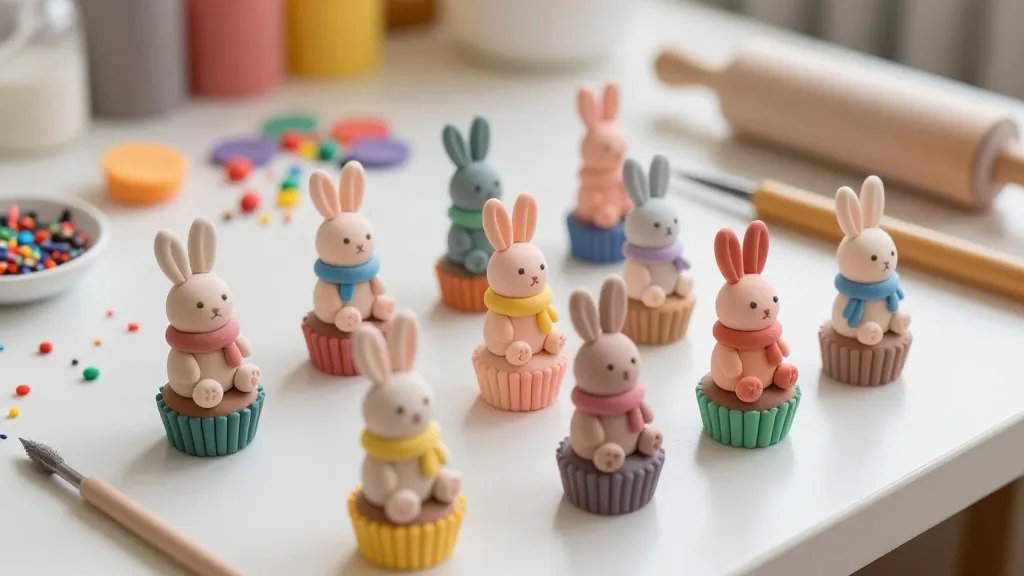
- Pastel Parade: pastel ears, mint bow, and a cake-sitting bunny with tiny bow tie.
- Modern Minimal: sleek silhouette, geometric ears, and a glossy finish for a contemporary look.
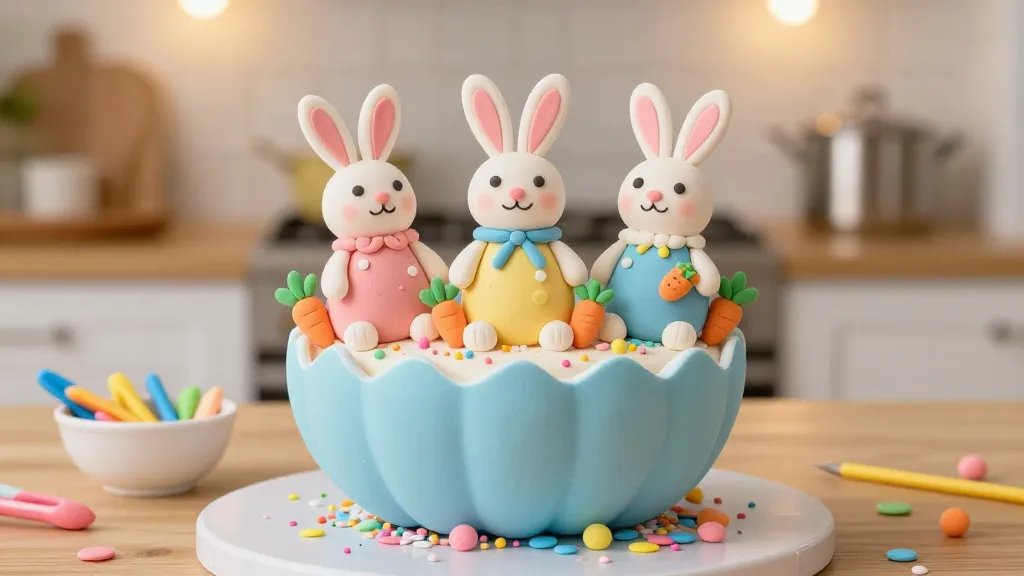
- Mix-and-Match: use mismatched outfits—floral scarf, polka-dot bow, and quirky sunglasses for a cheeky vibe.
Step-by-Step: Crafting Your Bunny from Clay
Here’s a straightforward path to a charming topper. You’ll be surprised how quickly tiny masterpieces come to life.
- Sketch your bunny design on paper first. Keep it simple to start.
- Condition the clay by kneading it until soft. Roll into a smooth ball for the head and a smaller ball for the body.
- Shape ears: long or short, rounded or pointed. Attach them with a dab of water or a tiny amount of clay.
- Add facial features with a fine needle tool: eyes, nose, and a smile. A tiny dot of white paint can give sparkling eyes.
- Create a cute tail—think cottony fluff or a little pom-pom you glue to the back.
- Let dry or bake according to your clay’s instructions. Paint after curing if you’re using polymer clay.
- Seal with a clear glaze to prevent colors from dulling and to keep your topper glossy.
- Secure to the cake with a short skewer or fondant-covered toothpick so it stabilizes on top of the cake.
Polishing Small Details
Fine touches matter. A tiny bow, embroidered whiskers, or a striped scarf can bring character. Use a fine brush and thin paint for crisp lines. FYI, impatient moments lead to smudges—breathe, then redo.
Color Combinations That Pop
Color is everything. The cake color sets the mood, but your bunny should shine. Here are combos to consider:
- Soft spring: blush pink ears, ivory body, mint bow.
- Jubilant rainbow: pastel ears in multiple colors, bright cheeks, and a rainbow bow.
- Monochrome chic: white bunny with metallic ears (silver or gold) for a glam look.
- Bold contrast: deep teal bunny with coral accents for a modern vibe.
Placement Tips: Where and How to Put It
The topper should look balanced without tipping the entire cake. Here’s how to nail the placement:
- Center stage: place the bunny directly in the middle of a round cake for classic symmetry.
- Off-center drama: set the bunny slightly to one side with a few decorative elements around it (sugar flowers or piped grass).
- Height matters: give the topper a little height, maybe a mini hill made of fondant or a base that props it up higher than the cake edge.
Edible Alternatives for the Nervous Bakers
If you’re worried about non-edible toppers touching cake, consider edible polymer decorations that are made for dishwashers, or switch to fondant animals that you can slice off and eat separately. I’m not judging; I’ve done both.
Maintenance and Reuse: Keeping Your Bunny Fresh
Clay toppers aren’t one-and-done. You can reuse them, re-paint them, or store them for next year. Here’s how:
- After the party, wipe off any sugar dust with a soft brush.
- Store in a box with tissue paper to prevent chipping.
- If color fades, a light repaint can bring them back to life.
Frequently Asked Questions
Can I eat clay toppers on a cake?
Clay toppers made from polymer or air-dry clay aren’t edible. If you want edible toppers, use fondant, gum paste, or modeling chocolate. Treat the clay toppers as décor only.
How long does it take to make a bunny topper?
Most simple bunnies take about 1–2 hours from start to finish, including drying or baking time. Complex outfits or fine details can stretch it a bit longer.
What glue should I use to attach toppers?
Use a small amount of edible glue or liquor (like vodka) if you’re attaching fondant decorations. For clay toppers, a wooden skewer and a dab of fondant or royal icing keep things secure.
Can I customize bunny toppers for a theme?
Absolutely. Swap out colors, add tiny accessories, or tailor outfits to match the party vibe. It’s your bunny, your rules.
How do I keep the cake stable with a topper?
Insert the topper onto a fondant-covered skewer or a sturdy toothpick. If your cake is tall, consider a second support or a mini fondant base to balance it.
Conclusion: Your Creative Easter Moment
Clay bunny toppers are a playful, cœur d’art moment for any Easter spread. They bring DIY charm, a dash of whimsy, and a sense of personal touch that store-bought toppers can’t match. So grab your clay, pick a color story, and make a bunny that suits your cake—and your humor. IMO, the best part is watching friends gush over something handmade with so much care. FYI, you’ll likely want to bake extra bunnies for photos, because the cuteness is practically contagious.


