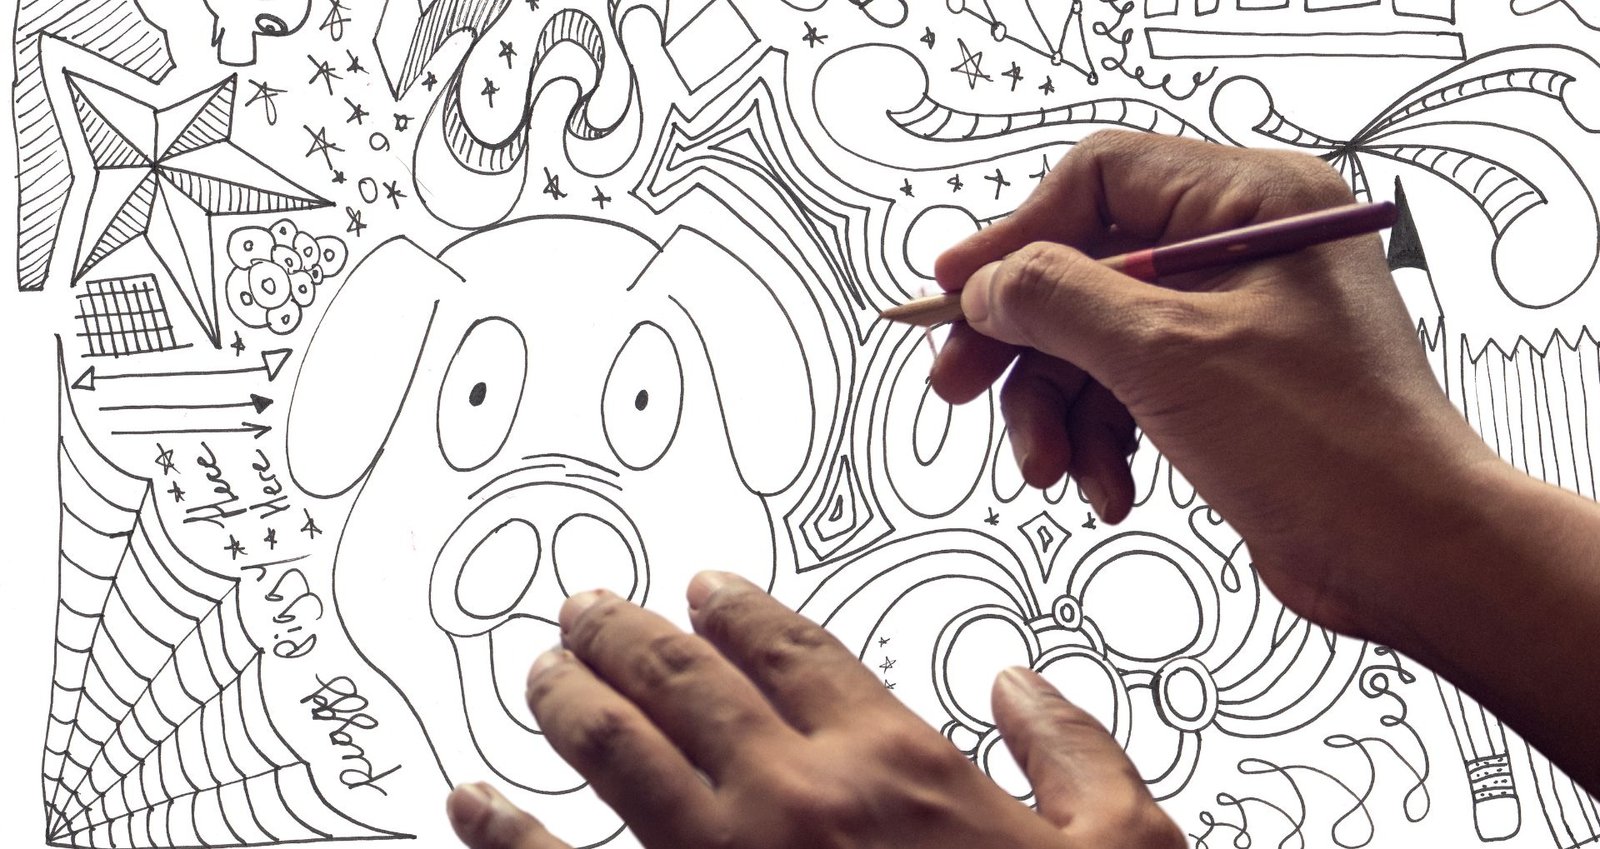
Welcome to the World of Doodling!
Have you ever thought, “I can’t draw!”? Well, it’s time to change that mindset! Doodling is not just for kids, it’s a joyful expression that allows anyone to unleash their inner artist.
Whether you’re at work, school, or home, doodling can ignite your creativity and relieve stress.
This article is your gateway to drawing mastery! Here, you’ll find practical tips tailored for beginners, designed to help you discover the amazing world of doodling.
From understanding basic shapes to experimenting with colors, every section is crafted to build your confidence.
Remember, everyone has the ability to express themselves through art. So grab your pencil, and let’s embark on this exciting journey together!
The Importance of Doodling
Doodling often gets a bad rap, perceived as a mindless activity reserved for daydreamers in class. However, the reality is far more enriching! Engage with doodling, and you’ll find it’s a powerful tool for enhancing creativity, relieving stress, and developing artistic skills.
Boosting Creativity
Doodling provides an excellent outlet for the mind. When you let your pen flow freely, untethered by rules or expectations, amazing ideas can surface.
Doodlers often find new connections and solutions to problems, igniting sparks of creativity that might go unnoticed during more structured activities.
For example, a simple doodle of a flower can inspire a whole garden scene in your imagination!
Reducing Anxiety and Stress
In today’s fast-paced world, anxiety levels can be high. Doodling serves as a form of relaxation, allowing individuals to focus on the physical act of drawing rather than overwhelming thoughts.
Research has shown that repetitive motion can activate the calm center of the brain, offering a meditative retreat.
Think of it as both an art and a form of therapy.
Skill Development
Beyond mental benefits, doodling is a fantastic way to enhance your drawing skills. Whether you’re sketching curves or spirals, your hand-eye coordination improves with practice.
It can serve as an excellent warm-up before diving into more complex pieces, where you can apply what you’ve learned incidentally.
Many professional artists warm up with doodles before settling into critical work, proving it’s not just a pastime for amateurs!
Doodling is an accessible way to engage with art, regardless of your current skill level. So, pick up that pencil and let your imagination run wild!
As you embrace the world of doodling, it’s essential to have the right tools at your fingertips. In the next section, we’ll explore the essential drawing tools that can enhance your doodling experience and help you create delightful works of art.
Essential Drawing Tools for Beginners
As you embrace the world of doodling, it’s essential to have the right tools at your fingertips. A few key supplies can elevate your experience and get those creative juices flowing.
Pencils
Starting with the basics, pencils are your best friends. A variety of pencil grades, ranging from H (hard) to B (soft), will allow you to experiment with different shading techniques.
A simple HB pencil is great for general purpose doodling, while softer pencils like 2B or 4B are perfect for rich sketching and shading.
Erasers
Don’t underestimate the power of a good eraser! A kneaded eraser is especially useful for doodlers, as it can gently lift graphite for subtle corrections without damaging the paper.
It also allows for creating highlights in your drawings by ‘erasing’ portions of your sketches.
Paper Types
When it comes to paper, consider the texture that suits your style. A smooth, heavyweight sketch pad is excellent for pencil work, while a textured paper adds interest for markers or ink.
Experiment with different types to find what resonates with your doodling style, there’s no one-size-fits-all!
Optional Materials
Once you’re comfortable with the basics, you might want to branch out into optional materials:
Starting with these essential tools will give you a solid foundation for your doodling journey. The right gear can significantly enhance your creative expression.
In the next section, we’ll dive into the basic shapes that form the backbone of virtually every doodle, paving the way for your artistic development!
Basic Shapes: The Building Blocks of Drawing
Now that you’ve got your tools ready, it’s time to simplify your approach to drawing by breaking it down into basic shapes. Understanding how circles, squares, and triangles serve as the foundational elements of your artwork will revolutionize your doodling experience.
Why Shapes Matter
Every complex structure you see can be traced back to simple shapes.
For instance, consider how an apple can be represented with a circle, while a house might begin as a square topped with a triangular roof.
By mastering these fundamentals, you can build on them to create intricate designs.
Getting Started with Basic Shapes
Start by practicing these basic shapes. Here are a few effective exercises:
Practice Makes Perfect
Dedicate a few minutes each day to sketching these shapes—use a lined notebook or blank paper.
Once you feel confident, take it a step further by integrating these shapes into your doodles.
Draw a whimsical creature using a combination of circles and triangles or design a simple landscape using squares and rectangles.
Focusing on basic shapes will provide a solid foundation for more advanced skills that we’ll explore next.
Get ready, because in the upcoming section, we’ll delve into the fascinating world of lines and textures that will add character and depth to your doodles!
Understanding Lines and Textures
As we delve deeper into the art of doodling, it’s time to unlock the potential of lines and textures—two crucial elements that can transform your simple sketches into dynamic masterpieces.
The Types of Lines
The quality of your lines can greatly influence the appearance of your drawings. Here are three essential types to consider:
The Power of Texture
Texture is about the surface quality in your drawings, contributing to visual interest and emotional depth. Here’s how to harness texture in your doodles:
By understanding just how versatile lines and textures can be, you’ll elevate the quality of your drawings significantly.
Embrace experimentation as you practice these concepts! And as we explore color theory in the next section, remember that the hues you choose will interact beautifully with the various lines and textures you’ve begun to master.
Color Theory for Beginners
As you develop your doodling skills, understanding color theory is a delightful way to enhance your artwork. Color can evoke emotions, set moods, and make your doodles pop! Here’s a simple introduction to the fundamentals of color theory, focusing on primary, secondary, and complementary colors.
Primary and Secondary Colors
- Red + Blue = Purple
- Blue + Yellow = Green
- Yellow + Red = Orange
These hues each bring their own personality to your doodles. For instance, blue might evoke calmness, whereas red could energize your sketches.
Complementary Colors
Complementary colors are opposite each other on the color wheel. When placed side by side, they create strong contrast, which can make your artwork more vibrant. Here are some pairs to consider:
Experimenting with complementary colors can be a fun way to make certain elements of your doodle stand out!
Simple Color Mixing Exercise
To practice color theory, try this fun exercise:
- Create a Color Wheel: Draw a circle and divide it into 12 sections. Fill each section with a primary or secondary color. This visual aid will help you reference color relationships easily.
- Mix and Match: Take two primary colors and mix them on your palette (or digitally) to create a secondary color. Note the ratios—for example, mixing equal parts will produce a true secondary, while varying amounts can yield different shades.
- Create Doodle Palettes: Pick a complementary color pair and create a mini doodle using both colors to see how they interact. You can fill shapes, add backgrounds, or highlight certain elements—let your creativity flow!
As you begin to explore colors and their relationships, remember that this knowledge will add depth to your doodling. Up next, we’ll tackle how to create your first doodle project, bringing together all the skills and knowledge you’ve gathered so far!
Creating Your First Doodle Project
Now that you’ve gathered essential drawing tools and explored the importance of shapes, lines, textures, and colors, it’s time to put your skills to the test with a simple doodle project!
This project will help you integrate everything you’ve learned into a cohesive piece of art. Let’s dive in!
Step-by-Step Doodle Project: Whimsical Garden
In this project, you’ll create a whimsical garden scene that combines shapes, lines, textures, and colors. Here’s how to get started:
Materials Needed
Instructions
- Sketch the Basic Layout:
- Begin with a light pencil sketch. Use basic shapes to outline the garden elements. For instance, use circles for flowers, rectangles for garden beds, and triangles for trees.
- Add Details with Lines:
- Once you have your layout, enhance your shapes with lines. Draw wavy lines for grass, use straight lines for stems, and add curves to flower petals. Don’t forget to include broken lines for textures.
- Incorporate Textures:
- Choose different textures to define areas in your garden. For example, use smooth strokes for flower petals and rough, jagged lines for soil. Experiment with cross-hatching to add deeper shadows in your garden design.
- Get Creative with Colors:
- Now comes the exciting part! Apply color using your knowledge of color theory. Choose complementary colors for contrast—try pairing yellow flowers with purple stems for visual interest. Feel free to blend shades for a whimsical effect.
- Finalize Your Artwork:
- Review your doodle, adding final touches and refining any lines or colors. Once satisfied, trace over your pencil lines with a fine line pen to make your doodle pop.
- Showcase Your Doodle:
- Display your artwork proudly! Share it with friends or post it online. Celebrate your progress as you’ve successfully completed your first doodle project!
As you embark on this creative endeavor, remember that doodling is a journey. Don’t hesitate to explore and modify your designs. Each doodle you create will contribute to your growth as an artist!
With this project behind you, you’re well on your way to mastering the art of doodling. Keep pushing your creative boundaries and enjoy every moment of your artistic adventure as we conclude this exploration into the captivating world of doodling!
Embrace Your Creative Journey
As you embark on this exciting adventure of doodling and drawing, remember that mastery is not an overnight achievement but a process filled with discovery and creativity.
Each stroke of your pen is an opportunity to express yourself, and the joy of creating should always outweigh the pursuit of perfection.
Make it a habit to doodle regularly, allowing your skills to grow naturally over time. Share your progress, seek inspiration, and don’t be afraid to experiment with new techniques and ideas.
The more you draw, the more confident you will become.
So grab your tools, find your creative space, and unleash your imagination, your artistic journey is just beginning!


