An irresistible intro to tiny bites that look good enough to eat—except they aren’t. If you’ve ever wanted your dollhouse kitchen to feel like a real bakery, this guide is for you. We’ll cover textures, tiny tools, and tricks to make miniature food pop without snapping your sanity in half.
Why Mini Food Even Matters in a Dollhouse
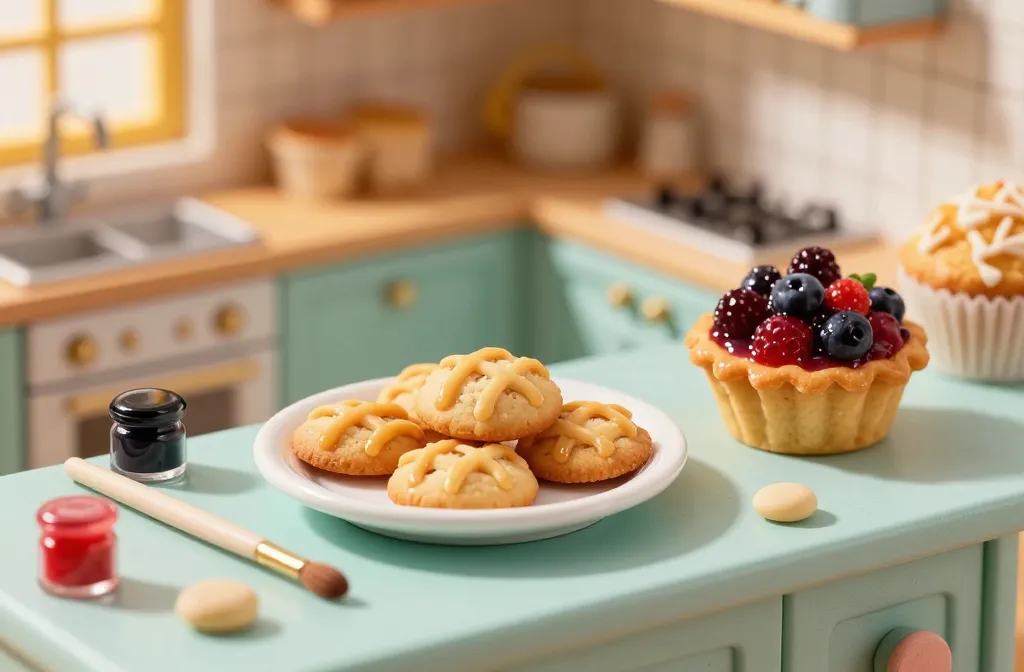
Miniature food isn’t just cute; it sets the entire vibe of a scene. A plate of cookies can tell stories about the characters who live there, whether it’s a cozy family home or a chic loft. FYI, tiny details create big impact. When you notice the glaze on a berry or the crumb pattern on a muffin, you’re hooked.
Texture, Color, and Realism
– Texture is king. Smooth glaze? Crisp edges? Crunchy crust? These details sell the illusion.
– Color matters more than you think. Use food-safe acrylics in tiny doses for shading and highlights.
– Realism vs. whimsy: you can tilt either way. Sometimes a quirky color makes the scene come alive.
Tools and Materials: What You Actually Need
Getting started doesn’t require a full studio setup. Here’s a lean list to get you rolling:
- Polymer clay in small packs (think skin tones, browns, greens, and pastels)
- A fine-tipped brush set, plus a couple of micro-detail brushes
- Acrylic paints in a tiny travel set
- Gloss varnish or resin for shiny toppings
- Wire, thin foil, and toothpicks for tiny structural bits
- Fine sand, flocking, and texture pastes for crusts and crumbs
Pro tip: keep a dedicated container for “tiny leftovers”—you’ll thank yourself when you’re hunting for a speck of sugar later. FYI, tidy workspace saves hours of swearing and mis-sized sprinkles.
The Core Food Categories: What You’ll Brew Up
Pastries and Sweet Treats
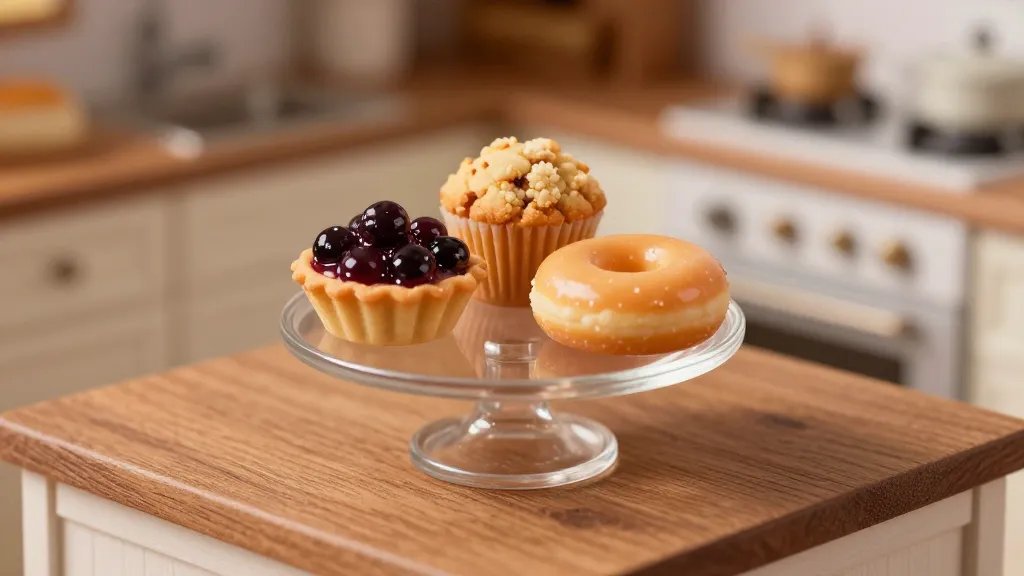
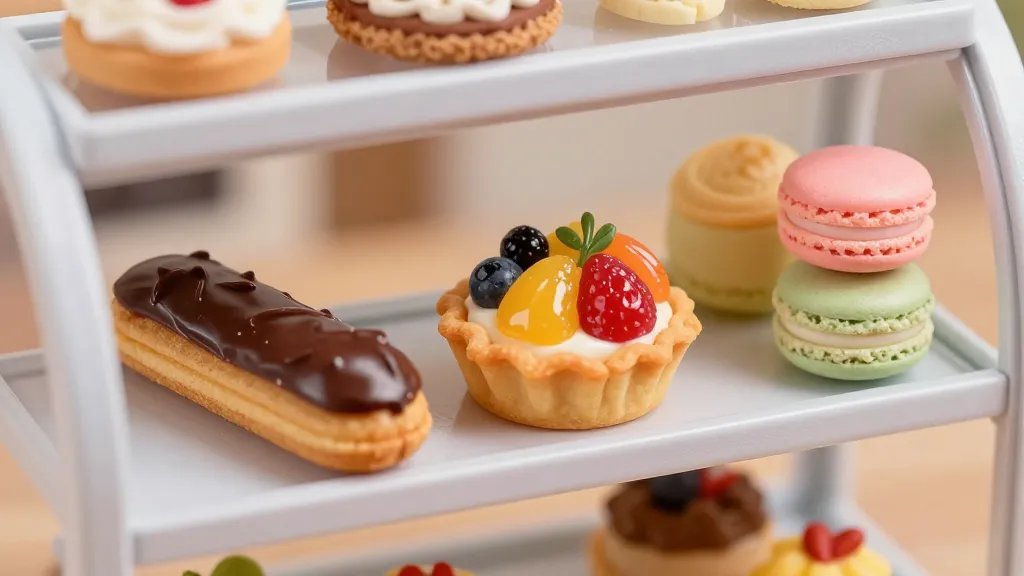
Sweet stuff instantly makes a scene feel lived-in. Think mini croissants that actually look flaky, tiny donuts with a glaze that catches the light, and dainty cookies with tiny chocolate chips.
– Start with a simple dough base, then roll in texture paste or powder for crumbs.
– For glaze, use a thin layer of resin or gloss varnish to mimic shiny sugar.
– Don’t forget tiny plates and napkins—presentation matters almost as much as the food.
Breads, Crusts, and Bakes
Crusts and loaves add depth to kitchen corners. A rustic loaf with a crackly crust can anchor a tiny bread basket.
– Use oven-safe clay or dough that you bake separately to keep shapes crisp.
– Add subtle color variation for a realistic bake: a lighter interior, darker crust.
Savory Bites
Mini quiches, sushi rolls, and bite-sized sliders bring personality to a scene.
– Quiche: mix clay colors for the filling, then cap with a thin crust.
– Sushi: roll with clay, slice with a razor blade for even rounds, add tiny sesame seeds with a dot of paint.
– Sliders: tiny buns with a dab of glossy glaze for “juicy” texture.
Fruits and Vegetables
Tiny produce can steal the show if it looks juicy and fresh.
– Use translucent paints to simulate moisture on fruit surfaces.
– Cut vegetables in half to reveal seeds, layers, and inner textures.
– Pint-sized herbs: a few brushstrokes of green on a leaf can sell a dish instantly.
Realistic Detailing: How to Make It POP
Crumbs, Crusts, and Glaze
– Crumbs: dab tiny amounts of paint or powder to mimic breading around edges.
– Crusts: dry brushing with a slightly darker shade creates depth.
– Glaze: apply thin coats of gloss to create that wet, delicious look.
Shiny Toppings and Drizzles
– Drizzle with a fine line of resin or gloss varnish for syrup or sauce.
– Sprinkle tiny sugar crystals with a toothpick for sparkle.
Texturing Surfaces
– For mimicked bread surfaces, use a crisscross pattern with a toothpick.
– Matte vs. glossy contrasts help separate components visually.
Storage, Display, and Safe Handling
Organization for Creativity
– Use small clear containers for colors and clays.
– Label pieces by project to avoid mix-ups.
Display Tips
– Create mini dining setups or bakery counters to showcase your mini creations.
– Use tiny placemats, napkins, and cutlery to elevate the scene.
How to Speed Up Your First Big Batch
- Batch similar items together to keep shading consistent.
- Keep a “practice sheet” for color ratios and glaze thickness.
- Set up a tiny production line: dough, bake, glaze, detail in one go.
Common Pitfalls and How to Beat Them
- Overworking clay leads to cracks—step back and let colors dry before handling.
- Paints pooling on edges? Use a fine brush and a light touch.
- Glue showing? Choose clear-drying adhesive and apply sparingly.
Inspiration: Where to Find Ideas and People Like You
- Instagram and TikTok mini food creators
- Flea markets for tiny props that spark new ideas
- Online forums and Etsy shops for unique molds and textures
FAQ
What materials are safest for tiny edible-looking treats?
Stick to polymer clay, epoxy/resin glazes for shine, and non-toxic acrylic paints. Always check labels if you’re using anything near a doll’s mouth in a display scene. If you’re unsure, test on a small scrap first.
How do you keep tiny food looking fresh over time?
Seal with a clear, non-yellowing varnish to protect from dust and color fading. Store in a clean container away from direct sunlight to prevent color shift.
What are the best techniques for making sushi rolls?
Roll clay tight and cut with a razor to get even pieces. Use a dotting tool to place sesame seeds and a touch of metallic paint for gleam. Layer nori using a thin line of dark paint for realism.
Can you reuse scraps for new projects?
Absolutely. Crumbs and texture scraps can be repurposed into crusts and crumbly toppings. Save bits in a labeled jar so they’re ready when inspiration strikes.
How do you add realistic glaze without dripping?
Apply glaze in thin layers, allowing each to dry before adding the next. A tiny brush helps control thickness, and a gloss medium can adjust the shine level for different textures.
Conclusion
Miniature food brings warmth, humor, and a dash of whimsy to any dollhouse. It’s not just about looking cute; it’s about storytelling in tiny bites. With the right tools, a few core techniques, and a sense of play, you’ll build scenes that feel deliciously real without ever needing to bake a thing. Ready to start your next tiny feast? IMO, your dollhouse deserves it.


