Ready to turn a plain space into a tiny poster-perfect vibe? DIY washi tape decorations are your shortcut to personality without breaking the bank. Let’s dive into playful ideas, practical tips, and a little bit of tape magic.
Why Washi Tape Wins For Quick Decor
Washi tape is basically the multitool of decorating. It sticks to almost any surface, peels off without wrecking walls, and comes in every color and pattern you can imagine. FYI, you can layer it, mix it, and create tiny masterpieces in minutes. No glue guns required, no drama—just tape and imagination.
Starter Projects That Even Beginners Can Nail
New to this? No worries. Start with simple wins before you level up your wall mural game. Here are a few quick hits that build confidence and look adorable.
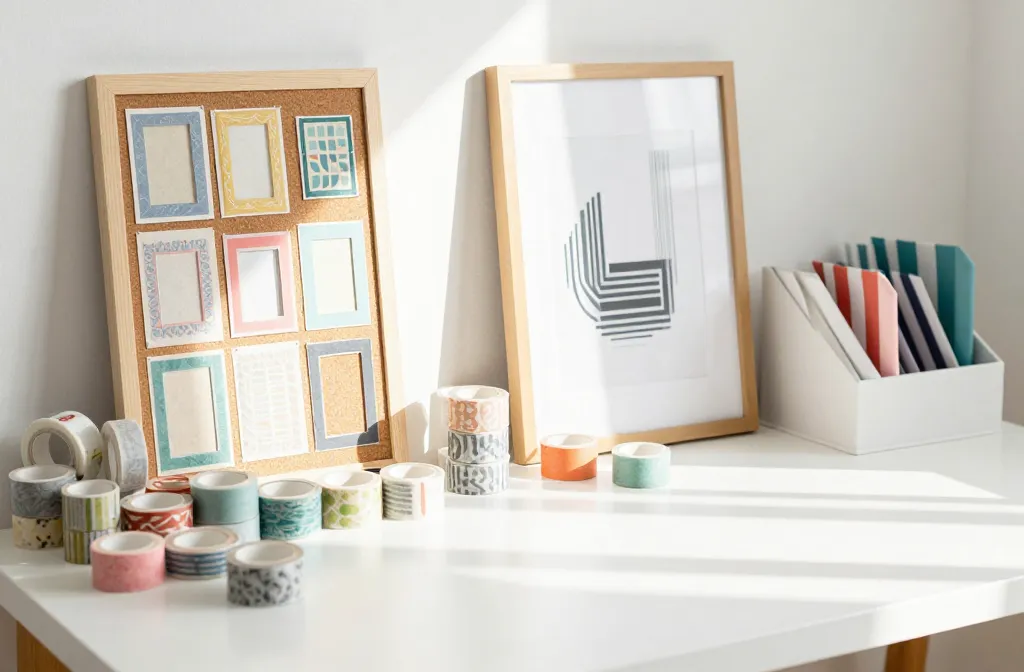
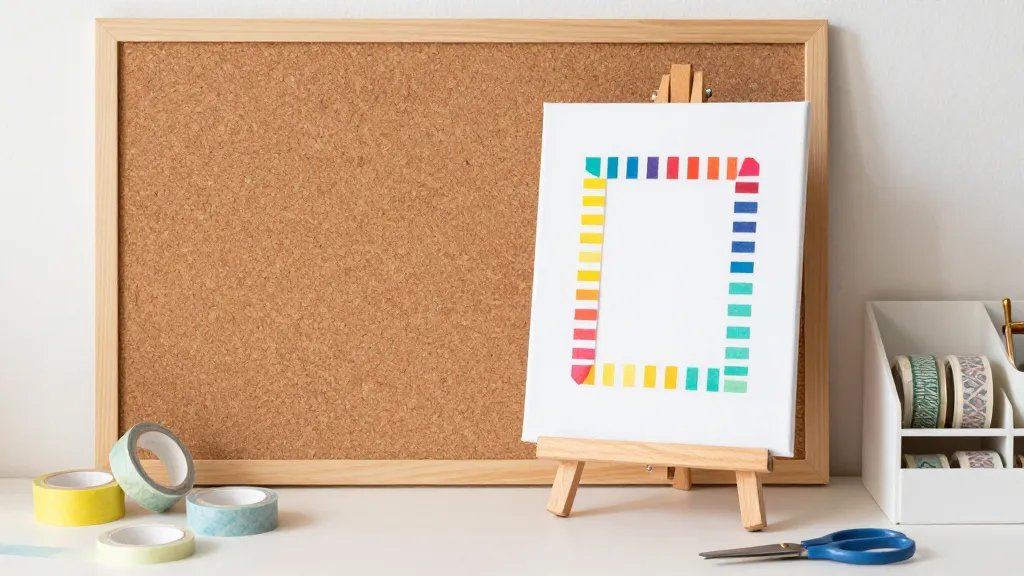
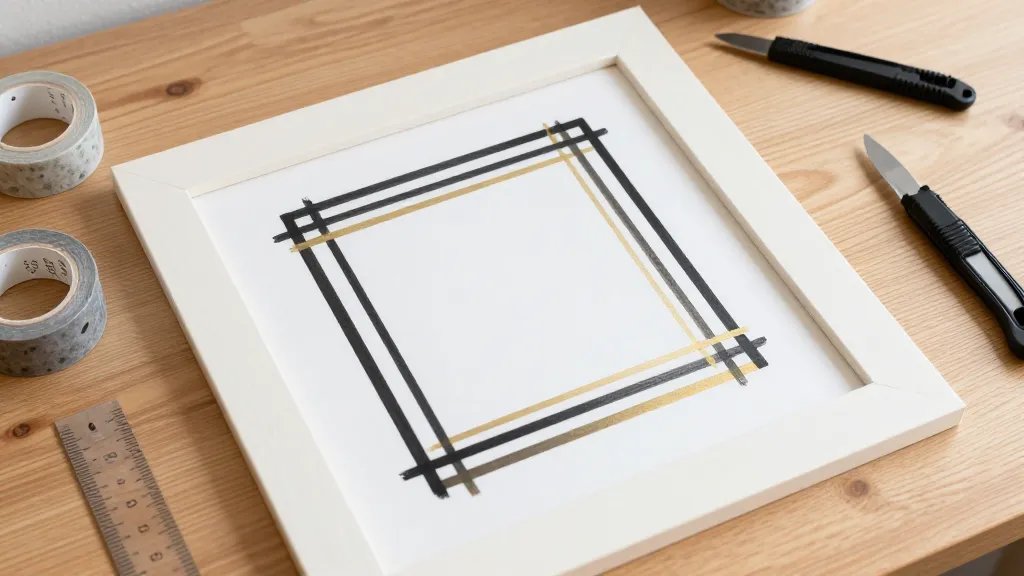
- Framed tape art: Create a simple frame on a canvas or poster board and fill it with bold stripes or a mini geometric pattern.
- Desk organizer accents: Edge your pencil cups, storage boxes, or notebook corners with bright bands to spark joy every time you reach for a pen.
- Phone charger fringe: A strip along the cable orE around the outlet plate? Instant personality without permanent changes.
Patterns, Palettes, and Personal Flair
Washi tape shines when you mix patterns. Think coordinating palettes rather than clashing chaos. Pick a main color family, then sprinkle with complementary designs. It’s like fashion for your furniture—without the severe runway attitude.
Color Theory For Tape Nerds
Short version: pick 2–3 core colors, then add one accent. This keeps things cohesive and eye-pleasing. If you’re unsure, start with a bold black/white base and pop in one bright hue.
Texture Without Texture
Use tapes with matte finishes against shiny ones to create depth. A metallic stripe next to a pastel matte square reads as deliberate, not chaotic. FYI, the mix-and-match energy is precisely what makes DIY projects feel custom.
Wall-Worthy Projects That Don’t Enrage Your Inner Minimalist
Your walls deserve love, but you don’t have to commit to a mural. Here are some standout ideas that look pro without requiring a professional crew.
- Geometric gallery strip: Create a line of mini frames or shapes along a wall using tape as the “frame.”
- Corner curation: Emphasize a corner with a playful triangle or chevron pattern that trains the eye toward a cozy reading nook.
- Chalkboard tape accents: Combine with a chalkboard or vintage desk to make a cute contrast between eras.
Peel-and-Play: How to Make It Last (And Come Off Gracefully)
We all fear the dreaded sticky residue or wall tears. Here’s how to keep things clean and reversible while still looking intentional.
- Clean surface, clean results: Wipe walls or surfaces with a dry microfiber cloth before applying. Grease or dust can ruin adhesion and your vibes.
- Test strip first: Put a small piece on a hidden area to make sure it sticks and removing it won’t peel paint.
- Edge control: Use a flat tool or your fingernail to press edges down firmly. No jagged lines on a masterpiece—ever.
Removing Without the Drama
When you’re ready for a refresh, peel away slowly at a 45-degree angle. If anything sticks, a hairdryer on low heat can loosen the adhesive. Don’t yank—tape wants to retire gracefully, too.
Tools, Tips, and Shortcuts You’ll Actually Use
Keep this mini toolkit handy and your projects will flow faster than you can say “washi.”
- A small craft knife or scissors for clean edges
- A ruler or masking tape to keep lines straight
- Assorted tapes in a single organized palette
- Optional: a cutting mat to protect surfaces
Creative Rooms and Nooks That Shine
Washi tape isn’t just for walls. You can transform furniture, shelves, and even appliance fronts into bespoke accents that feel made-to-order.
Desk Makeover On A Dime
Line the edge of a desk with a bold strip, then add a few tiny corner accents. Suddenly your workspace feels curated and intentional—without a single pricey purchase.
Bookcase Brilliance
Run a vertical or horizontal strip across a bookcase, creating color blocks that guide the eye. It’s like a tiny rainbow that actually helps you find your favorite shelf at light speed.
FAQ
Can I use washi tape on fabric or wallpaper?
Yes, but test first. Some fabrics might show the adhesive more than you’d like, and certain wallpapers can bubble if the tape isn’t pressed down well. For fabrics, consider applying to a small note or pocket first, then transferring the look to the surface you want to decorate.
Will washi tape ruin walls when I remove it?
Most washi tapes peel off cleanly, especially on painted walls. If you’re worried, do a quick test patch on a hidden spot first. If you’re renting, consider using lightweight tape that promises easy removal and minimal residue.
How long does a DIY washi tape project typically last?
It depends on location and wear. On a low-traffic wall, patterns can stay fresh for weeks to months. In high-humidity kitchens or bathrooms, you may see edges lift sooner. FYI, touch-ups are quick and satisfying.
What’s the best way to store washi tape to prevent mess?
Keep tapes in a clear container or a small drawer with dividers. Label by color family for easy picking. A tidy stash saves you from the “I know I had that teal tape somewhere” frustration during a project.
Can I reuse washi tape after removing it?
Sometimes! Thin tapes may lose some adhesion after removal, but you can press them back onto clean surfaces. Store them flat and away from heat to keep them usable for future projects.
Conclusion: Wrap It Up With a Fresh Pop
Washi tape decorations let you experiment, fail fast, and celebrate tiny wins. No heavy commitment, just pure crafty vibes. IMO, the best part is how quickly you can transform a dull space into something you’re genuinely excited to show off. So grab a few rolls, pick a surface, and start layering—your future self will thank you for the creativity spur in your day. FYI, there’s no wrong pattern—only fun patterns waiting to happen.


