Getting ready for Easter photos should be fun, not stressful. These DIY props are quick, adorable, and so affordable you’ll do a happy dance. FYI, you don’t need a crafting degree to pull this off—just a playful spirit and a glue gun you trust.
Egg-cellent Starter Props You Can Make in Minutes
You want something that reads well in pictures and doesn’t hog the spotlight. Start with easy, clickable props like carrot sticks on sticks, oversized eggs, and bunny ears made from felt. Use bold colors that pop against springtime backdrops. Want a bonus? Keep one statement prop per shot to avoid visual chaos.
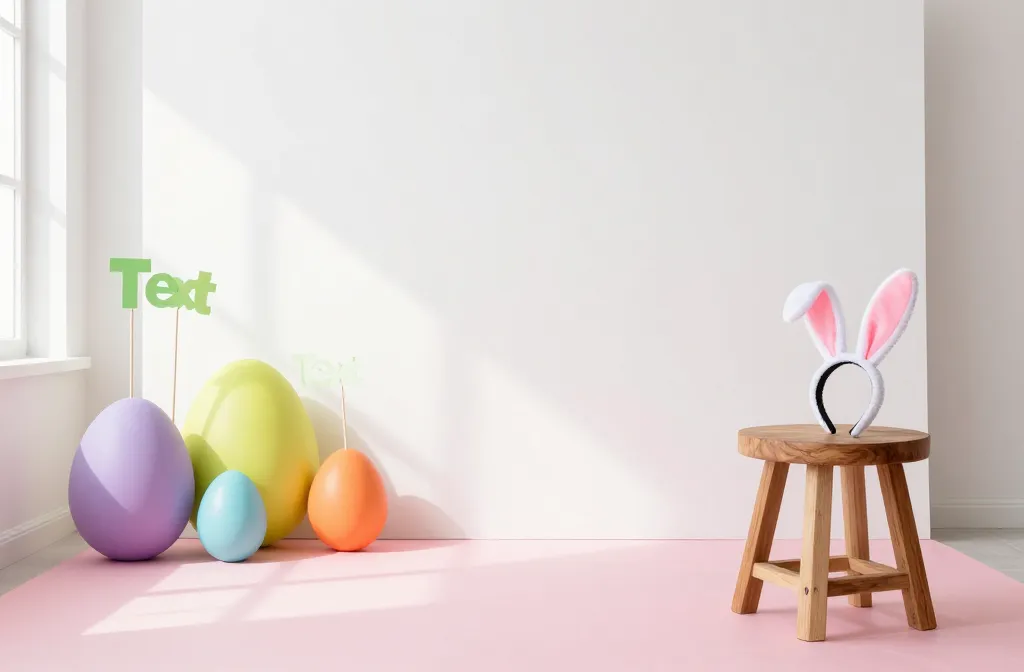
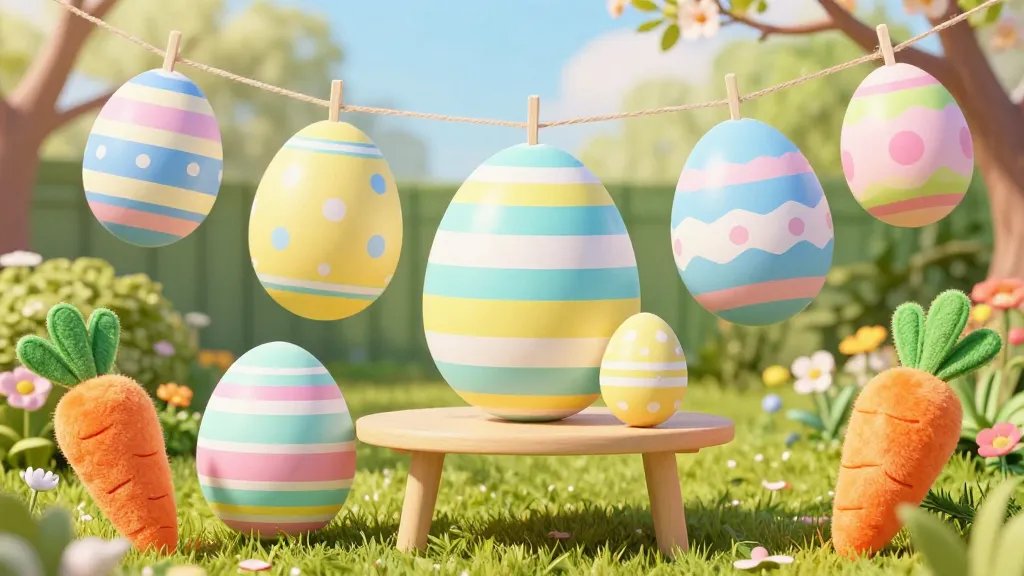
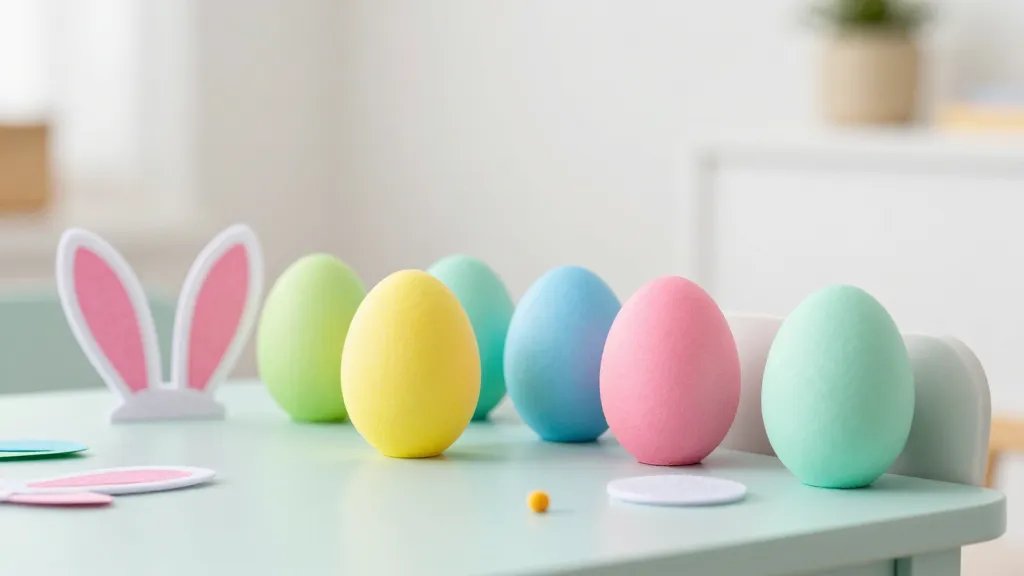
1. Jumbo Egg Photo Stand-Ins
– Materials: colored paper, cardboard, scissors, tape, string.
– How-to: Cut large egg shapes, decorate with stripes or polka dots, punch a small hole for a stand. Thread a string to hold lightweight props in the air for playful hanging shots.
– Quick tip: Mount a few eggs on a lightweight dowel and lean them into a corner for a colorful tabletop scene.
2. Bunny Ears That Don’t Slip
– Materials: headbands, felt or craft foam, hot glue, faux fur (optional).
– How-to: Cut two ear shapes, glue to a headband, and add a touch of pink inside the ears. Let it dry before you try to pose.
– Quick tip: Clip the headband to the back of a baby’s chair or prop table for snappy candids.
Text, Quotes, And Word Props That Pop
Text props feel modern and photogenic, especially when you keep them short and legible. Use bold fonts or hand-lettered signs with short phrases to anchor the scene.
3. Chalkboard Signs With Cute Sayings
– Materials: small chalkboards, chalk markers, washi tape.
– How-to: Write egg-themed phrases like “Hoppy Easter” or “Egg-stra Special Day.” Use color blocks to make the message jump off the board.
– Quick tip: Let kids help write a line or two; it adds authenticity and joy.
4. Spring Florals In Mini Bouquets
– Materials: faux flowers, thin floral wire, mini jars or cups.
– How-to: Create tiny bouquets, tie with ribbon, and prop them in jars. Place one bouquet near the photographer’s line of sight for color accents.
– Quick tip: Match colors with outfits (think pastel pinks, yellows, and greens) to keep the vibe cohesive.
DIY Backdrops That Don’t Break The Bank
Backdrops set the mood. You can DIY something memorable without spending a fortune, and you’ll still get gorgeous photos.
5. Painted Cardboard Panels
– Materials: cardboard panels, acrylic paint, painter’s tape, sealant.
– How-to: Create a pastel ombre or a soft spring scene with simple shapes. Seal when dry to prevent smudges.
– Quick tip: Tape off a few horizontal stripes for a modern, graphic look.
6. DIY Flower Wall (Low-Pressure Version)
– Materials: faux flowers, hot glue, a lightweight frame or board.
– How-to: Glue bunches of flowers onto the board in a grid or freeform pattern. Leave a few spaces for props to stand out.
– Quick tip: Use heavier flowers at the bottom for stability, lighter ones on top for balance.
Props That Beginners Can Nail—And No One Will Judge
Let’s be honest: imperfect props sometimes look perfect in photos. Lean into charm over perfection, and don’t stress the tiny flaws.
7. Printable Sticker Props
– Materials: printouts on sticker paper, scissors, lamination sheets.
– How-to: Design Easter-themed stickers like bunnies, eggs, and carrots. Stick them onto wooden dowels or popsicle sticks for quick handheld props.
– Quick tip: Laminate to keep them glossy and durable for a weekend of shoots.
8. Milk-Jug Rabbit Lanterns
– Materials: empty milk jugs, white paint, pink paper, string lights.
– How-to: Paint jugs white, cut bunny faces from pink paper, poke holes for a string-light glow. Hang in the background for magical vibes.
– Quick tip: Use warm white lights to avoid an overly bright look.
Capturing The Moment: Tips For A Beautiful Easter Photo Session
You’ve got the props. Now make sure your photos actually look amazing.
- Natural light is your BFF. Shoot near a big window in the morning or late afternoon for soft, flattering shadows.
- Keep backgrounds simple. Props should complement, not compete with, the subjects.
- Mix close-up and wide shots. Quick faces with props contrast nicely with the bigger setup.
- Direct the action. A simple “look at the sign,” “hold the bouquet,” or “peek from behind the eggs” cue helps everyone warm up.
Accessorize Like A Pro (Without Breaking The Bank)
You don’t need a full studio budget to look polished. Here are some budget-savvy ideas to elevate the look.
9. Color Palette Coordination
– Pick 2–3 colors that appear in outfits and props.
– Use those colors consistently across backdrops, signs, and small accents.
– This creates a cohesive, magazine-worthy shot without extra effort.
10. Texture Tricks
– Layer different textures: felt ears, burlap signs, and satin ribbons.
– Texture adds depth and makes photos more interesting.
Safety And Practicalities: Quick Check-Ins
A smooth session means you think ahead about safety and practicality.
- Materials: avoid small pieces that kids can pop into their mouths. No choking hazards, please.
- Allergies: note any fabric or fragrance sensitivities among kids and adults.
- Clean-up: keep a dedicated box for props and a quick wipe-down kit for after-shoot messes.
FAQ
What’s the easiest prop to start with for a sharp photo?
The simplest is a big, bold sign with a short Easter message. It anchors the scene, gives you a focal point, and doubles as a great caption for social media. Start with “Hoppy Easter” and go from there. FYI, less is more here.
Can I involve kids in making the props?
Absolutely. Turn it into a mini craft session. Let kids choose colors or decorate a few signs. It boosts excitement, ownership, and chances of a natural, joyful capture. Just supervise hot glue usage and keep sharp tools out of reach.
How should I light the scene for the best results?
Natural light wins, especially with soft, diffused sunlight. If you’re indoors, position near a large window and use sheer curtains to soften the glare. If you must shoot at night, a simple ring light or two warm lamps can imitate that cozy glow. IMO, don’t overdo it with harsh lights.
What if I don’t have fancy props or a studio?
That’s the beauty of DIY props: you don’t need much. Repurpose everyday items, like a strip of colored paper for a backdrop or a jar of flowers from the dinner table. The key is confident styling and a little personality in each shot.
How many props should I use per shot?
Aim for 1–2 props per shot. Too many elements compete for attention and clutter the frame. If you’re shooting a family photo, keep the focus on expressions and relationships, with one or two gentle props as accent pieces.
Conclusion
DIY Easter photo props don’t have to be complicated to look amazing. With a handful of affordable materials, a dash of imagination, and a willingness to crack a joke or two, you’ll end up with images that feel warm, playful, and totally share-worthy. So pull out the colored paper, borrow a bunny ear headband, and start snapping. Your future self (and your social feeds) will thank you.


