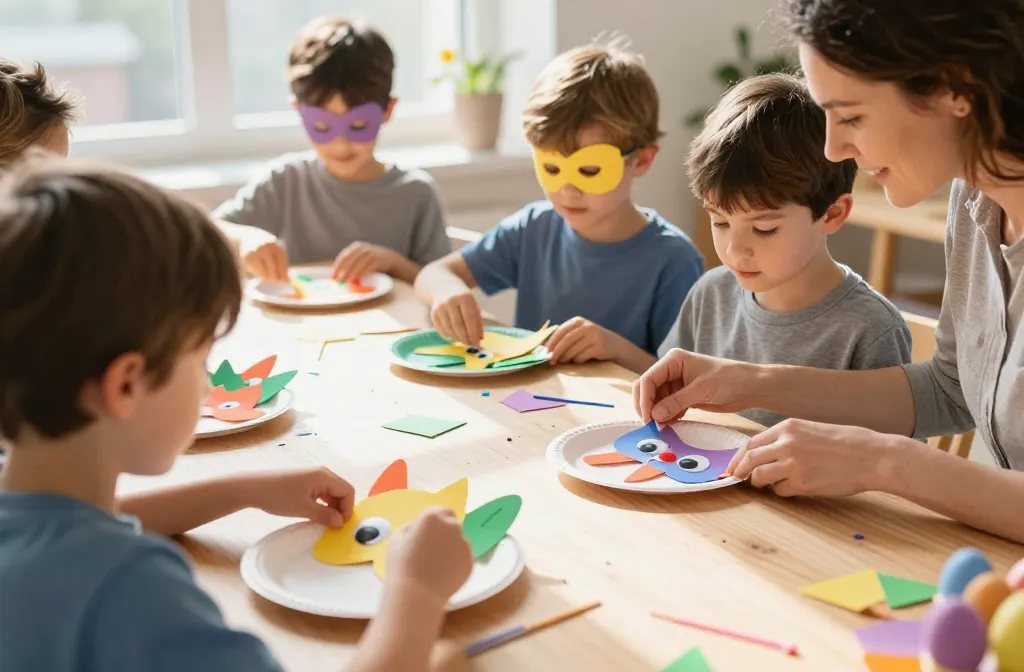
An easy, goofy, totally doable guide to DIY Easter masks that turn a cozy afternoon into a mini party. Grab paper plates, googly eyes, and a dash of imagination—parents, you’re about to become heroes of snack time and crafts. Let’s make mask-making feel like a giggle-filled adventure, not a homework assignment.
Why Masks Make Easter Even More Fun
Kids love getting silly, and masks are the quickest way to spark pretend play. Masks turn ordinary eggs into characters, superheroes, or woodland critters with zero special effects. FYI, the more personality you add, the longer the activity sticks in their memory.
Materials That Won’t Break the Bank
– Paper plates, craft foam, or sturdy cardstock
– Elastic or string to secure the mask
– Scissors (kids’ safety scissors work great)
– Glue sticks, stapler, or tape
– Markers, crayons, and paints
– Googly eyes, pipe cleaners, feathers, stickers
– Optional: chalk, glitter (sparingly, please)
Not everything has to be fancy to shine. The best masks come from things you already own and a dash of wild imagination. If you’re short on supplies, think alternatives: a disposable plate with a stick glued on becomes a fun woodland friend—instant nature vibes.
Creative Mask Ideas You Can Try Today
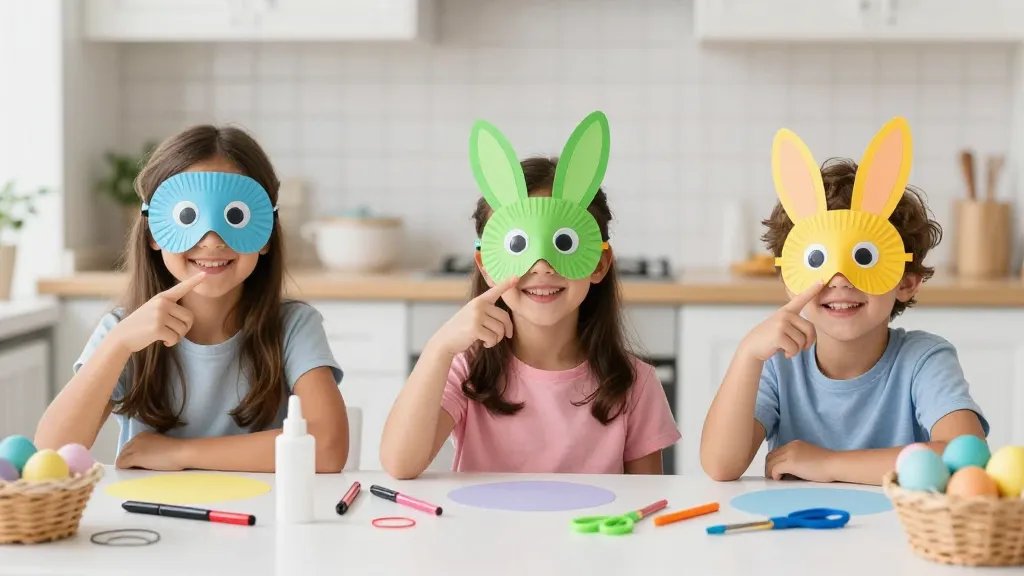
Animal Parade
– Cut out two ears from colored paper and glue them to the top edge of a plate.
– Add eyes, a nose, and a mouth with markers.
– Attach elastic to the sides and voila—your own zoo in 10 minutes.
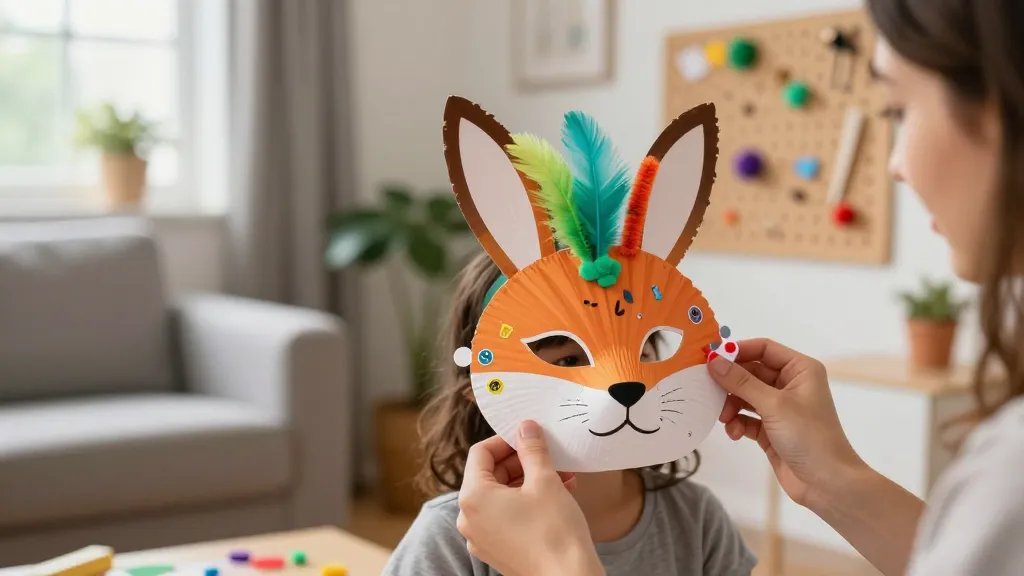
Festival Fox or Playful Panda
– Keep it simple with a solid base color, then add a contrasting triangle for the nose or ears.
– Use black paper for accents and a white highlight to make features pop.
– Optional: pipe cleaner whiskers for extra personality.
Spring Fairies and Pirates
– For fairies, punch a few holes at the top for hair or a flower crown and decorate with glitter (sparingly, FYI).
– For pirates, draw a bandana with a marker, add a cheeky mustache, and glue on an eye patch cut from cardstock.
Face Mask Mash-Up
– Let kids pick their favorite animal traits and mix them into a single mask.
– Think: bunny ears with a tiger stripe pattern or a dragon-eyed owl. The sillier, the better.
Deeper Dive: Easy Crafting Techniques
Securing the Mask Without Tears
– Use a stapler for durability on paper masks. Lightly punch first to avoid tearing.
– If you’re using string, thread through holes near the cheeks and tie a knot that sits snug but not pull-your-face-in-tight.
Color Inside the Lines—Or Not
– Markers are bold and fast-drying, great for younger kids.
– Paints look gorgeous but take longer to dry; plan a quick dry-down break or a separate session for painting.
Personalization Tricks
– Add a name or a fun emoji on the back of the mask so kids can keep track of their masterpieces.
– Use washi tape for clean color blocks and a modern vibe.
Mask Storage and Display Ideas
– Let masks air-dry on a clean rack or hang them with clothespins.
– Create a mini gallery wall: string a line of yarn and clip masks as a rotating Easter exhibit.
– If you’re in a rush, photograph the masks and recycle the plates for the next craft spree—cleanouts are part of the fun.
Safety Quick Tips
– Use child-safe scissors; supervise younger kids closely.
– Avoid choking hazards: skip tiny beads or small embellishments for littles.
– Keep paints and markers out of reach when not in use and wash hands after crafting.
– If a child has sensitive skin, opt for hypoallergenic markers and non-toxic paints.
Getting the Whole Family Involved
– Turn it into a mini workshop: one person cuts, another decorates, and another takes photos for your Easter album.
– Host a “mask parade” where everyone wears their creation and shows off a quick character speech.
– Wrap up with a pretend Easter parade around the house—don’t forget the encore dance party.
FAQ
Are these masks okay for toddlers?
Yes, with supervision. Stick to larger pieces, avoid small embellishments, and use parent-safe scissors. The goal is simple shapes and bold colors that kids can handle.
What materials are best for durability?
Paper plates with cardstock backing, lightweight foam, or sturdy cardboard work well. Elastic or ribbon that’s easy to tie also helps masks stay on during giggle-fests.
Can we use recycled items instead of new supplies?
Absolutely. Egg cartons become wildlife faces, cereal boxes become monster masks, and fabric scraps can add texture. It’s eco-friendly and gives kids a sense of victory for repurposing.
How long does a typical mask project take?
Most masks take 20–40 minutes from start to finish, depending on how detailed you go. If a kid’s energy dips, label it a two-step mission: decorate now, let dry, finish later.
Any tips for a smooth cleanup?
Lay out a dedicated craft mat or old newspaper, keep wipes handy, and designate a “craft bin” for leftover parts. A quick rinse and a few minutes of tidying up make the next project feel easy.
Conclusion
DIY Easter masks aren’t just about pretty faces; they’re about giggles, imagination, and a pocket-sized creative victory. You don’t need perfect craft skills to make something that shines with personality. So gather your supplies, pick a few silly ideas, and let the kids take the lead. FYI, the memories of this little crafting session will outlast the Easter candy—and that’s saying something. Get ready for a parade of goofy looks and big smiles.


