Ready to turn a lump of clay into a personality you’d actually want to hug? We’re diving into the playful world of cute clay characters, from tiny eyeballs that stare into your soul to cheeks that practically glow with personality. Grab your sculpting tools, and let’s make something lovable together.
Pick a Vibe: Where Your Clay Character Lives
Before you roll a single snail-trail of clay, decide the vibe. Do you want a cheeky forest critter, a sleepy space pal, or a goofy noodle of a friend? The vibe guides every tiny decision—from proportions to color choices.
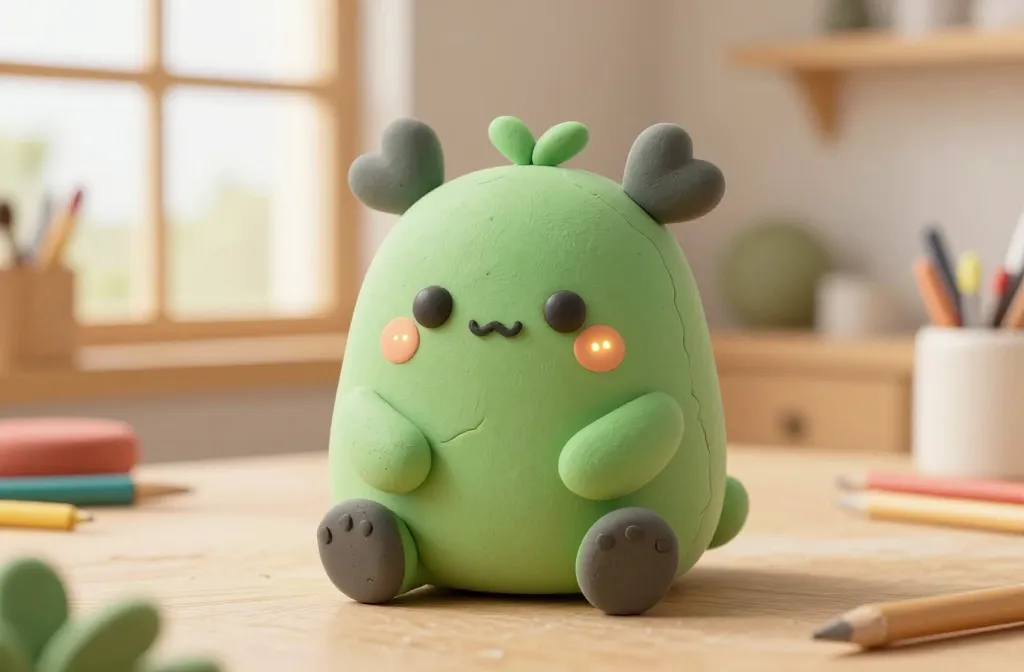
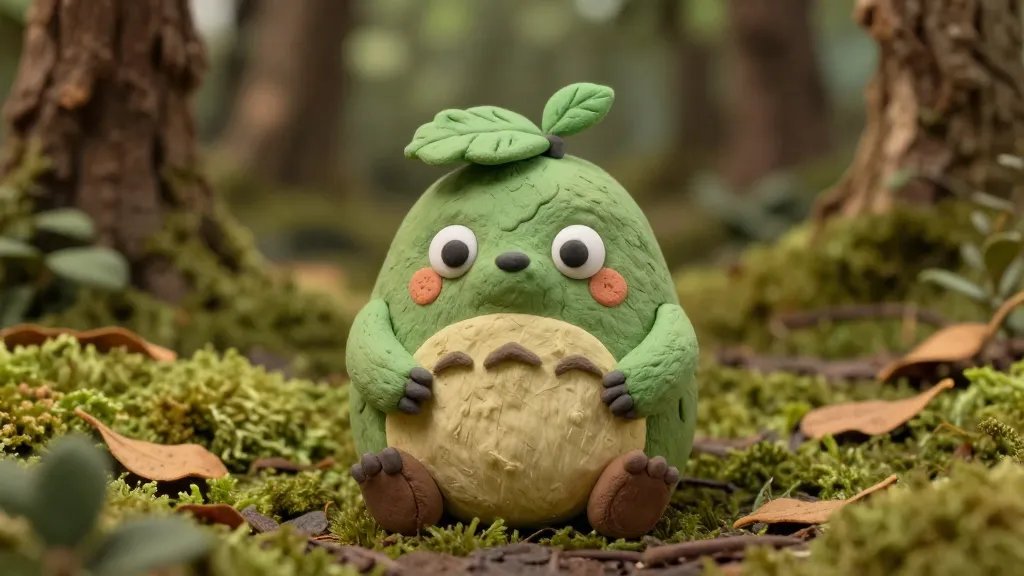
- Forest critter: round body, tiny paws, mossy greens and browns.
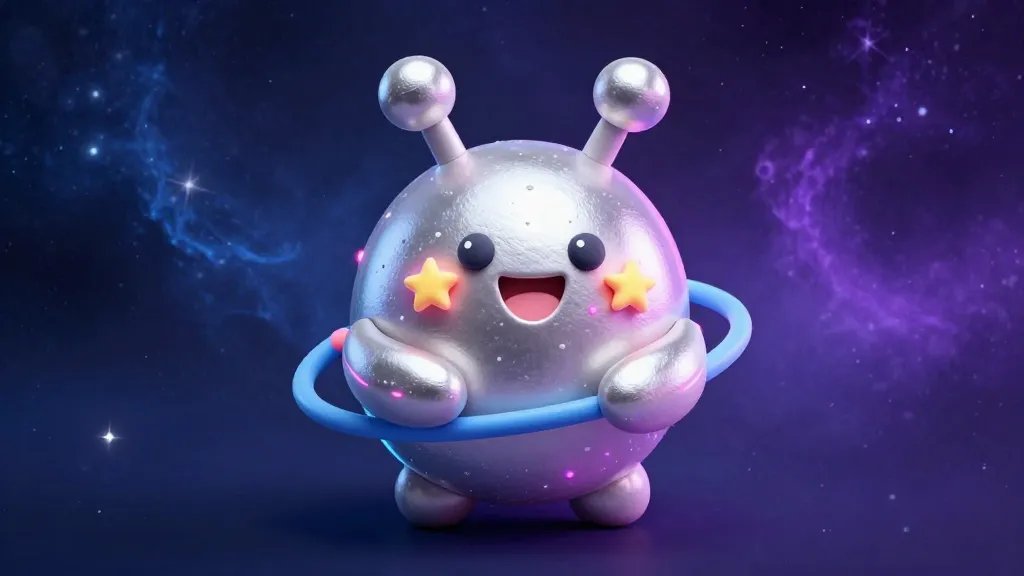
- Space pal: shiny accents, silver or neon colors, curious antennae.
- Goofy noodle: exaggerated features, wild colors, big grin.
FYI, consistency is cuteness: keep the character’s mood in sync across all angles and poses. It avoids that “wait, is this the same character?” moment while you’re posing for photos.
Sketching to Sculpting: Getting from Idea to Clay
Think tiny doodles first. A quick sketch tells you where the weight should go and what features matter most. Will your character have big eyes or a tiny nose? A few lines on paper save a lot of clay fidgeting later.
- Start with a simple silhouette. A strong shape reads instantly.
- Map out key features: eyes, smile, ears, tail. Place them in a way that reads at a glance.
- Plan color blocks. Don’t pick third-grade-crayon hues; aim for harmonious but bold.
When you’re ready to sculpt, build in layers. Start with the core body, then add limbs, ears, or tails. If you mess up, don’t panic—soft clay loves a good smush and remix.
Proportions That Read CUTE, Not Creepy
Proportions decide whether your character wins hearts or ends up as a scary ornament. Here are rule-of-thumb tweaks that boost adorableness:
- Head-to-body ratio: bigger head = chibi vibes, instantly more endearing.
- Rounded edges: soften sharp angles; square edges look tougher, not cuddly.
- Oversized eyes with tiny nose and mouth create instant warmth.
Don’t fret about realism—these aren’t real people. They’re tiny joy machines. If something looks off, try rounding a corner or easing a line. Small changes create big smiles.
Color, Texture, and Tiny Details
Color choice can make or break your cuteness quotient. Start with a cohesive color palette and sprinkle in accent colors for personality. Texture matters, too—fuzz for a cozy critter, glossy for a glossy-space buddy, or matte for a soft, huggable feel.
- Limit your palette to 3-5 colors for harmony.
- Texture tricks: tiny grooves for fur, stippling for speckles, or a glossy finish on eyes.
- Accent with a single bold color to draw the eye.
Remember, photos matter as much as the sculpture. A well-lit shot makes even a simple character feel magical. IMO, avoid harsh shadows that hide cute details.
Expression is Everything: Eyes, Mouth, and Micro-Moods
Expressions sell the character’s personality. Big, shiny eyes suggest innocence; a cheeky wink screams mischief. Practice a few core expressions so your character can convey mood in a blink.
- Eyes: large, rounded, with a bright highlight.
- Mouth: small smiles read friendlier than grins.
- Eyebrows or brow shapes: tiny arches can add drama or confusion in seconds.
Pro tip: sculpt your eyes and mouth as separate pieces and attach later. That way you can swap expressions if you want to try something different without remolding the whole head.
Accessorize with Purpose
A few tiny accessories can elevate your character from cute to memorable. Think hats, scarves, tiny backpacks, or a whimsical prop. Accessories tell a story without saying a word.
- Choose one signature item that speaks to your character’s vibe.
- Keep accessories proportional to the body to avoid overwhelmed silhouettes.
- Attach securely but consider removable parts for display photos or play.
FYI, the best accessories are those that reveal a bit about the character’s daily life. A little backpack can imply an adventure-loving soul, and a leaf-shaped hat might hint at a forest origin.
Sealing, Finishing, and Keeping Your Cutie Safe
Clay needs protection to stay fresh and colorful. Pick a sealant that suits your material and finish. Matte finishes feel soft and friendly; gloss makes eyes pop. Apply in thin, even coats and let each layer dry fully.
- Test sealants on a scrap piece first to see how it changes color.
- Acrylic varnish works well for many clay types; check your specific clay’s recommendations.
- Consider a gentle bed of micro-sculpting for long-term display and handling.
Remember: handling with care keeps those cute details intact. If you’re displaying on a shelf, avoid direct sunlight to prevent colors from fading faster than your sense of humor.
Bonus: Practical Maintenance Tips
Clay characters aren’t forever if you don’t treat them right. Keep them away from humidity, which can soften or warp pieces. If dust gathers, a soft brush does the trick. And if a piece starts to detach, a dab of craft glue can rescue your tiny friend without a trace.
Inspiration on Tap: Where to Find Ideas
If you’re stuck, look at real animals, cartoon favorites, or even everyday objects given personality. A teacup can become a shy little buddy with a wink and a bow. Curate a mood board of textures, colors, and shapes you love, then riff on it until your hands remember the feel of the clay more than the plan in your head.
Deep Dive: Quick Character-Design Checklist
- Decide the vibe and audience for your character.
- Sketch a strong silhouette and map out major features.
- Choose a harmonious color palette with 1 bold accent.
- Build in layers: base body, appendages, facial features.
- Experiment with expressions by swapping parts before finalizing.
- Seal and protect; display with proper lighting.
FAQ
How do I start if I’m terrible at drawing?
That’s totally fine. Start with a simple silhouette and a few key shapes. You don’t need perfect sketches—your hands will teach you as you sculpt. Use references and basic shapes like circles, ovals, and rectangles to guide you. The more you practice, the more confident your lines will feel—promise.
What materials should I use for beginner clay characters?
Air-dry clay is forgiving and great for beginners. Polymer clay works well if you have a heat source and a baking setup. You can also mix in some dough to experiment with texture. Start with a small project to learn about drying times and durability, then scale up.
How can I make my clay character look more unique?
Give it a signature feature—an unusual hat, a tiny companion, or a quirky color combo. Tweak the proportions just a notch and craft a one-line backstory. The combination of a distinctive trait plus a story makes your character instantly memorable.
How do I photograph my clay characters well?
Natural light beats artificial light for color accuracy. Shoot near a window but avoid direct sun. Use a simple background so the character stands out, and try a few angles to capture the best expression. A little blur in the foreground can create depth and focus attention on the face.
What are common mistakes to avoid?
Overcomplicating the design, skimping on seams, or using too many colors can muddle the look. Also, don’t rush the drying or sealing process—shiny or sticky finishes can ruin the cuteness. Take your time, breathe, and let the character evolve as you work.
Conclusion
Designing a cute clay character is less about perfection and more about play. Let your imagination guide you, but keep the process tactile and forgiving. Each little feature—an eye spark, a wobble of a smile, a tiny accessory—adds up to a character that feels like a friend you can hold. So roll up your sleeves, embrace the quirks, and sculpt your own pocket-sized personality. IMO, the best part is showing off your tiny friend and realizing you built something genuinely joyful from a lump of clay.


